DeusEx
Well-Known Member
I finally had some nice weather today and got around to installing my front and rear ultimate ponies. It took about 4 hours for both the front and back.
The starlock washers in the front were a pain in the butt to remove and took up most of the time for the front install. I ended up breaking off one of the pins from the OEM emblem. Putting in the replacement starlock washers were tough too since space was tight, but overall the looks of the front was exactly what I was looking for.
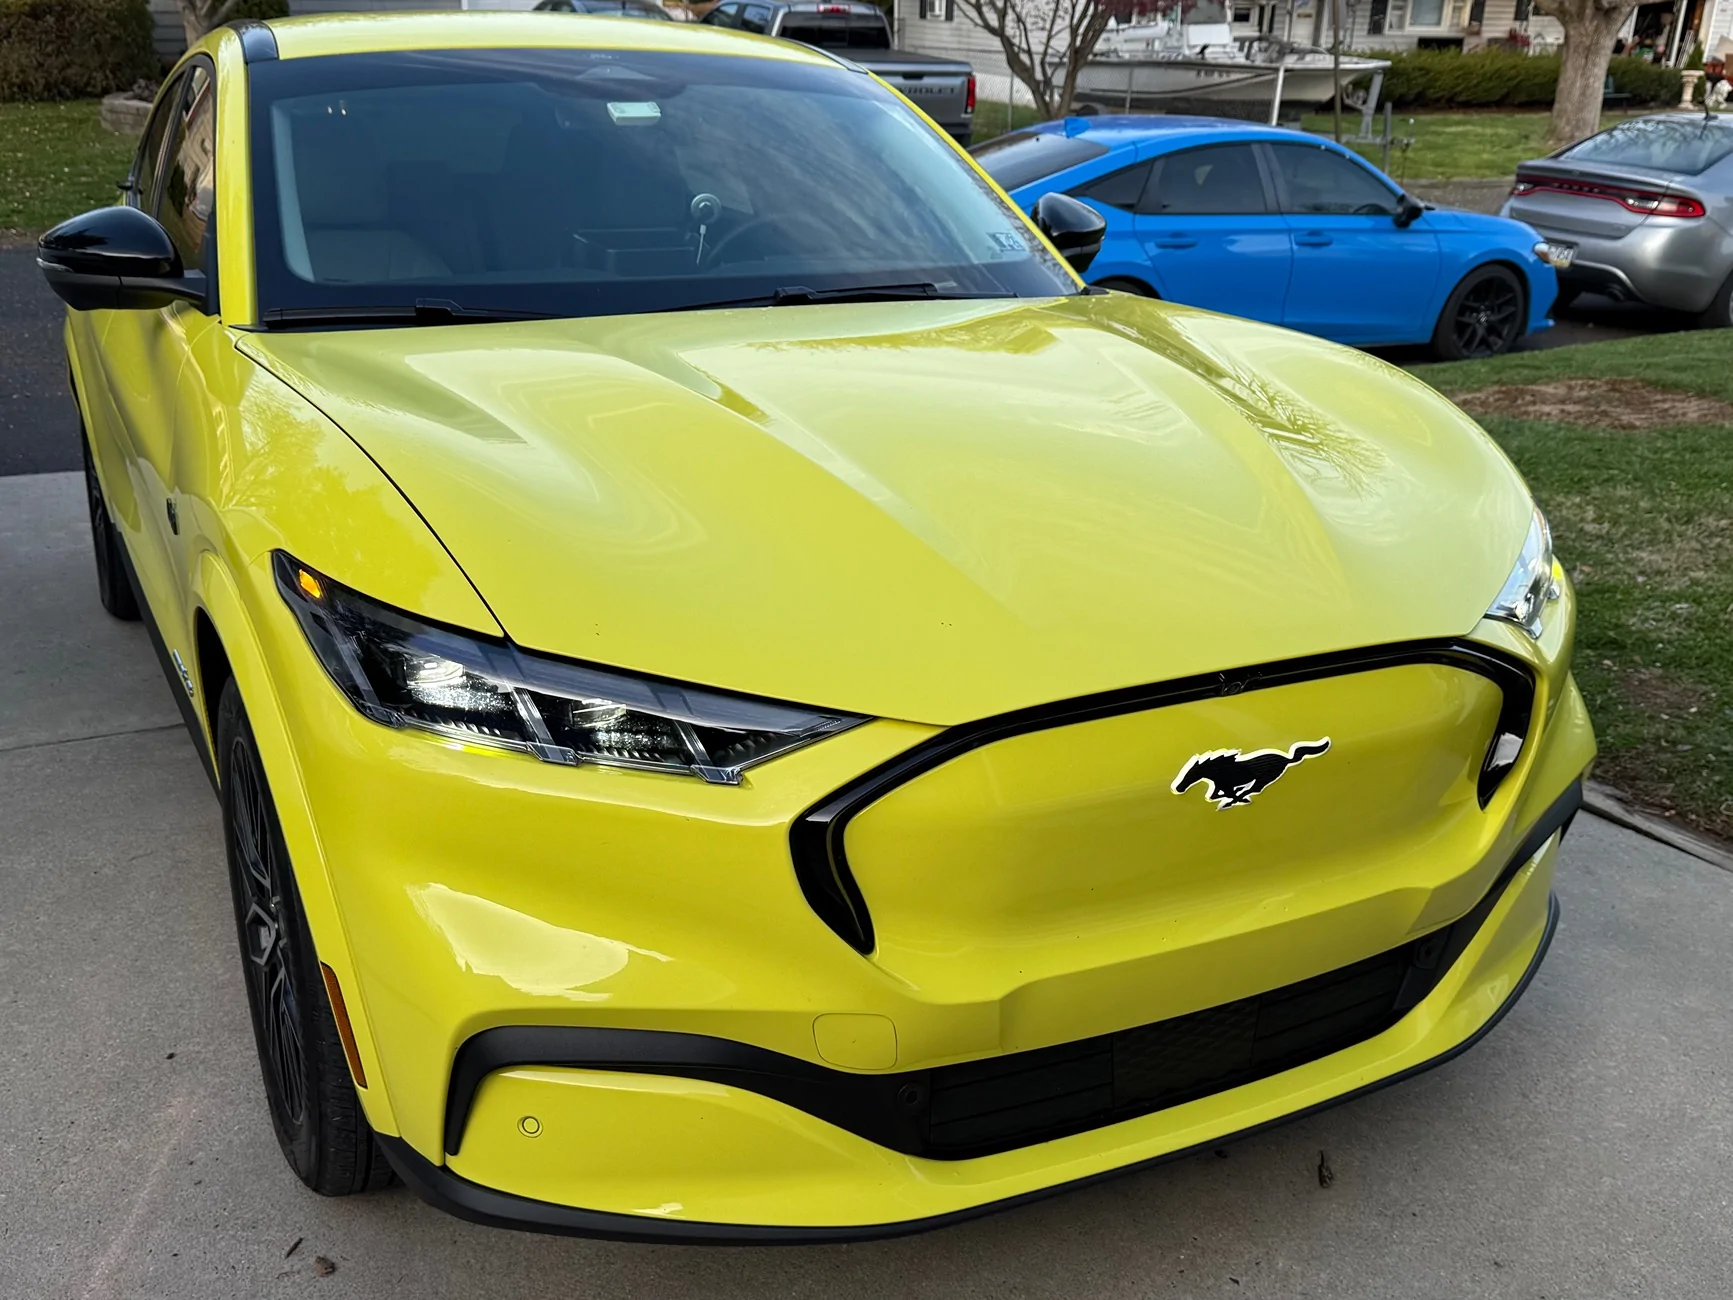
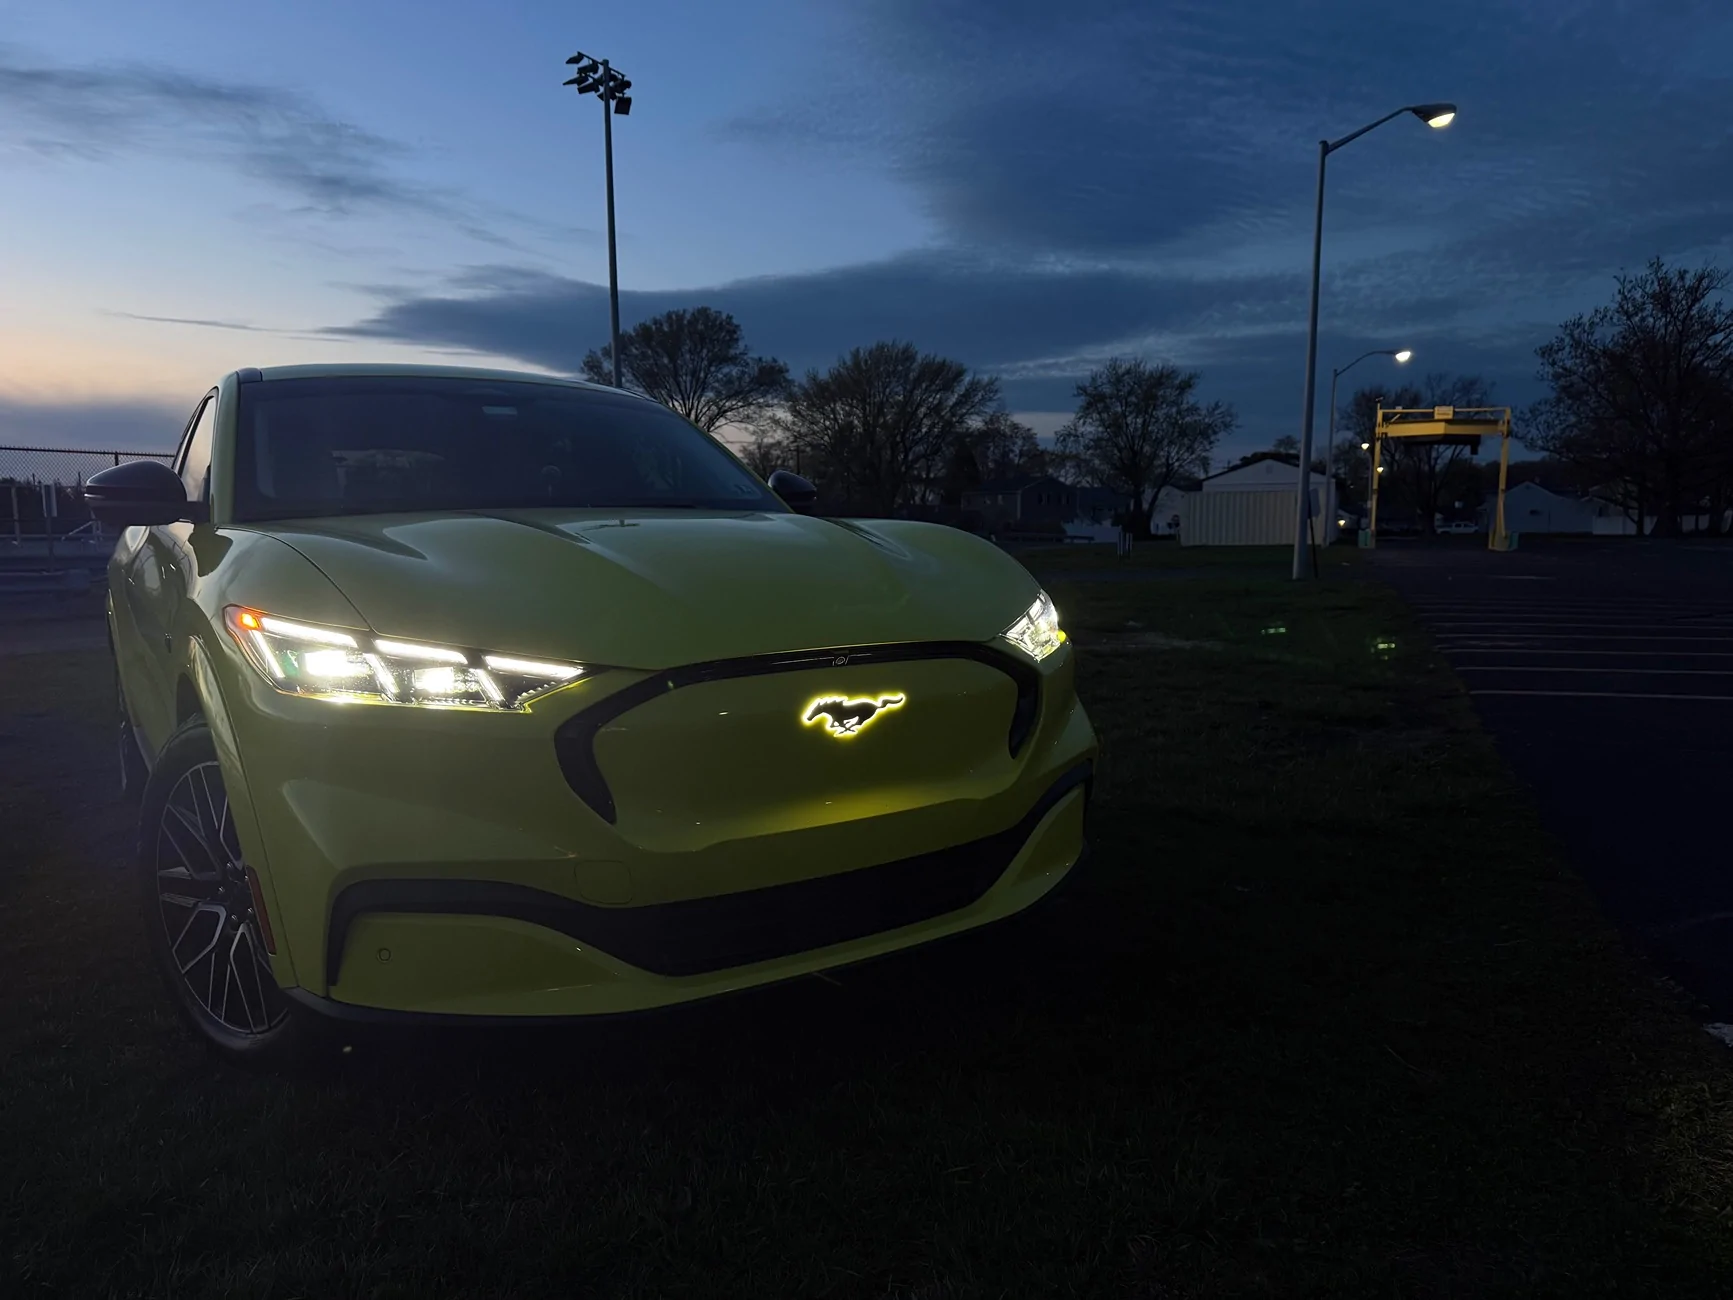
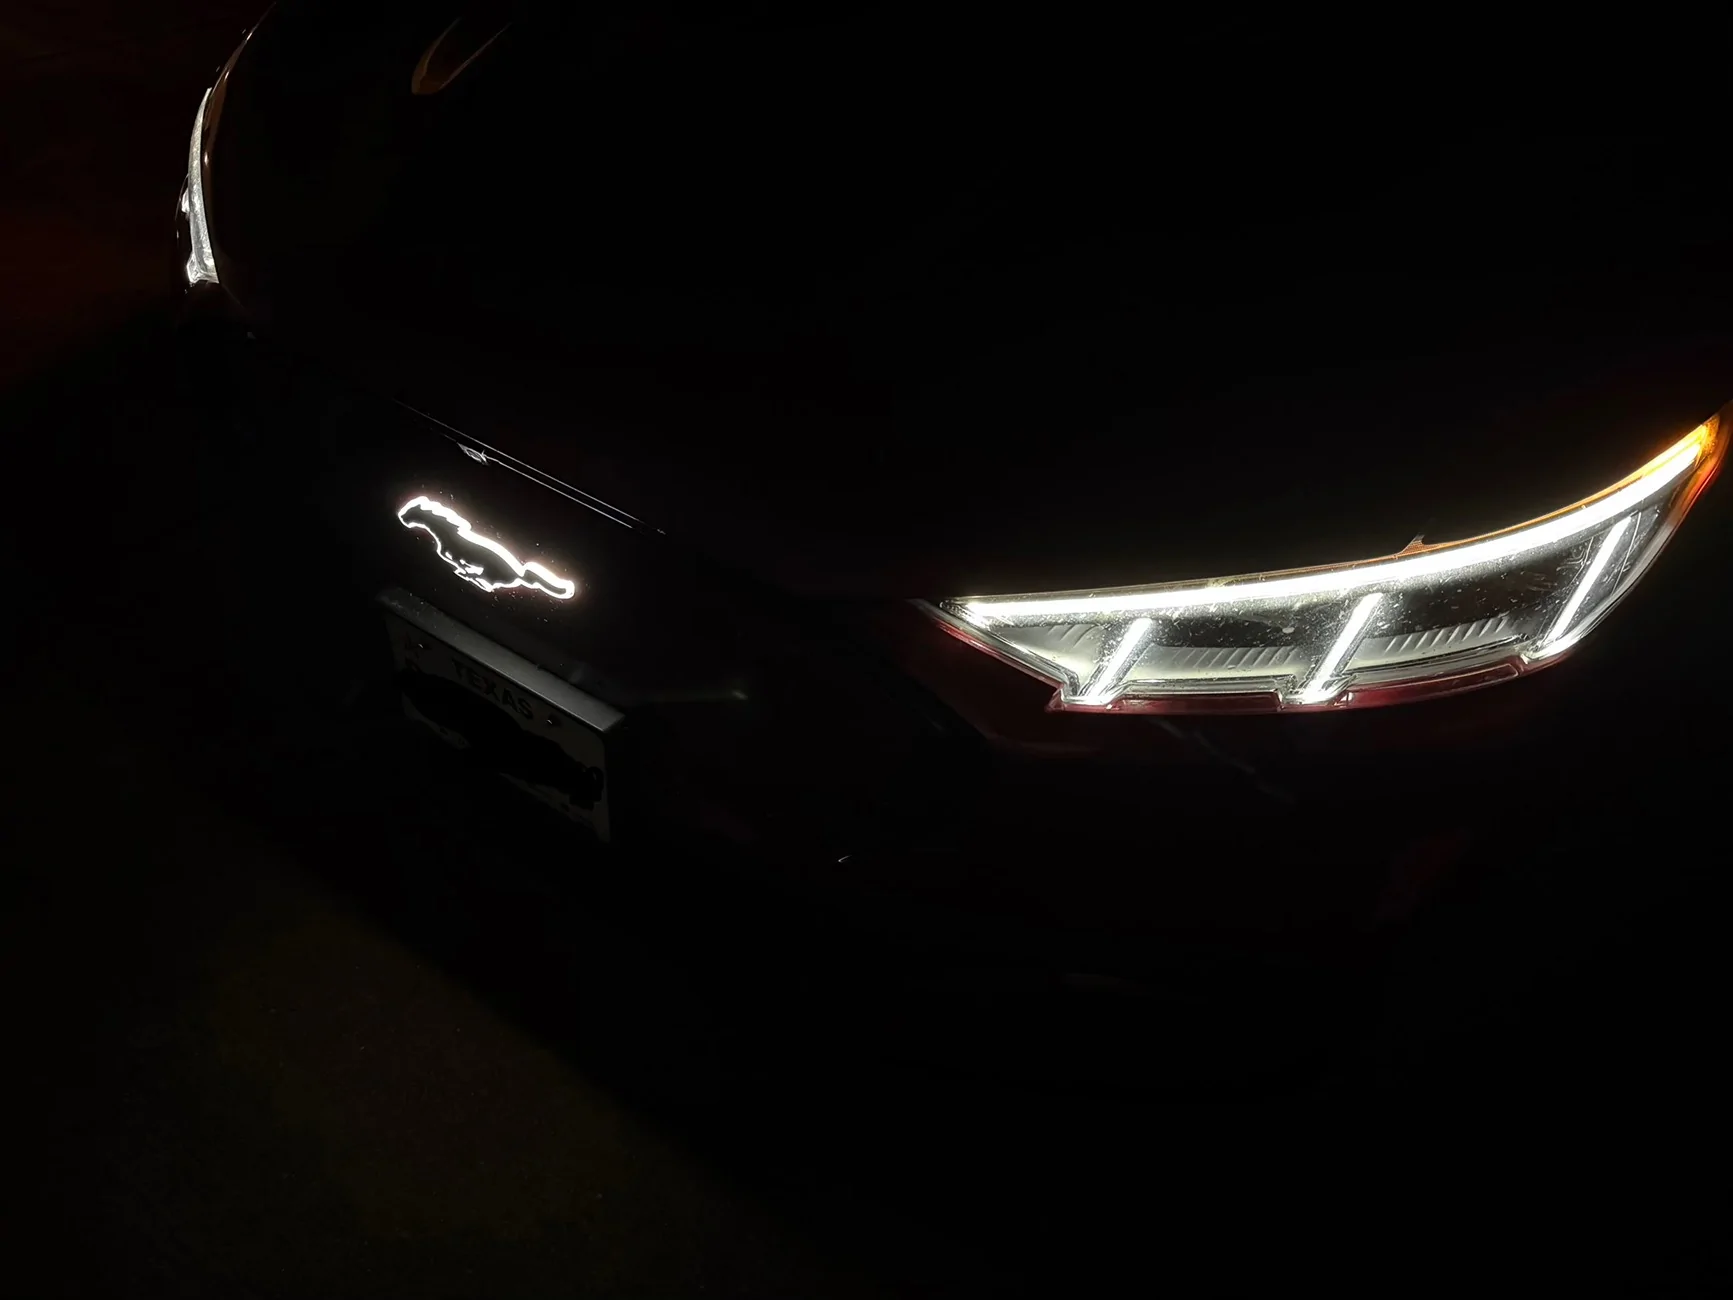
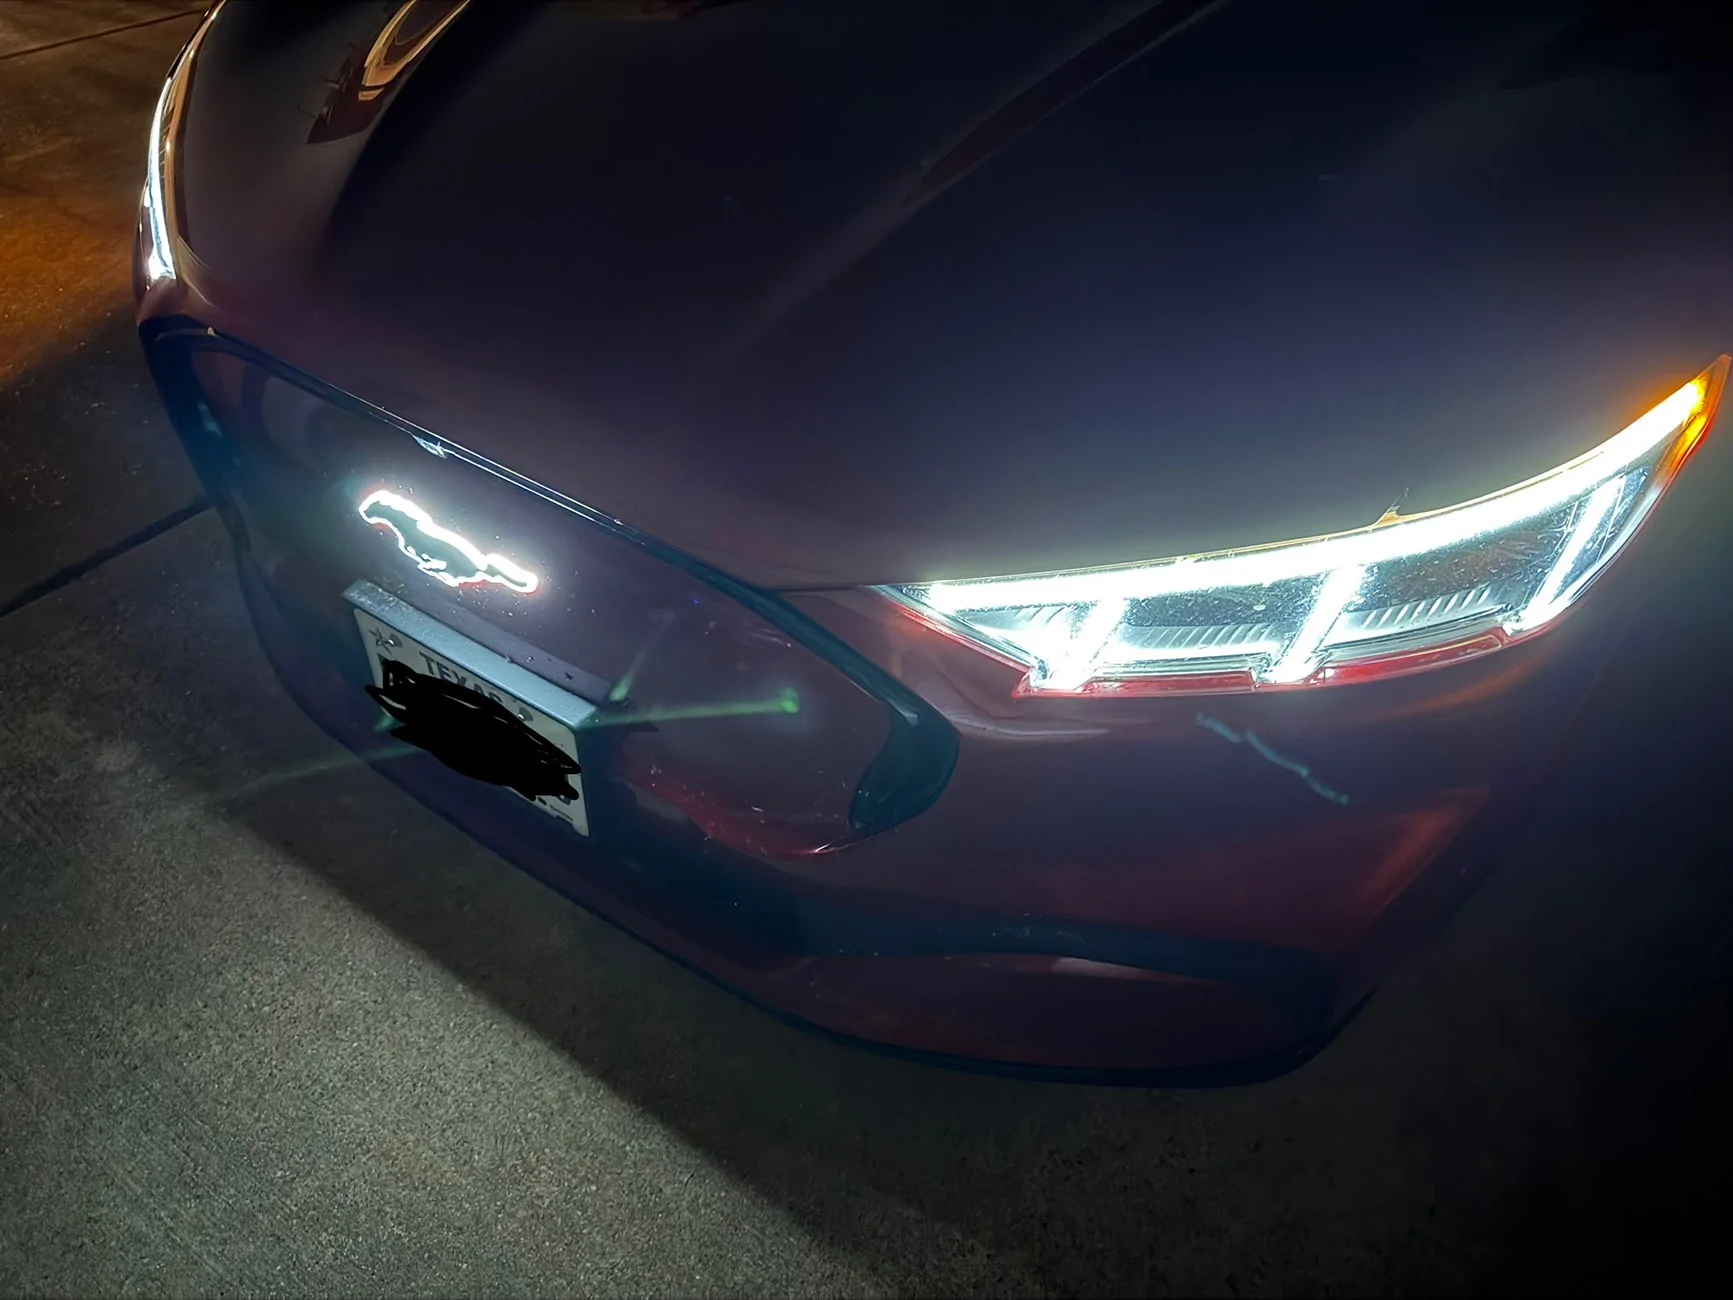
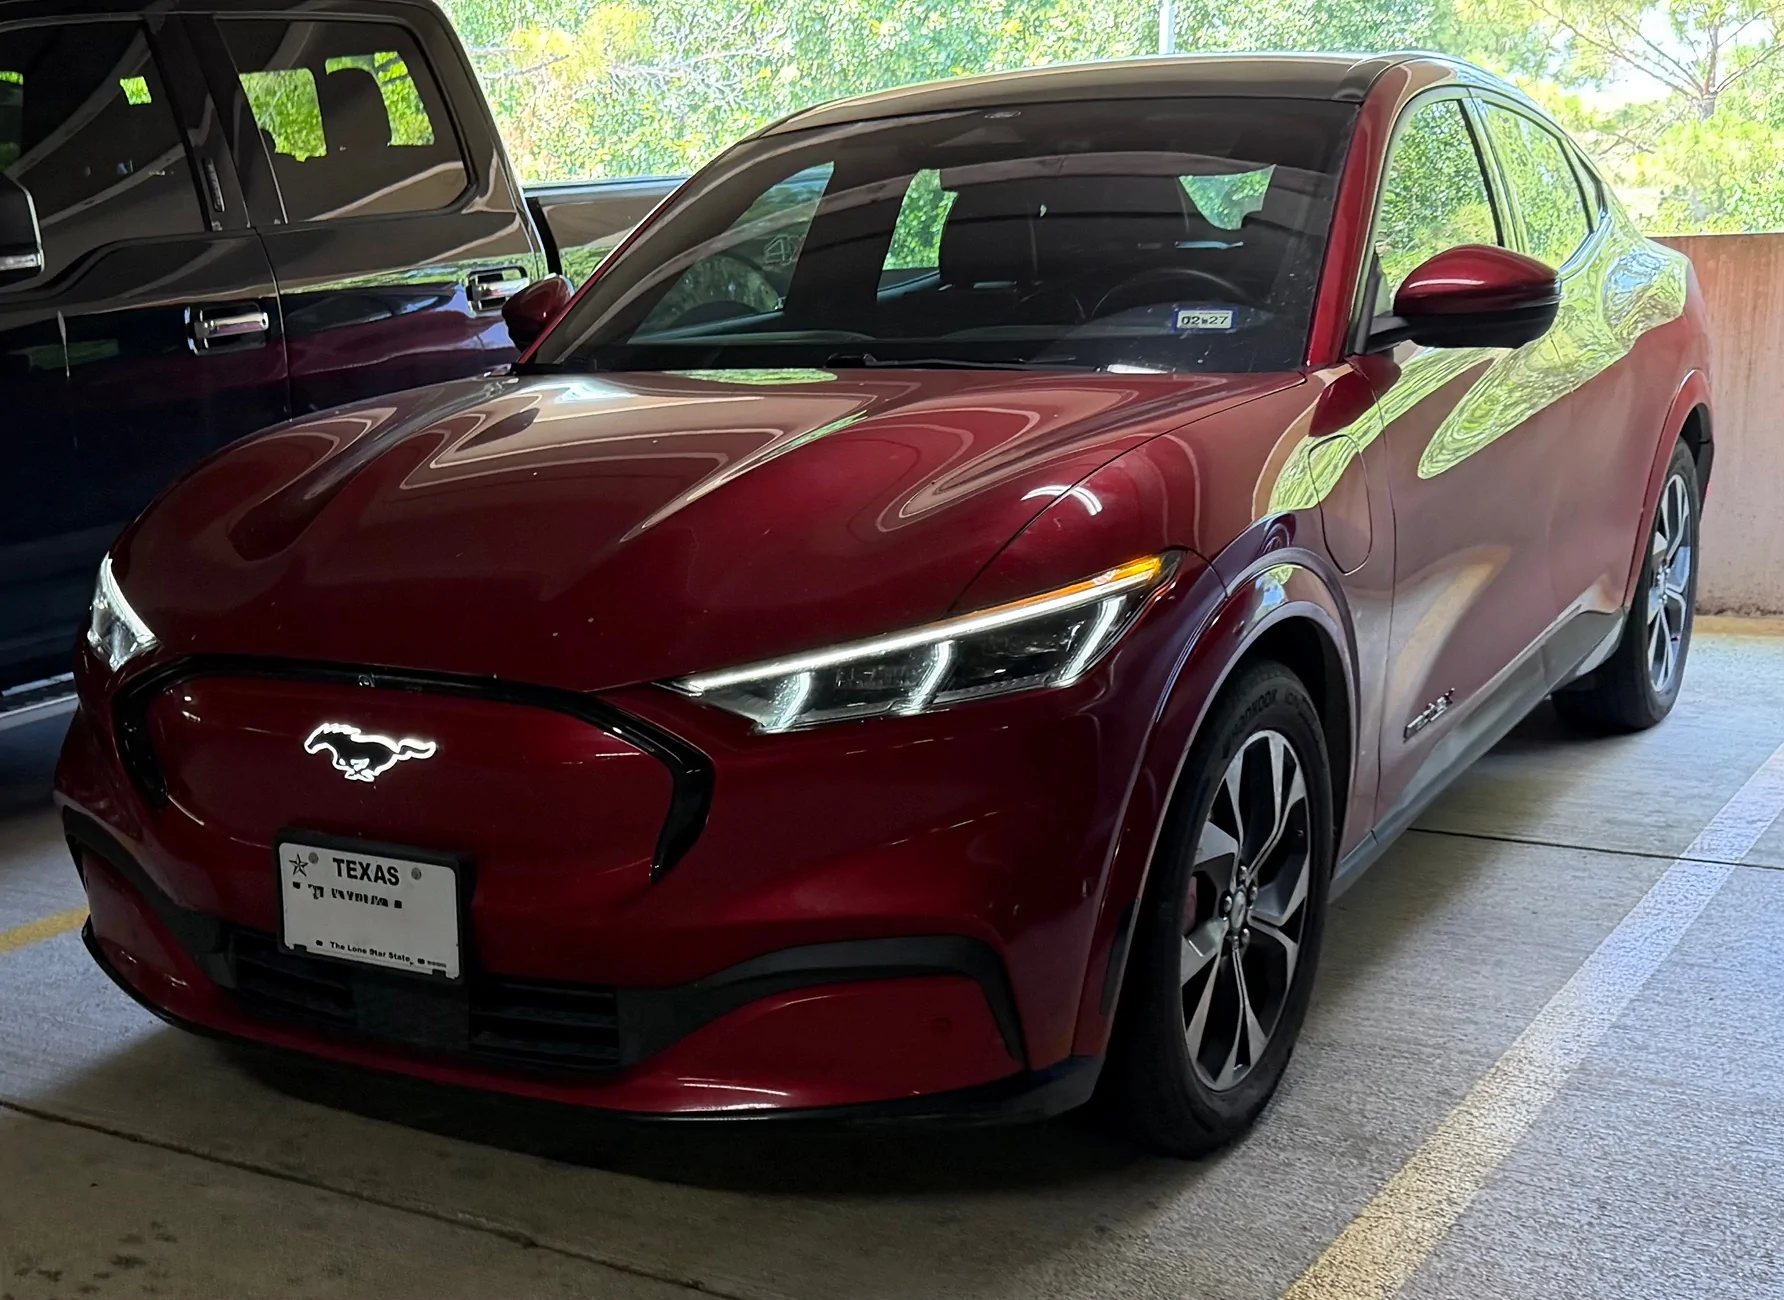
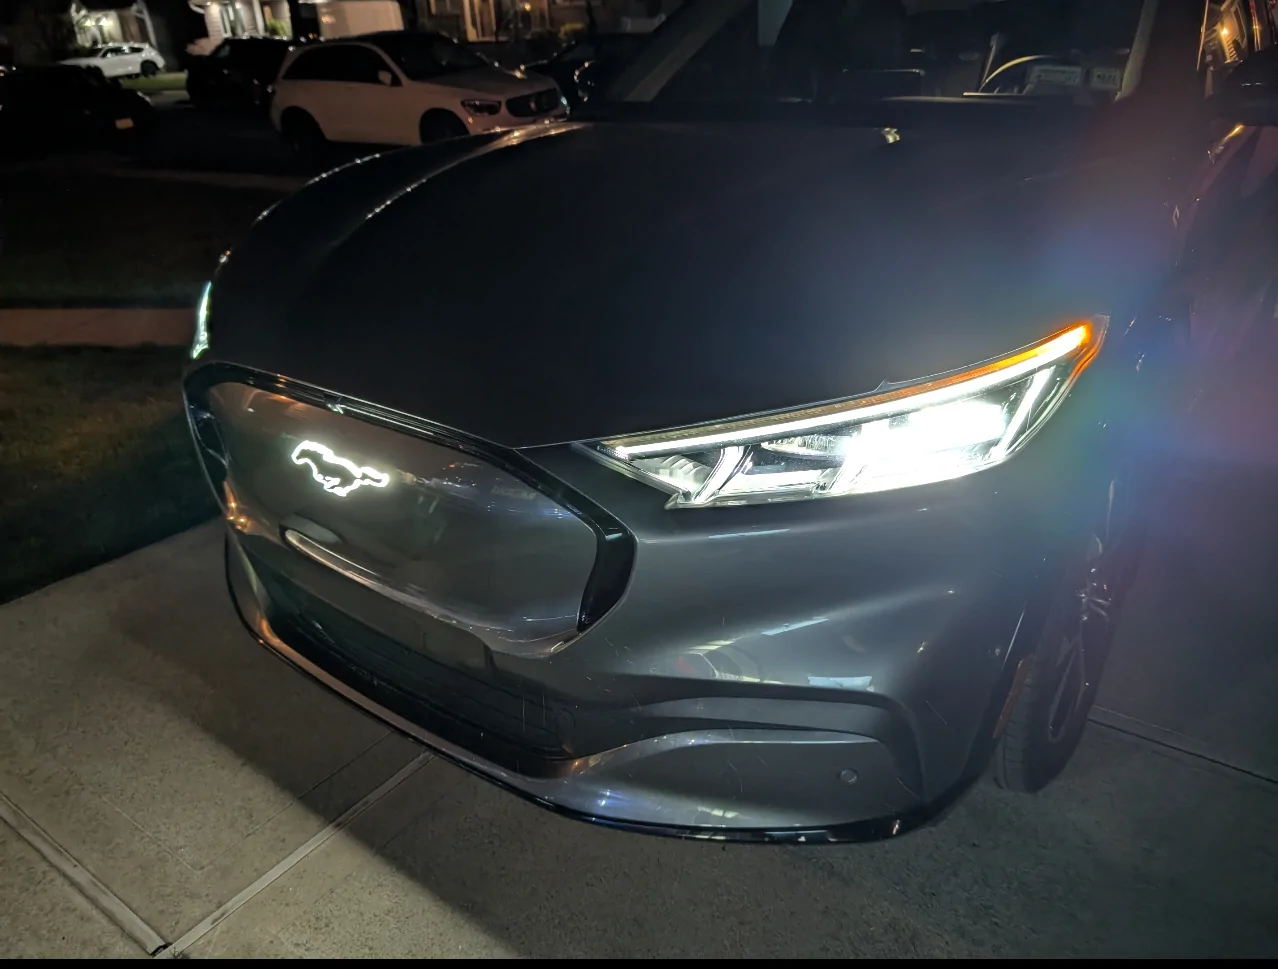
The front pony looks very similar to the OEM pony. The bskt pony sticks out a bit more than the OEM one but it's hard to tell it's not OEM if you're not in the know. The color temperature is a bit whiter than the headlights but on quick glance it's hard to tell a difference. The brightness also doesn't interfere with the front camera so you're still able to see if you use the front camera to park.
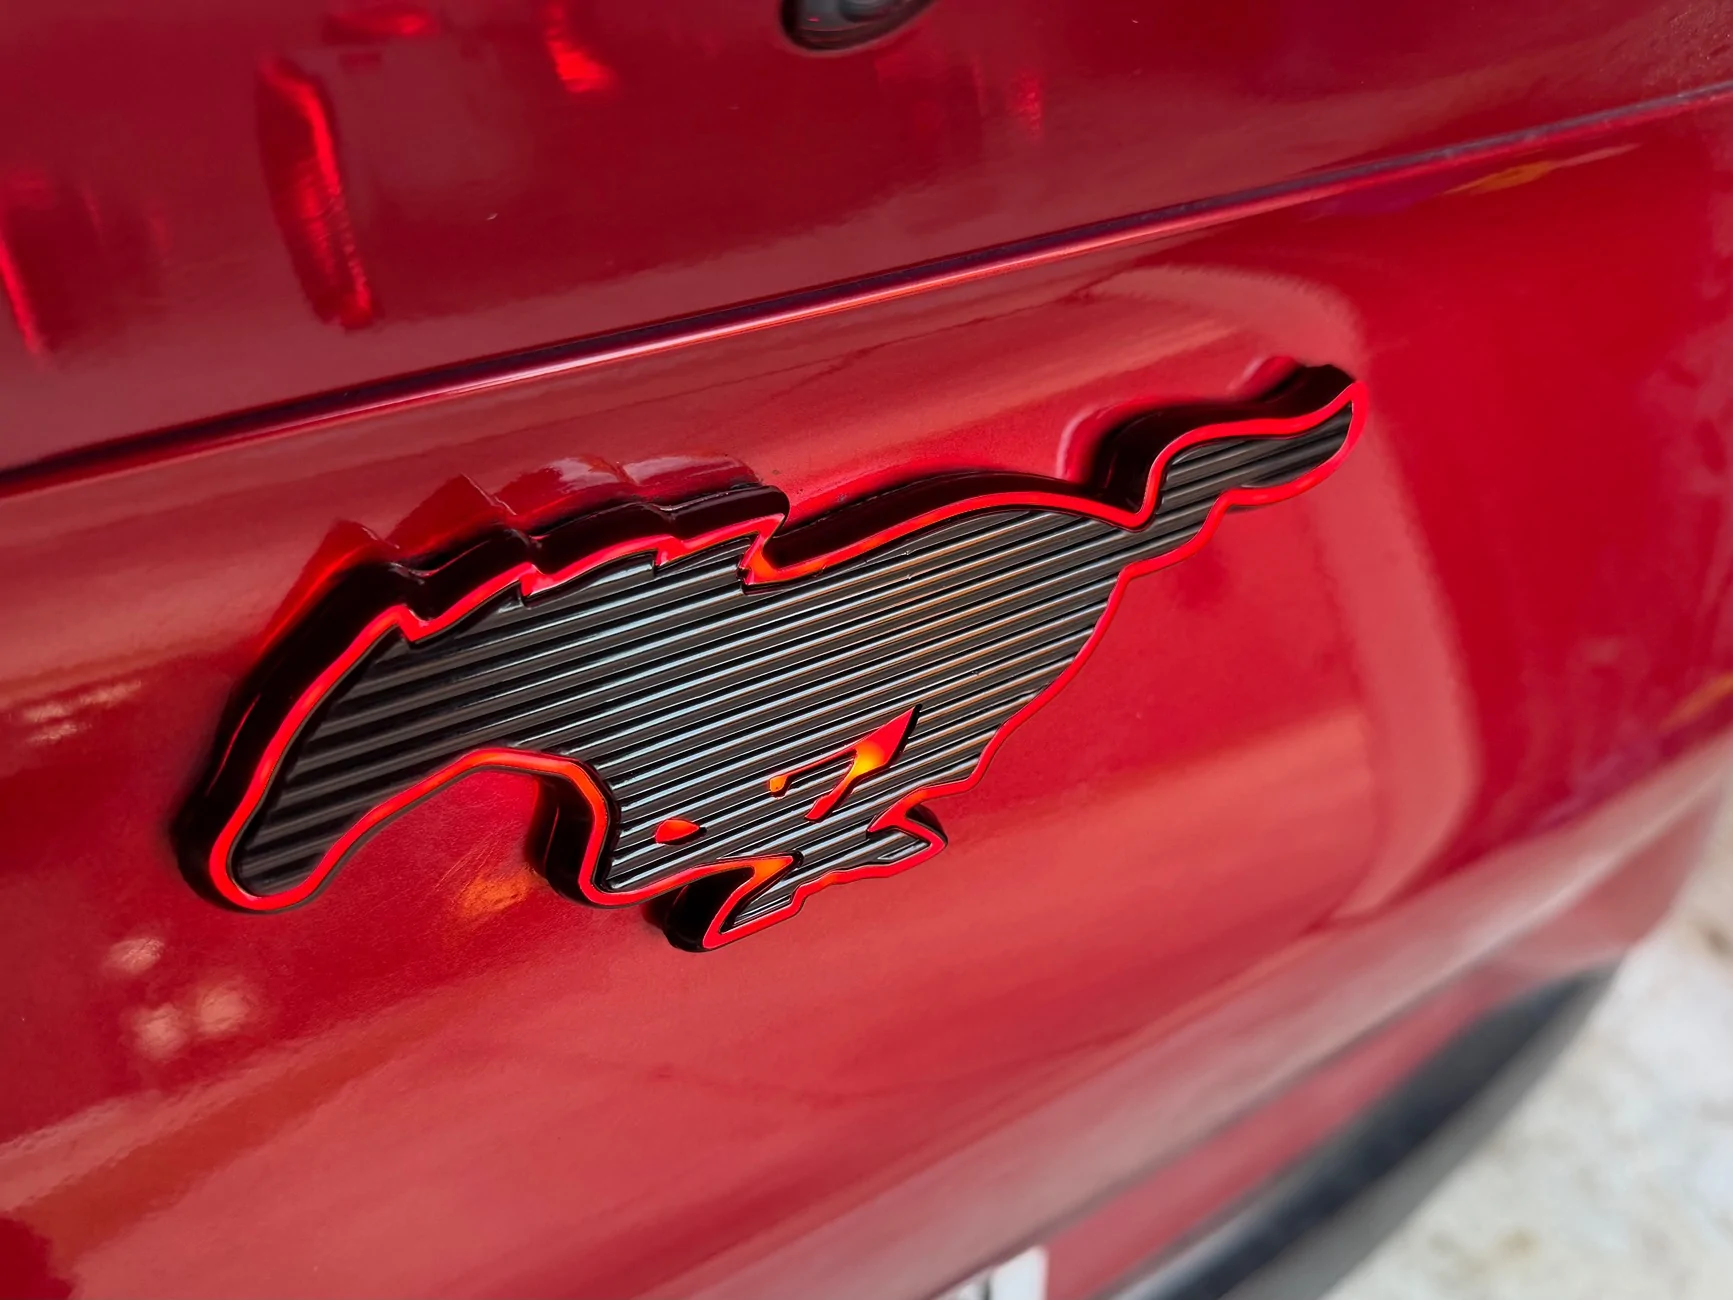
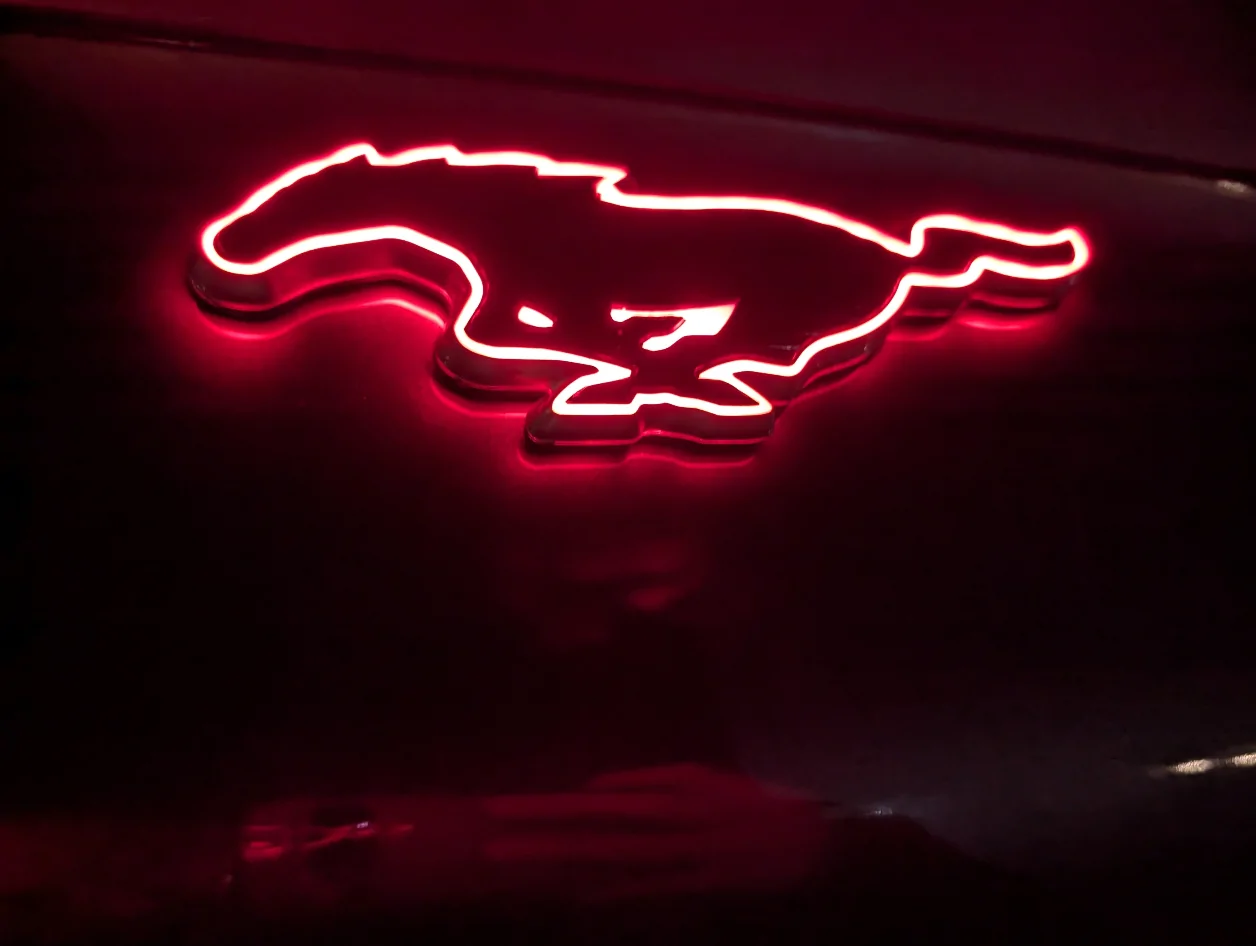
The rear pony install felt a lot easier even though it took as much time as the front. The majority of the install was removing the OEM glue and going at a slow and steady pace while slowly applying more pressure with trim removal tools. Having a Ryobi heat gun definitely made it easier to remove the OEM emblem. I only installed the brake light and don't see myself installing the reverse white light. Other than the slow and steady pace, the rear install was straightforward. BTW, I opted for the quick start up. I am not a fan of the slow one.
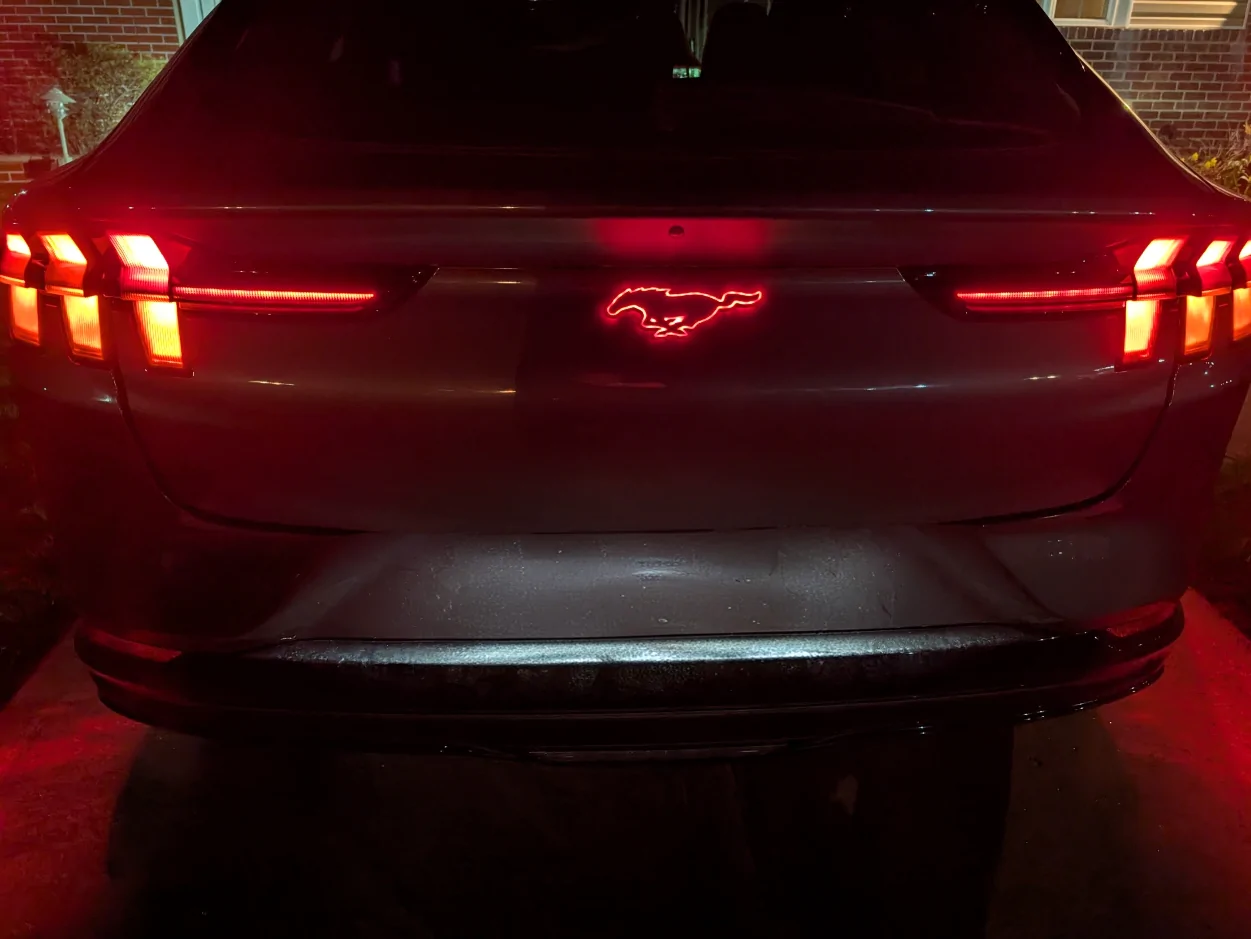
Overall, I'm very happy with the results of the front, and really loving the halo effect of the rear. The photos don't do it either the front or the rear justice, but here are some below.


The starlock washers in the front were a pain in the butt to remove and took up most of the time for the front install. I ended up breaking off one of the pins from the OEM emblem. Putting in the replacement starlock washers were tough too since space was tight, but overall the looks of the front was exactly what I was looking for.
The front pony looks very similar to the OEM pony. The bskt pony sticks out a bit more than the OEM one but it's hard to tell it's not OEM if you're not in the know. The color temperature is a bit whiter than the headlights but on quick glance it's hard to tell a difference. The brightness also doesn't interfere with the front camera so you're still able to see if you use the front camera to park.
The rear pony install felt a lot easier even though it took as much time as the front. The majority of the install was removing the OEM glue and going at a slow and steady pace while slowly applying more pressure with trim removal tools. Having a Ryobi heat gun definitely made it easier to remove the OEM emblem. I only installed the brake light and don't see myself installing the reverse white light. Other than the slow and steady pace, the rear install was straightforward. BTW, I opted for the quick start up. I am not a fan of the slow one.
Overall, I'm very happy with the results of the front, and really loving the halo effect of the rear. The photos don't do it either the front or the rear justice, but here are some below.
Sponsored