Ford_orr
Well-Known Member
- First Name
- orr
- Joined
- Jan 27, 2022
- Threads
- 7
- Messages
- 398
- Reaction score
- 711
- Location
- Los Angeles
- Vehicles
- 2023 Mustang Mach E Premium AWD
- Occupation
- Hellraiser
- Thread starter
- #1
Hello all. So I decided to finally install the tow hitch wiring harness for the tow hitch on the Mach. Although I installed a tow hitch mainly for a bike rack, I wanted to maximize the versatility (utility if you will  ) of my Mach. I did do a search on here to get some of the Ps and Qs of the installation (along w/some YouTubing) and felt comfortable enough to do this project. Most of the instructions here are pretty straightforward, however, I found that information was scattered throughout threads so wanted to give my experience to the forum in a summarized version with some of my takes. So here goes...
First, I want to list all the products out front, so you don't need to scan through the whole post for this info:
And here is the Stealth Hitches instructions I also used as a reference:
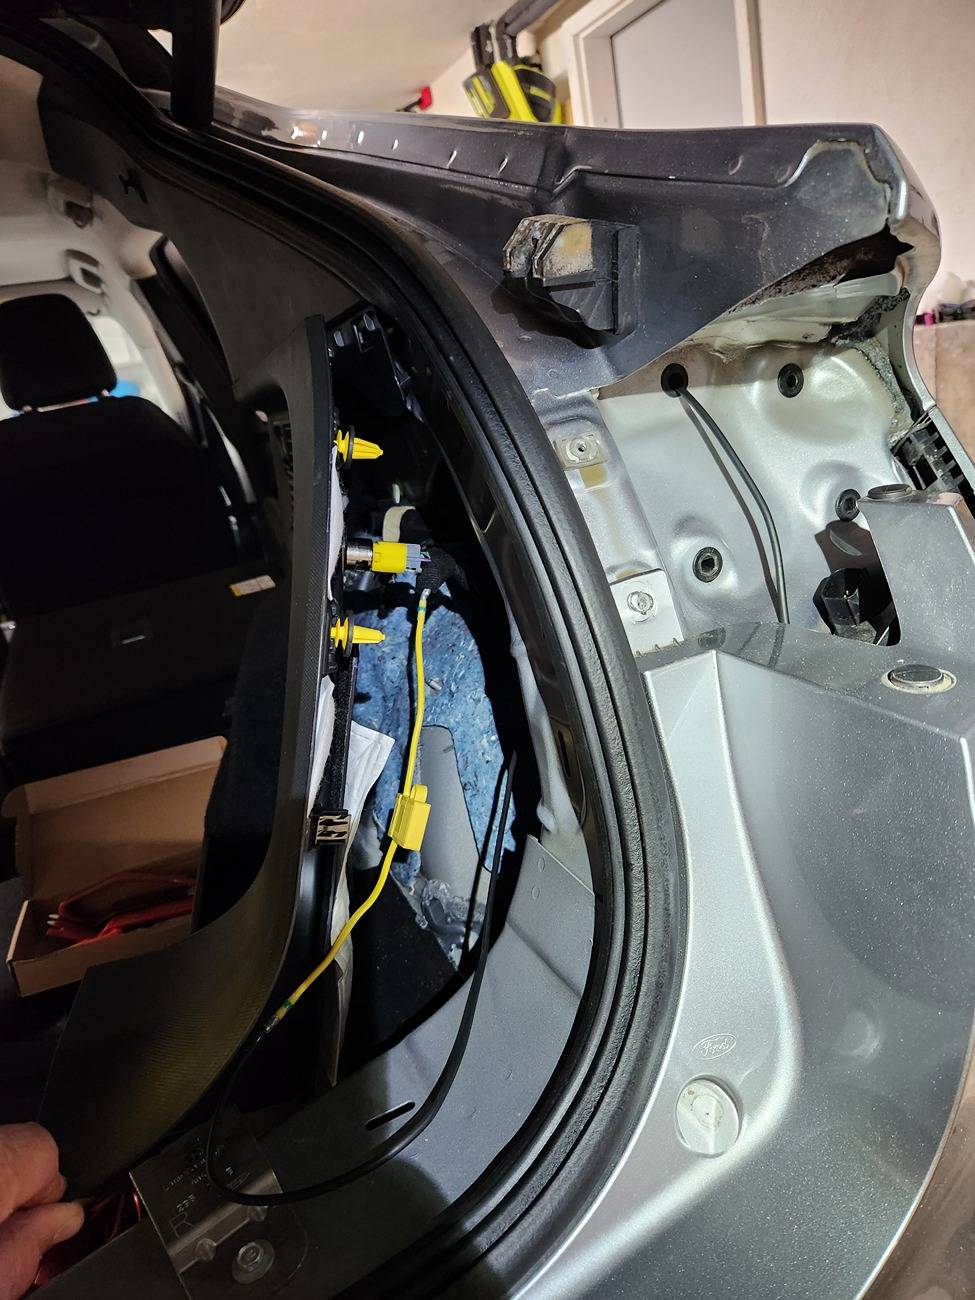
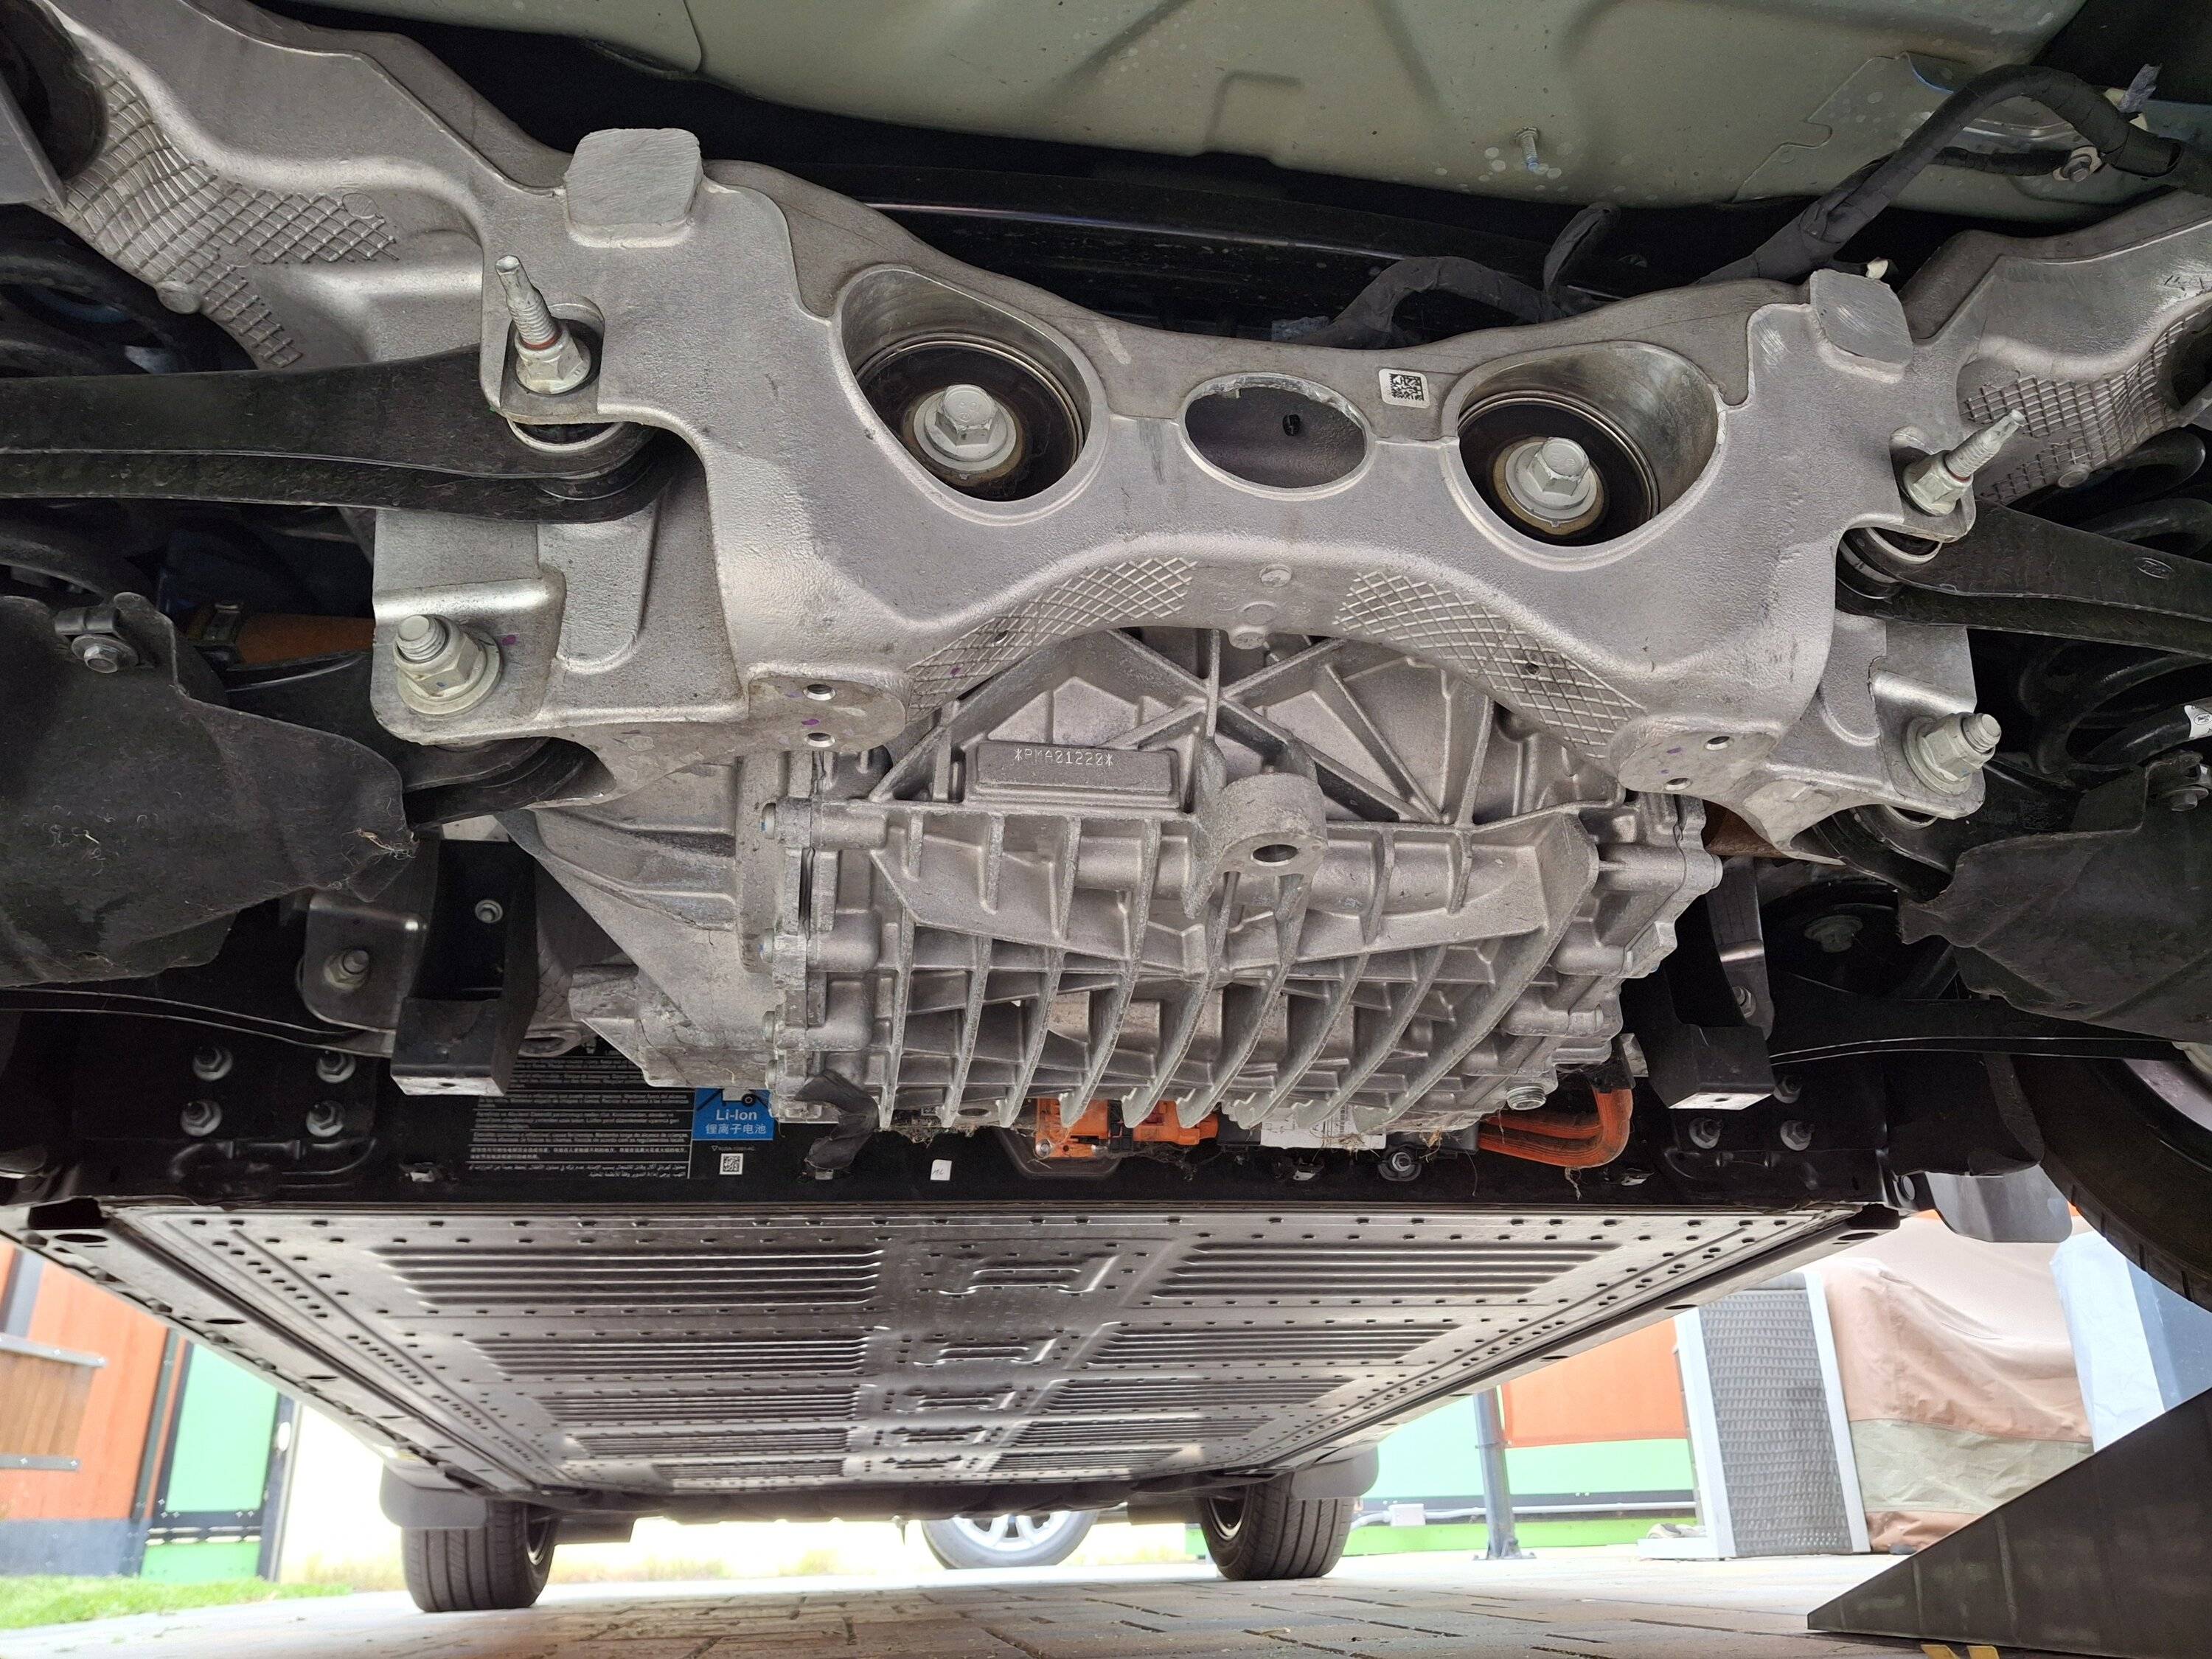
The reason I have both these sources as references is because of how they run the power cable from the hitch to the 12-Volt battery. The U-Haul video has the cable running through the HVB support rail channel while the Stealth Hitch instructions has the cable going through the lower side trim next to the support rail. Personally, I went with the Stealth Hitch method. If that HVB ever needs to get dropped, that power cable is toast. Granted, if your HVB is getting dropped, you probably have bigger problems than a tow hitch wiring harness power cable, but still, give the little guy a chance .
.
Note: You can also run the power from the 12-volt outlet in the trunk. Probably a lot easier, I just didn't feel comfortable enough digging around for that so just ran to the battery.
TIP: I used this Klein Tools fishing tape. It's the kind you use for running cables/wires through walls for home theater installations. I ran this down that lower trim channel and took about 10 seconds to get the power cable through. The Stealth Hitch instructions has you taking out all the plastic fasteners. Not necessary, just the one at each end of the channel is all you need:

As for the install:

So good luck! Hope this was helpful,
orr
) of my Mach. I did do a search on here to get some of the Ps and Qs of the installation (along w/some YouTubing) and felt comfortable enough to do this project. Most of the instructions here are pretty straightforward, however, I found that information was scattered throughout threads so wanted to give my experience to the forum in a summarized version with some of my takes. So here goes...First, I want to list all the products out front, so you don't need to scan through the whole post for this info:
- Tekonsha Wiring Harness: TEKONSHA - Model 118840
- Draw-Tite Wiring Harness: Draw-Tite - Model 118840
- (Both wiring harnesses above are the same. Wanted to point out that they may be under different brand names. Just make sure to look for this model number: 118840
- Curt Wiring Harness Bracket: Curt 4-pin bracket - Amazon
- Wire Harness tester: Hopkins 4-pin tester - O'Reilly Auto Parts
- Ramps: Black Widow Plastic Car Service Ramps - Amazon
And here is the Stealth Hitches instructions I also used as a reference:
The reason I have both these sources as references is because of how they run the power cable from the hitch to the 12-Volt battery. The U-Haul video has the cable running through the HVB support rail channel while the Stealth Hitch instructions has the cable going through the lower side trim next to the support rail. Personally, I went with the Stealth Hitch method. If that HVB ever needs to get dropped, that power cable is toast. Granted, if your HVB is getting dropped, you probably have bigger problems than a tow hitch wiring harness power cable, but still, give the little guy a chance
.Note: You can also run the power from the 12-volt outlet in the trunk. Probably a lot easier, I just didn't feel comfortable enough digging around for that so just ran to the battery.
TIP: I used this Klein Tools fishing tape. It's the kind you use for running cables/wires through walls for home theater installations. I ran this down that lower trim channel and took about 10 seconds to get the power cable through. The Stealth Hitch instructions has you taking out all the plastic fasteners. Not necessary, just the one at each end of the channel is all you need:

As for the install:
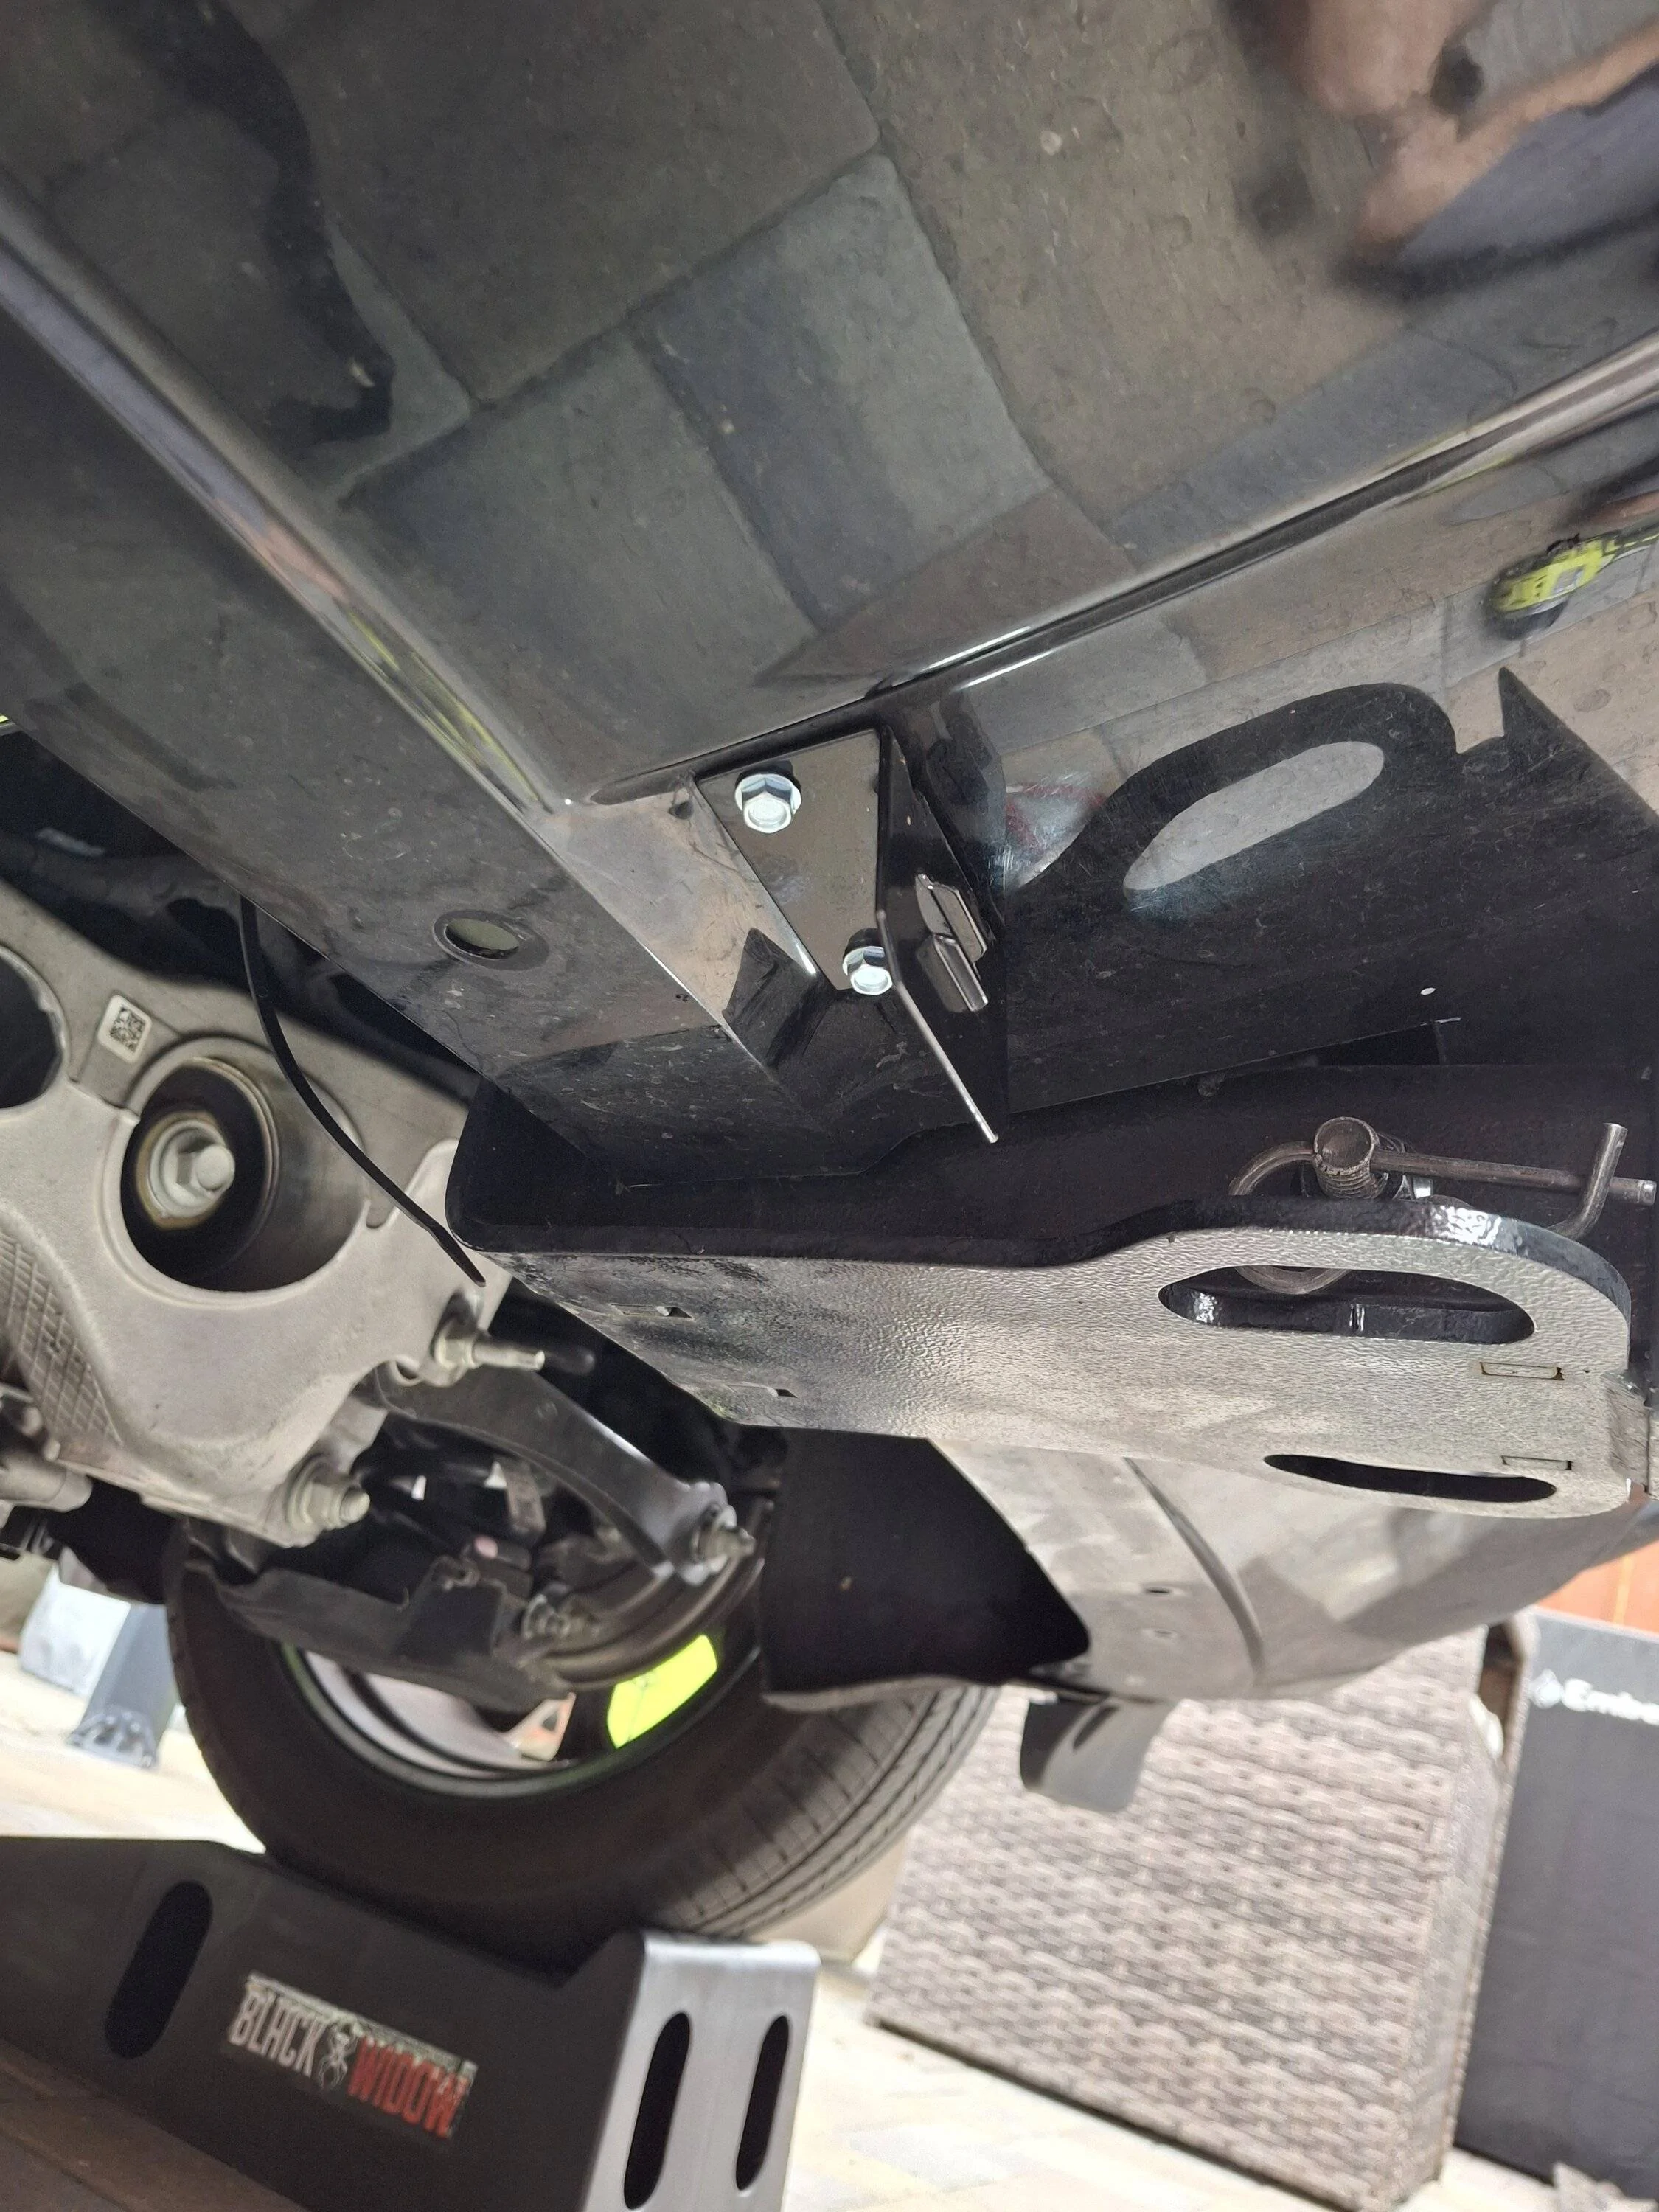
- This is definitely doable by one person. However, it is obviously easier with a helper. I specifically needed help guiding the Mach up the ramps. I did not trust myself doing that on my own, especially in reverse haha. Also, fishing the power cable up from the wheel-well area into the frunk would've taken excruciatingly long alone:
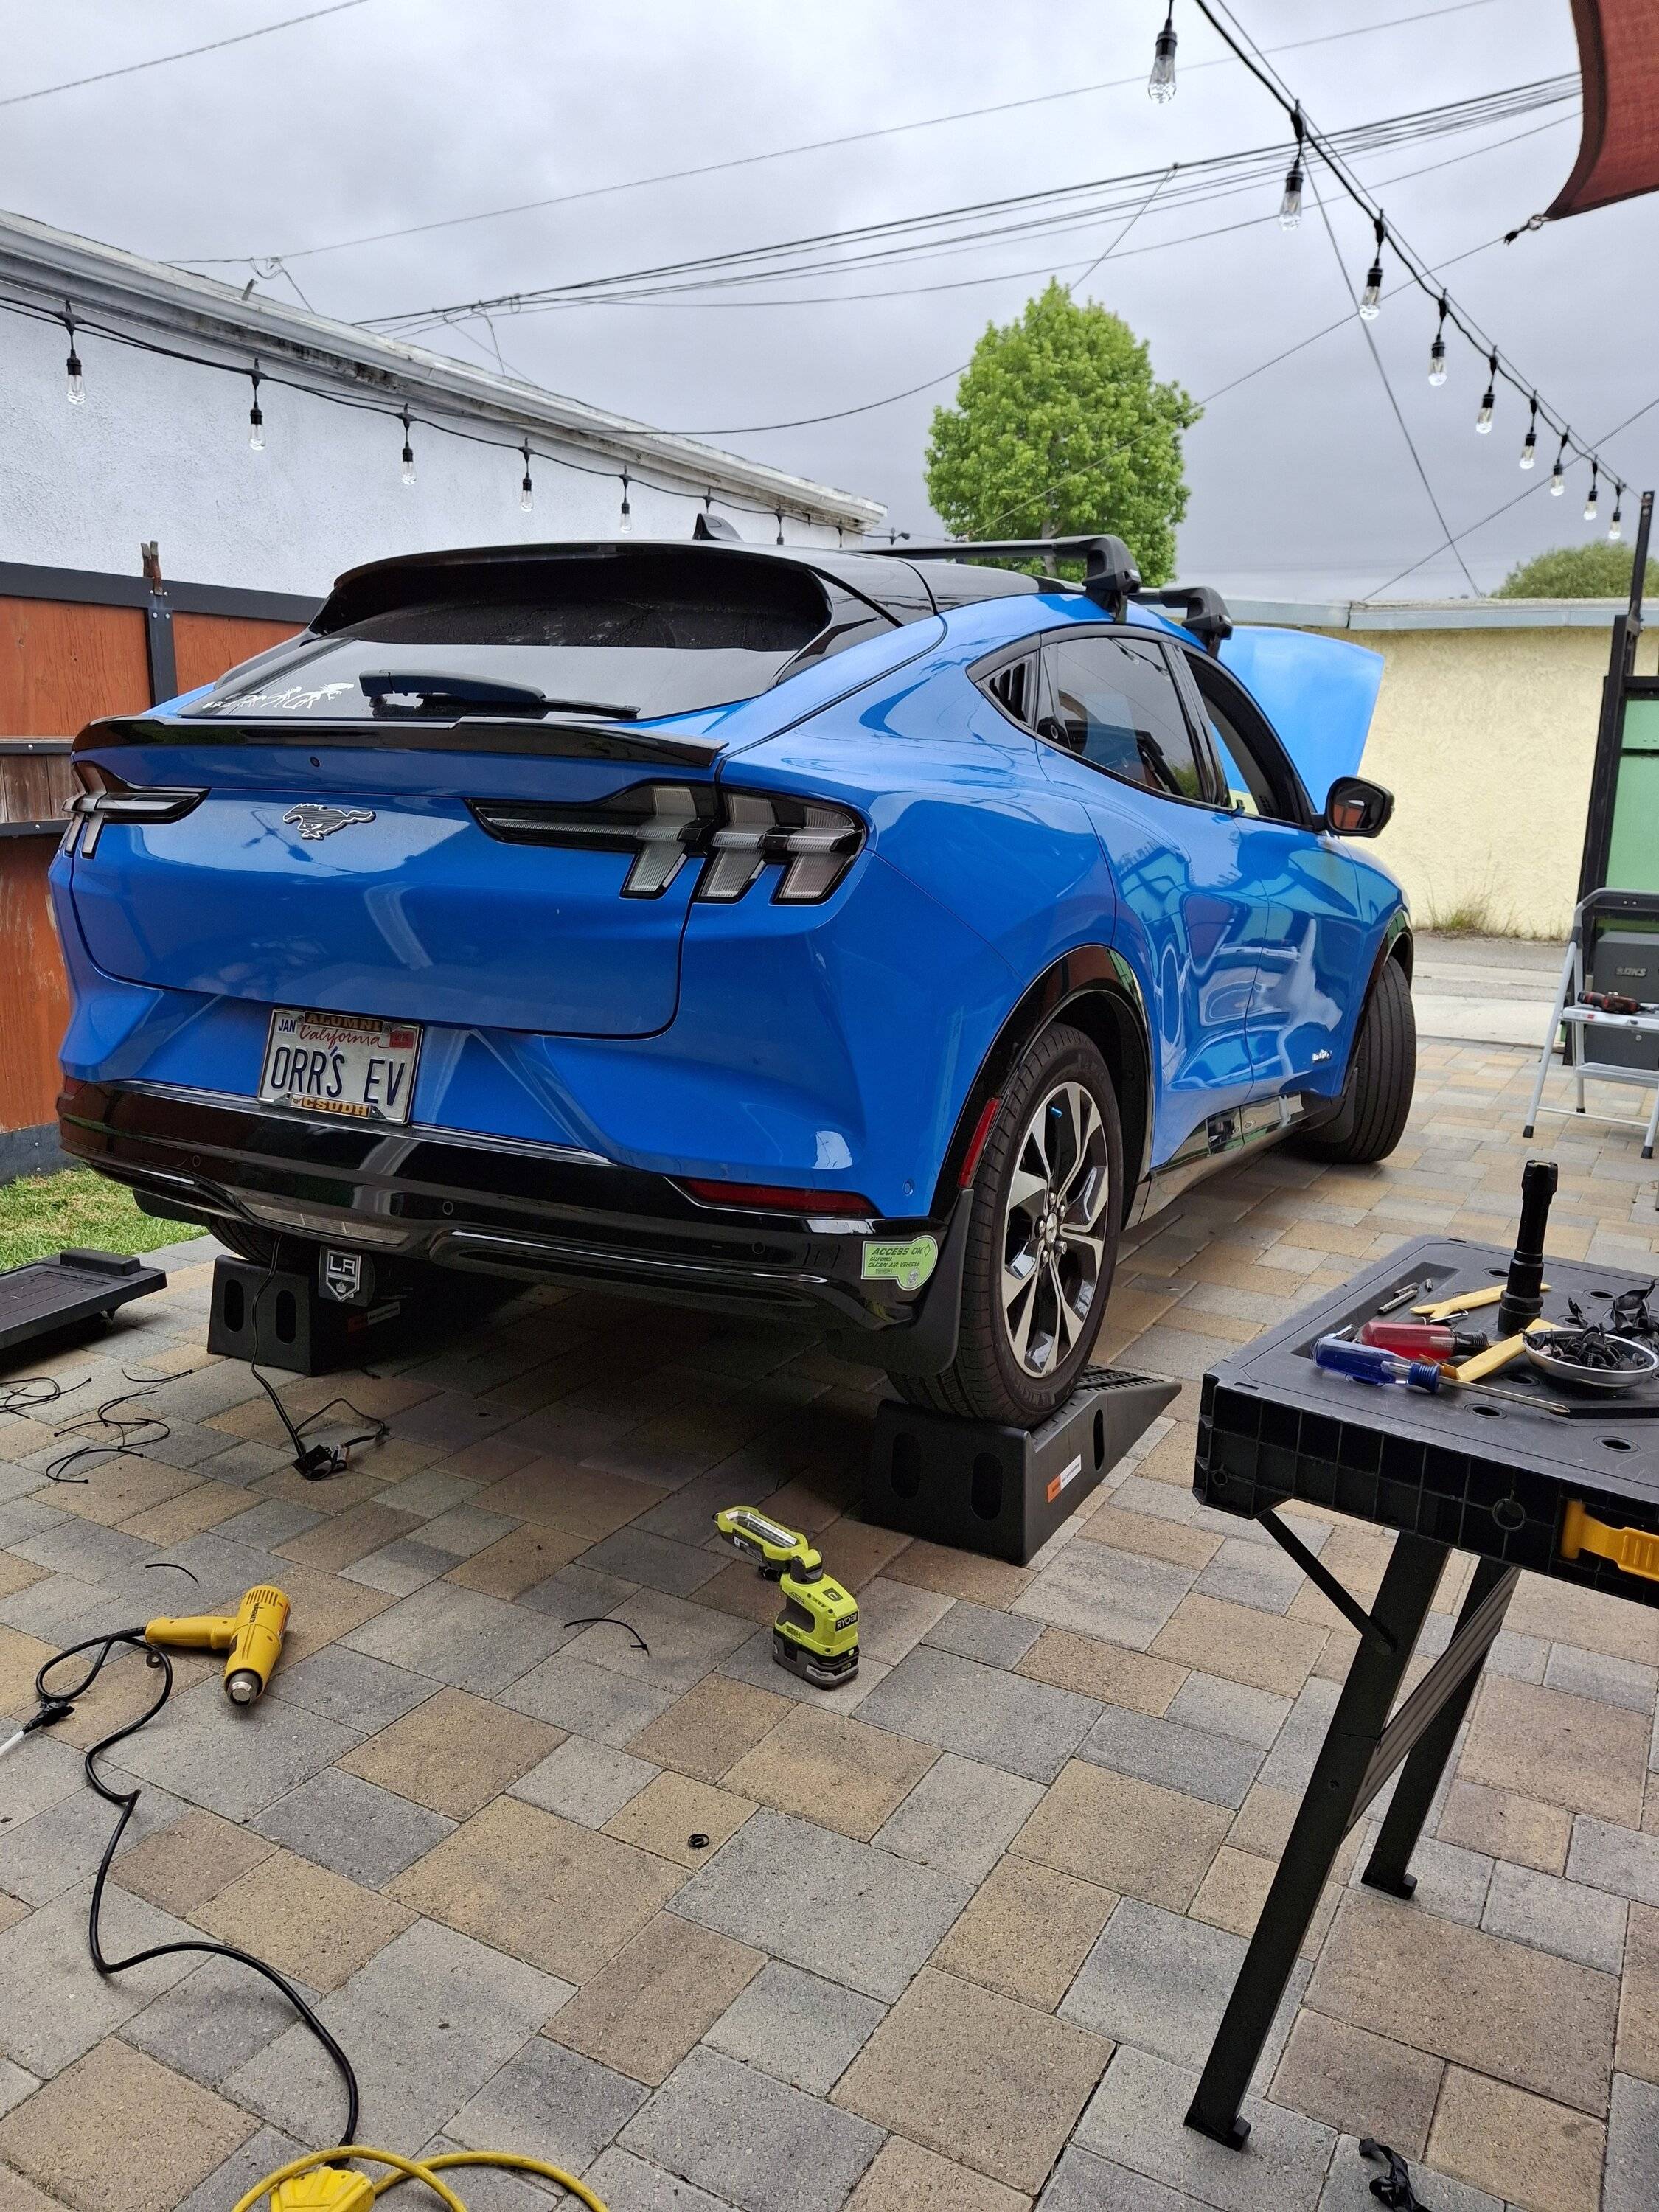
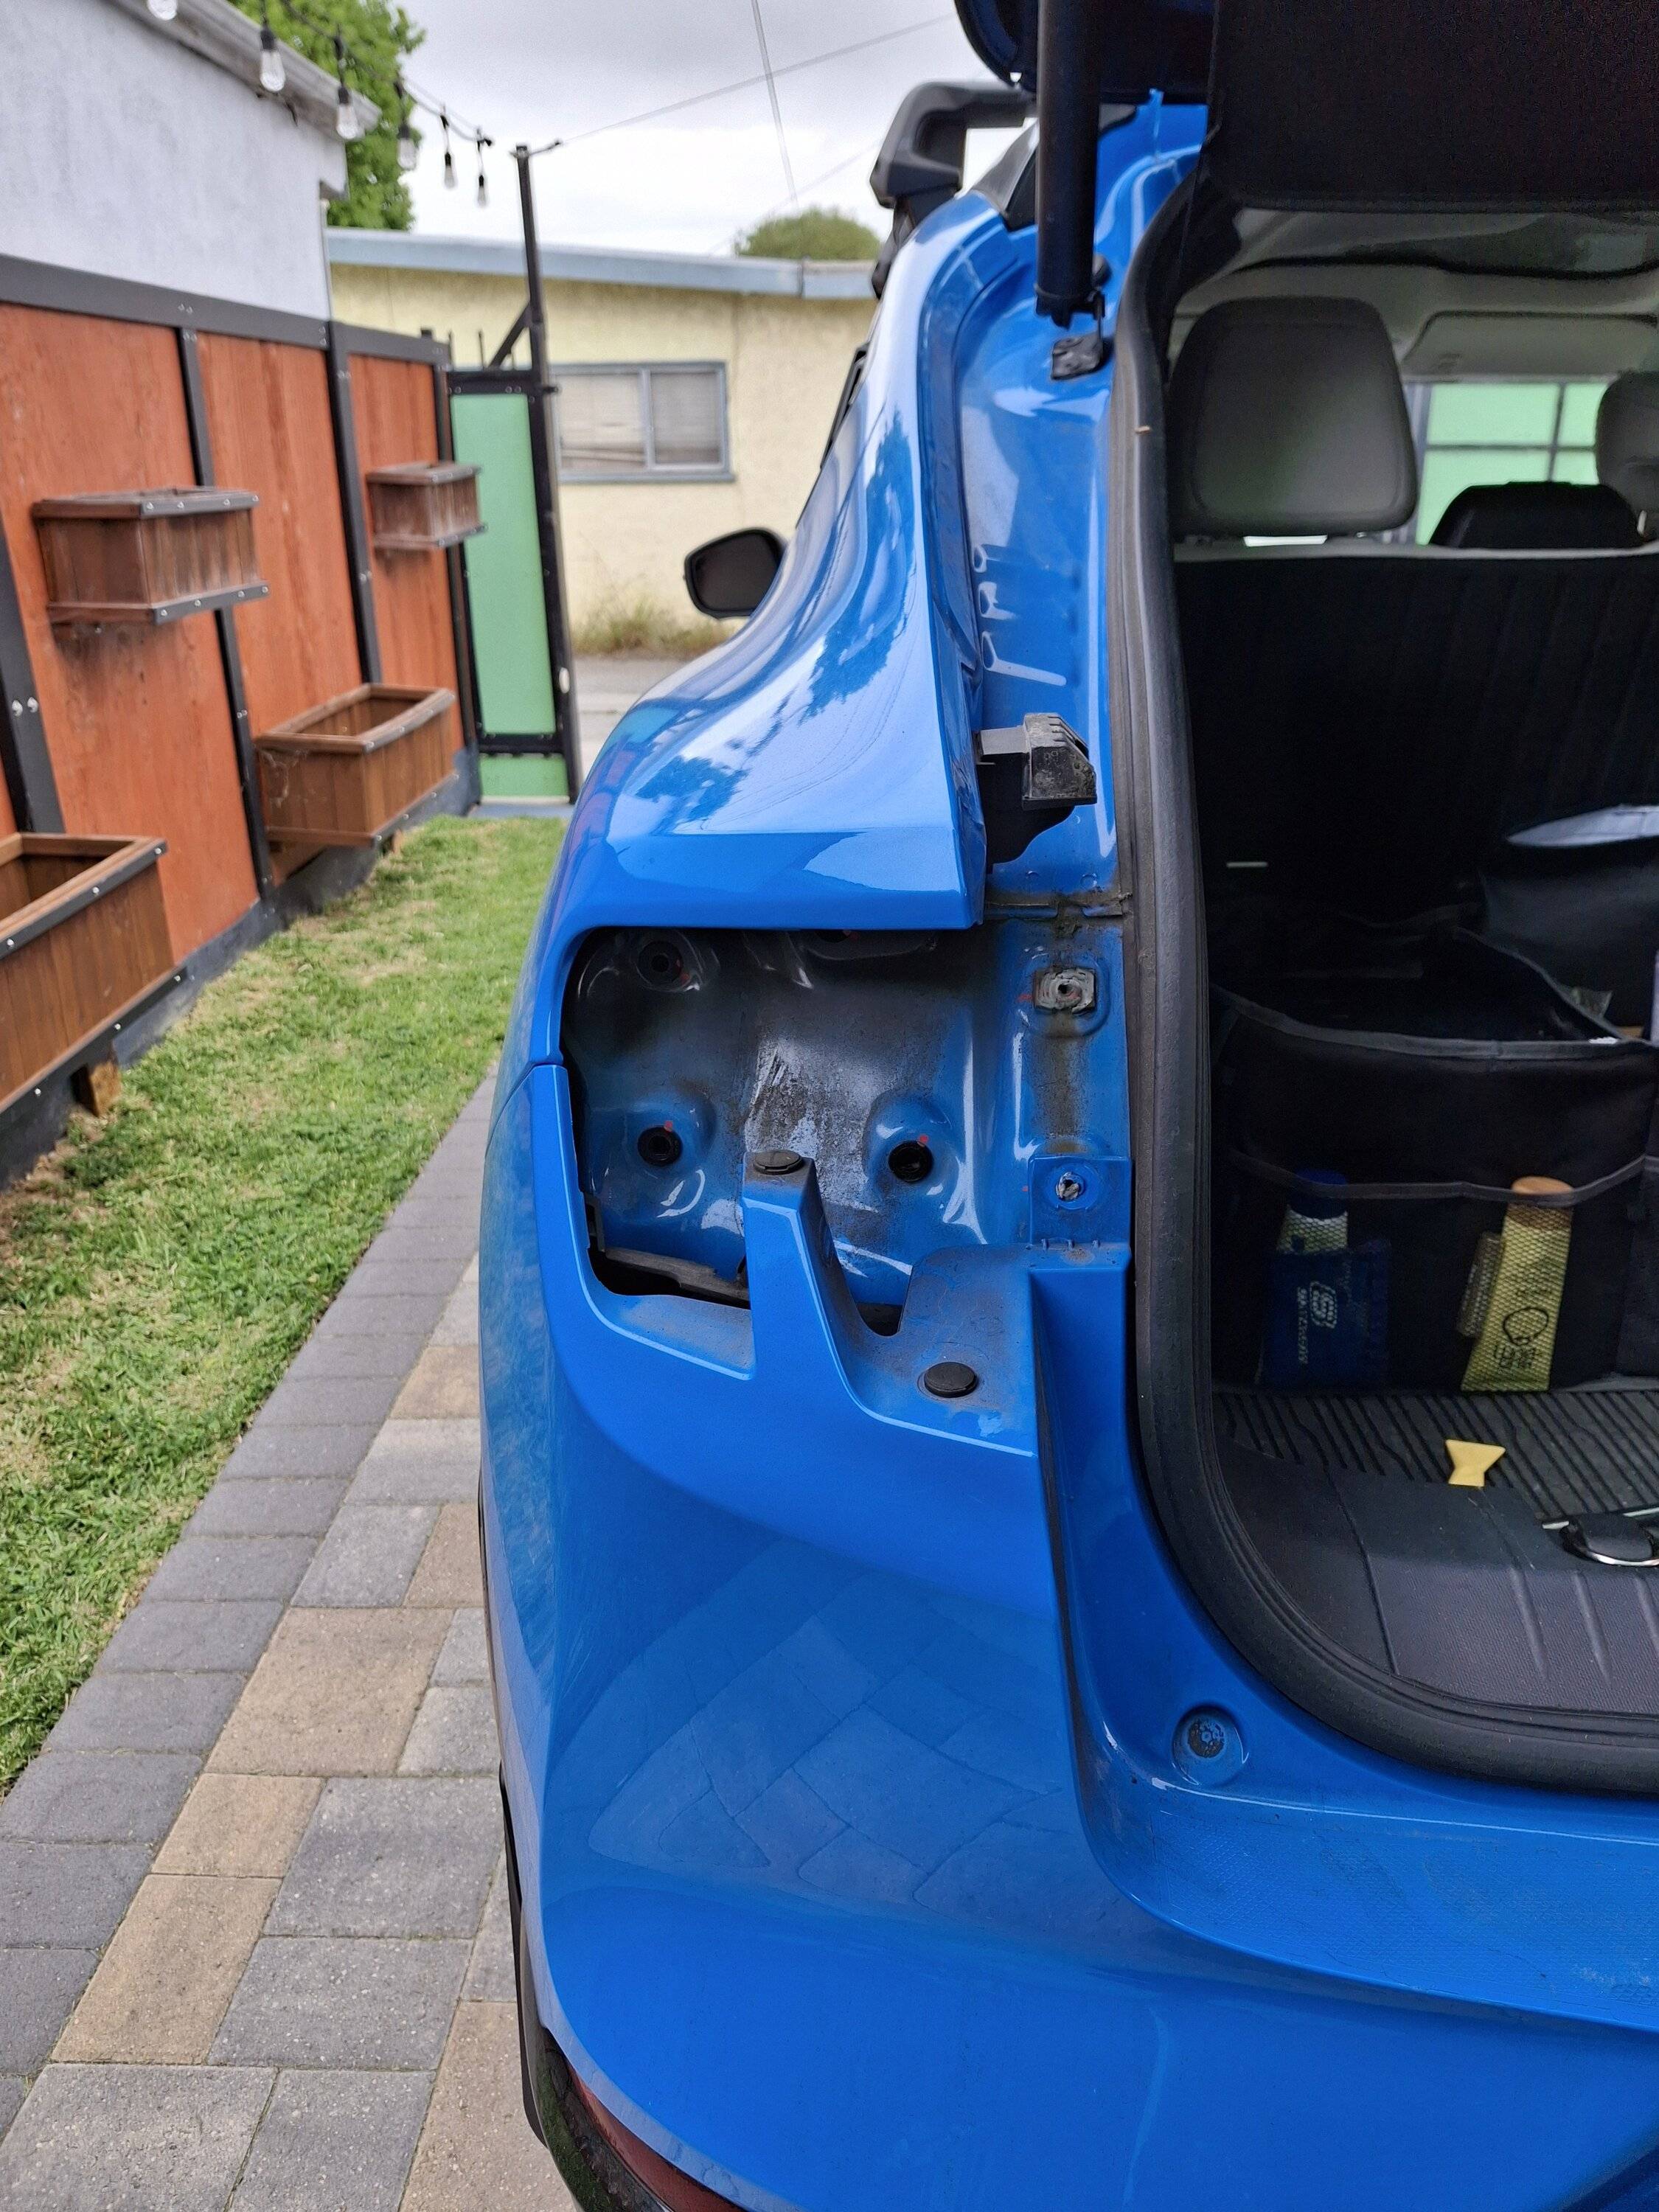
- The taillights came off surprisingly easy. Was afraid I might damage those, but no issues. Like the guy in the U-Haul video says, pull it straight out:
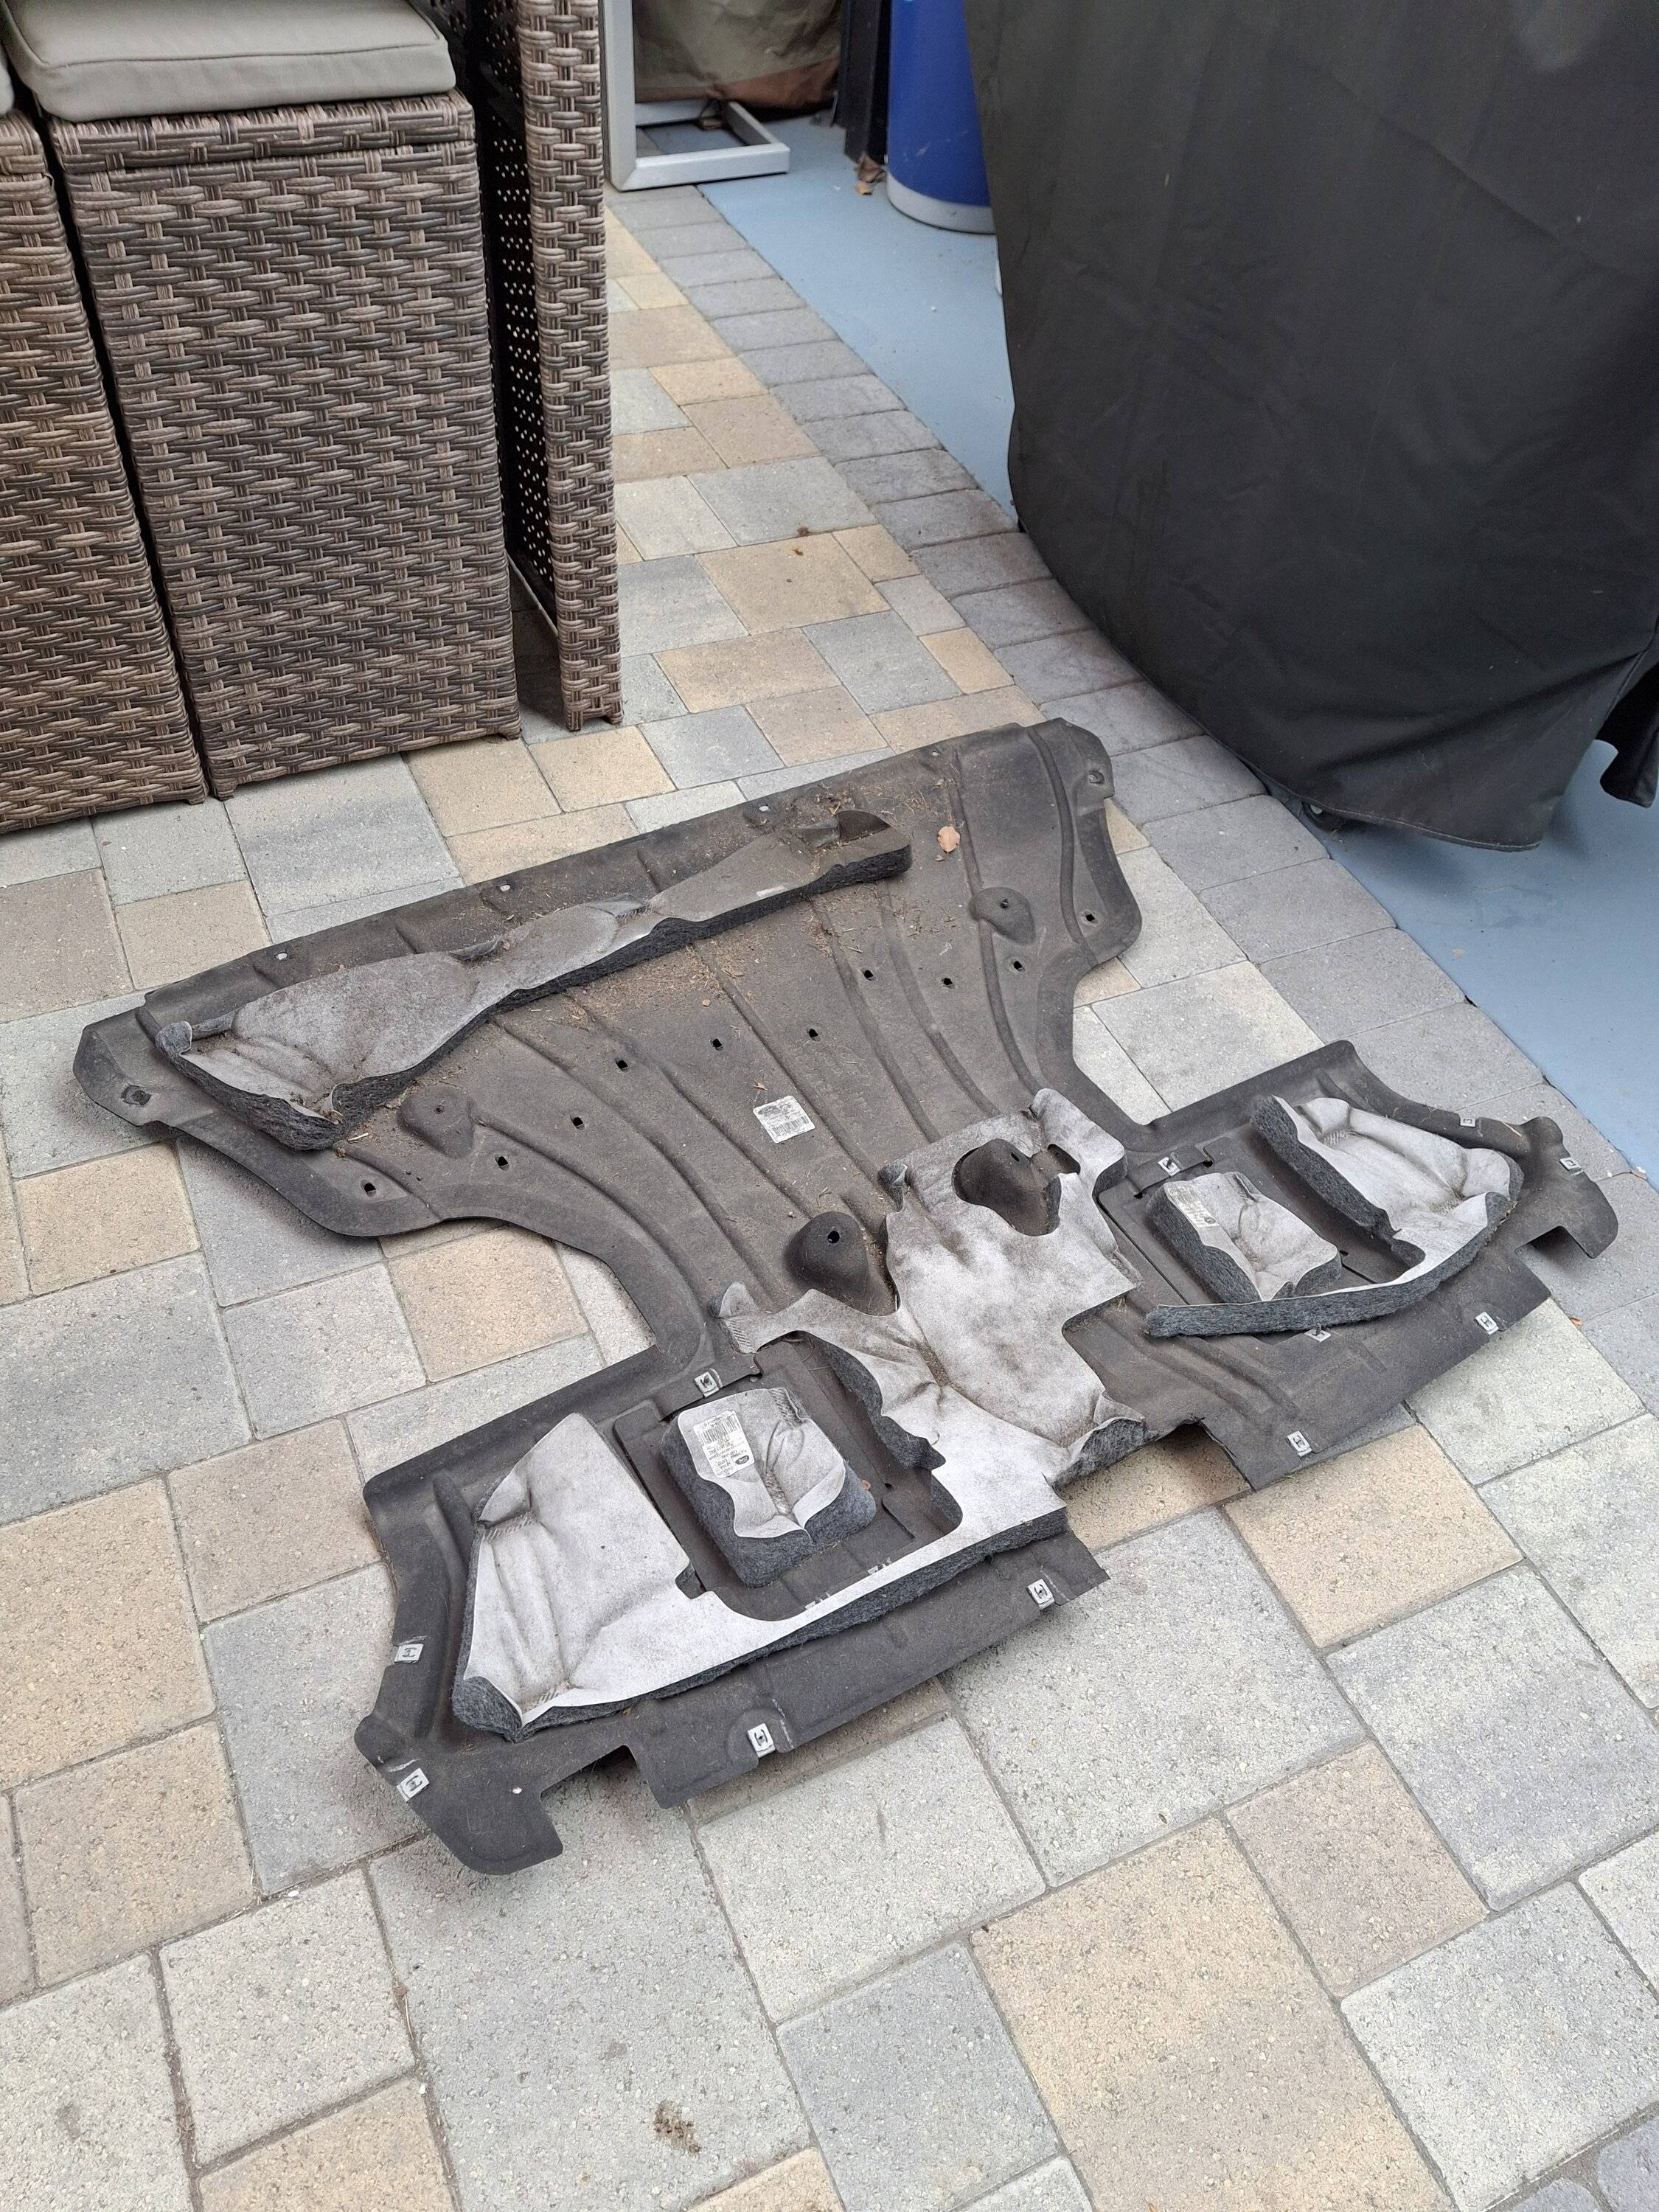
- You do have to drop the dirt skirt under the rear of the Mach. I highly recommend wearing a mask. It's like a dust storm under there when you take it off and put it back on:
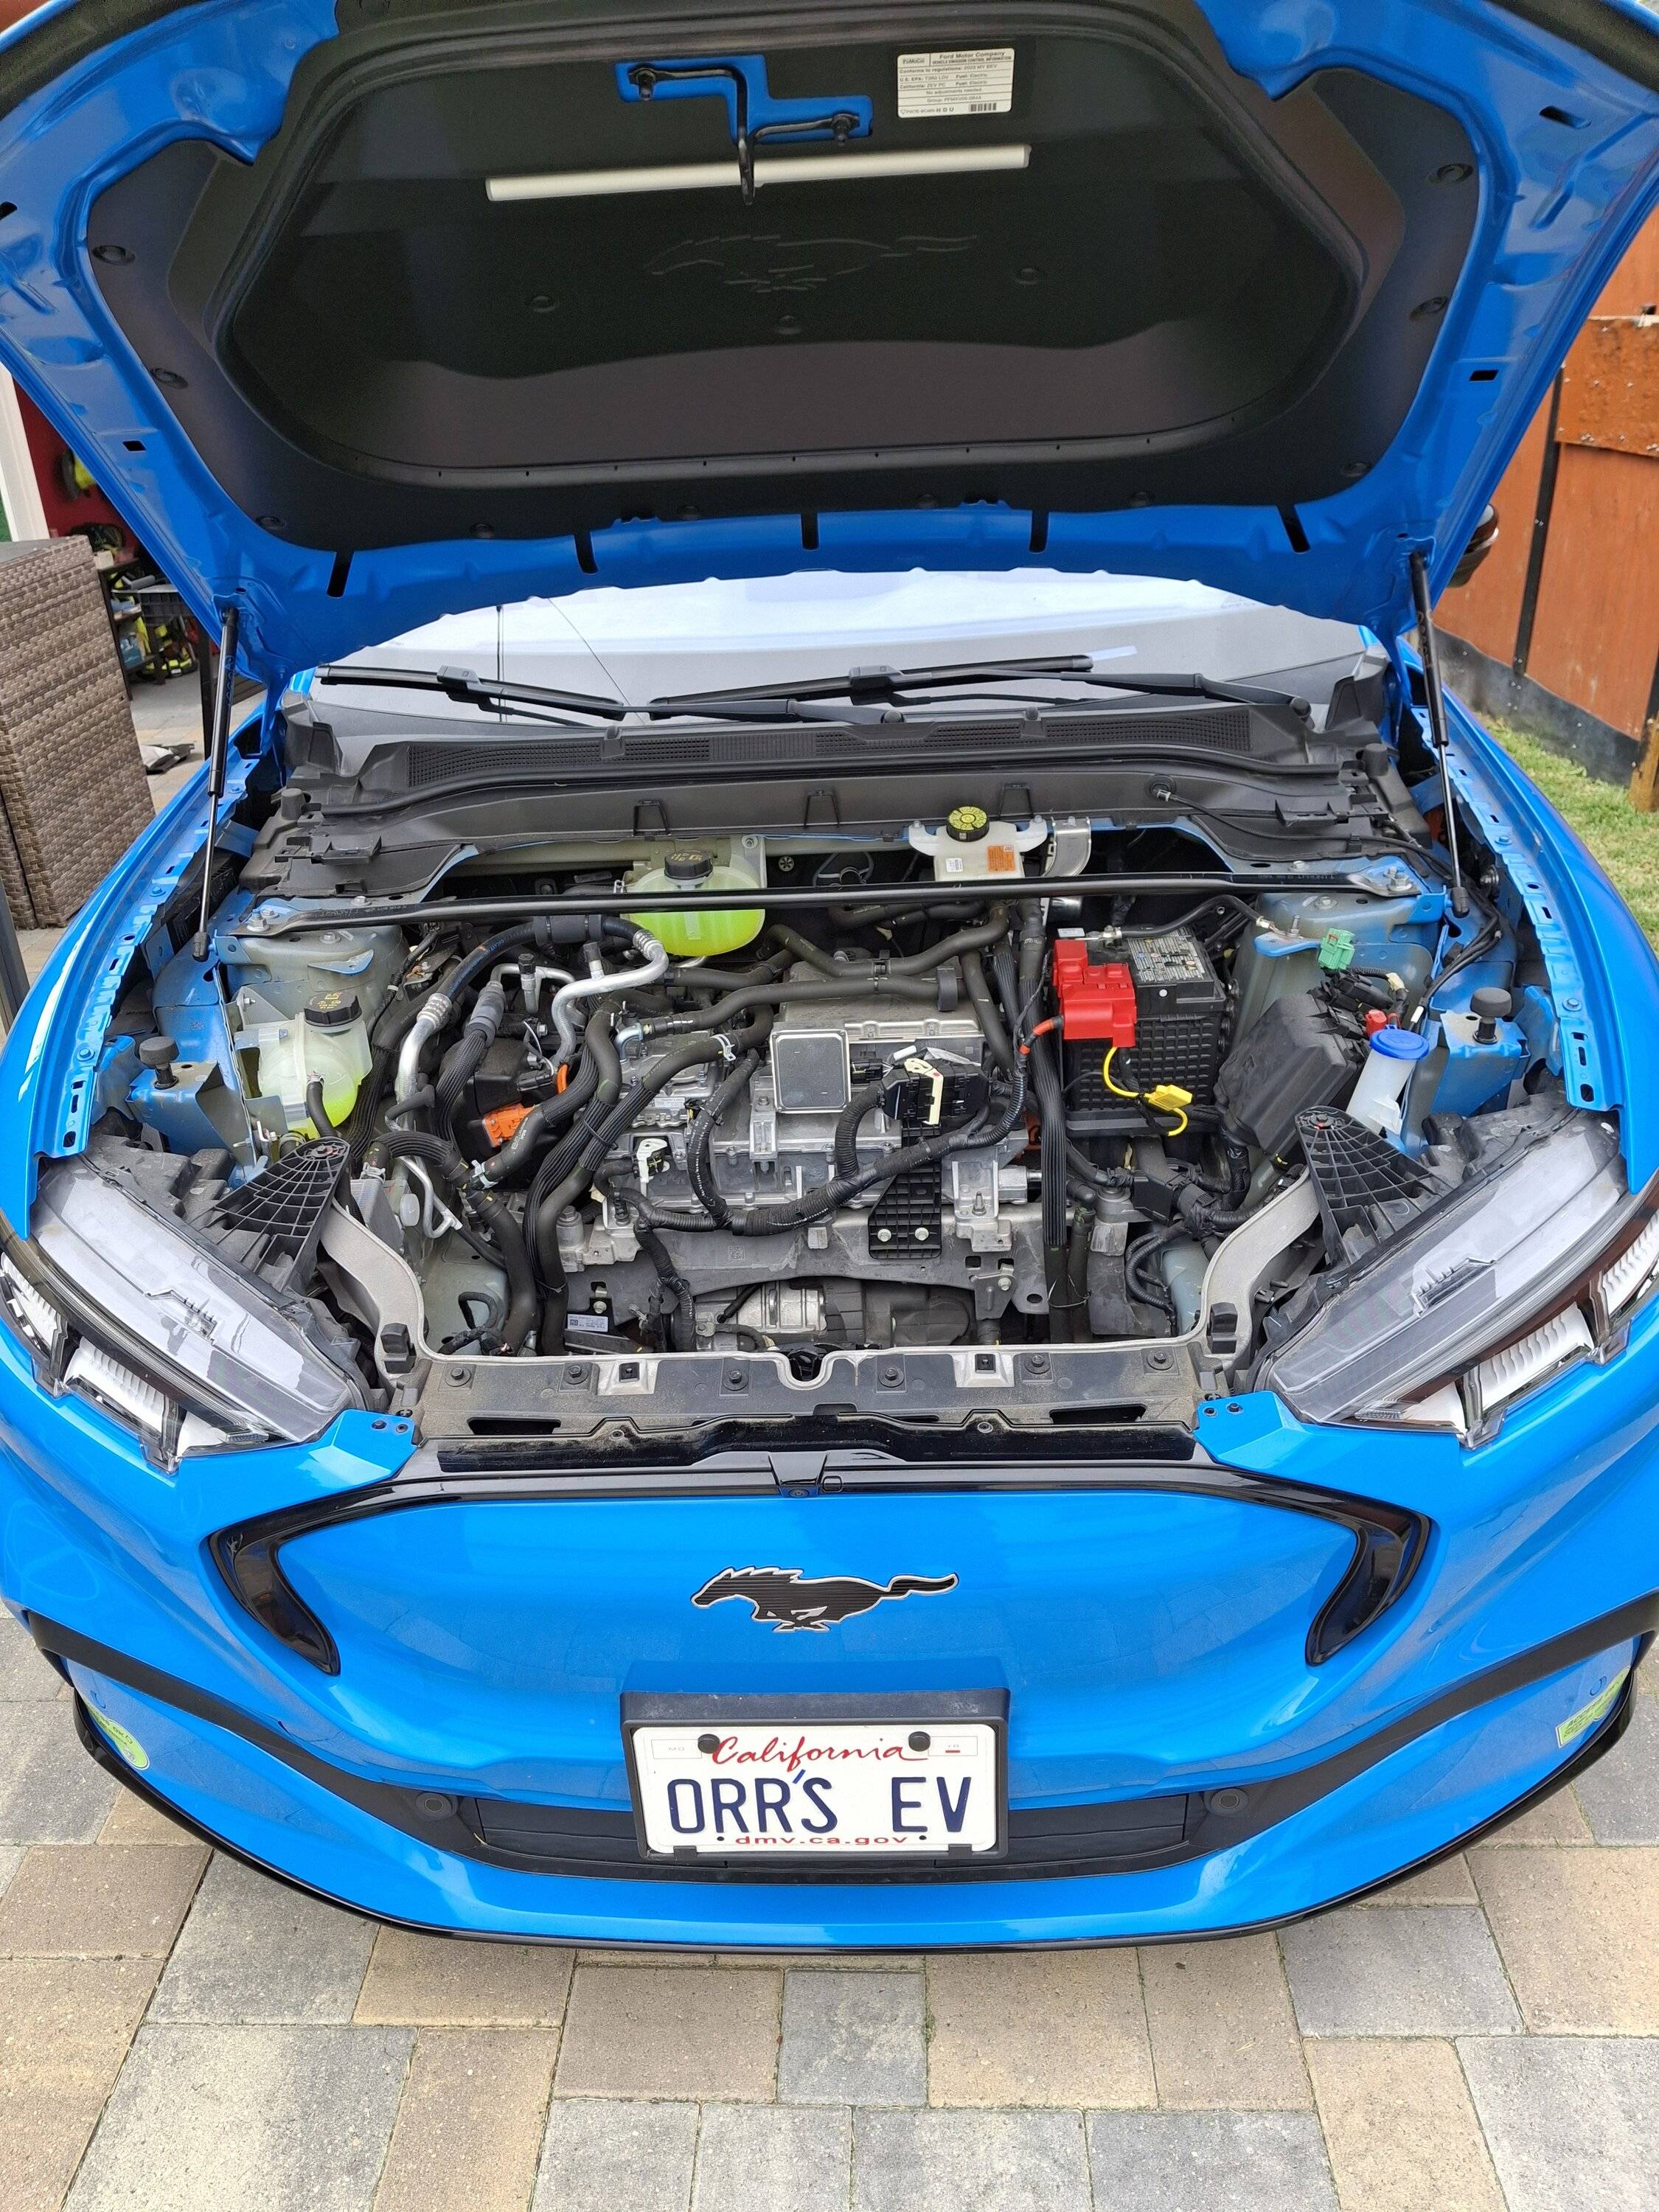
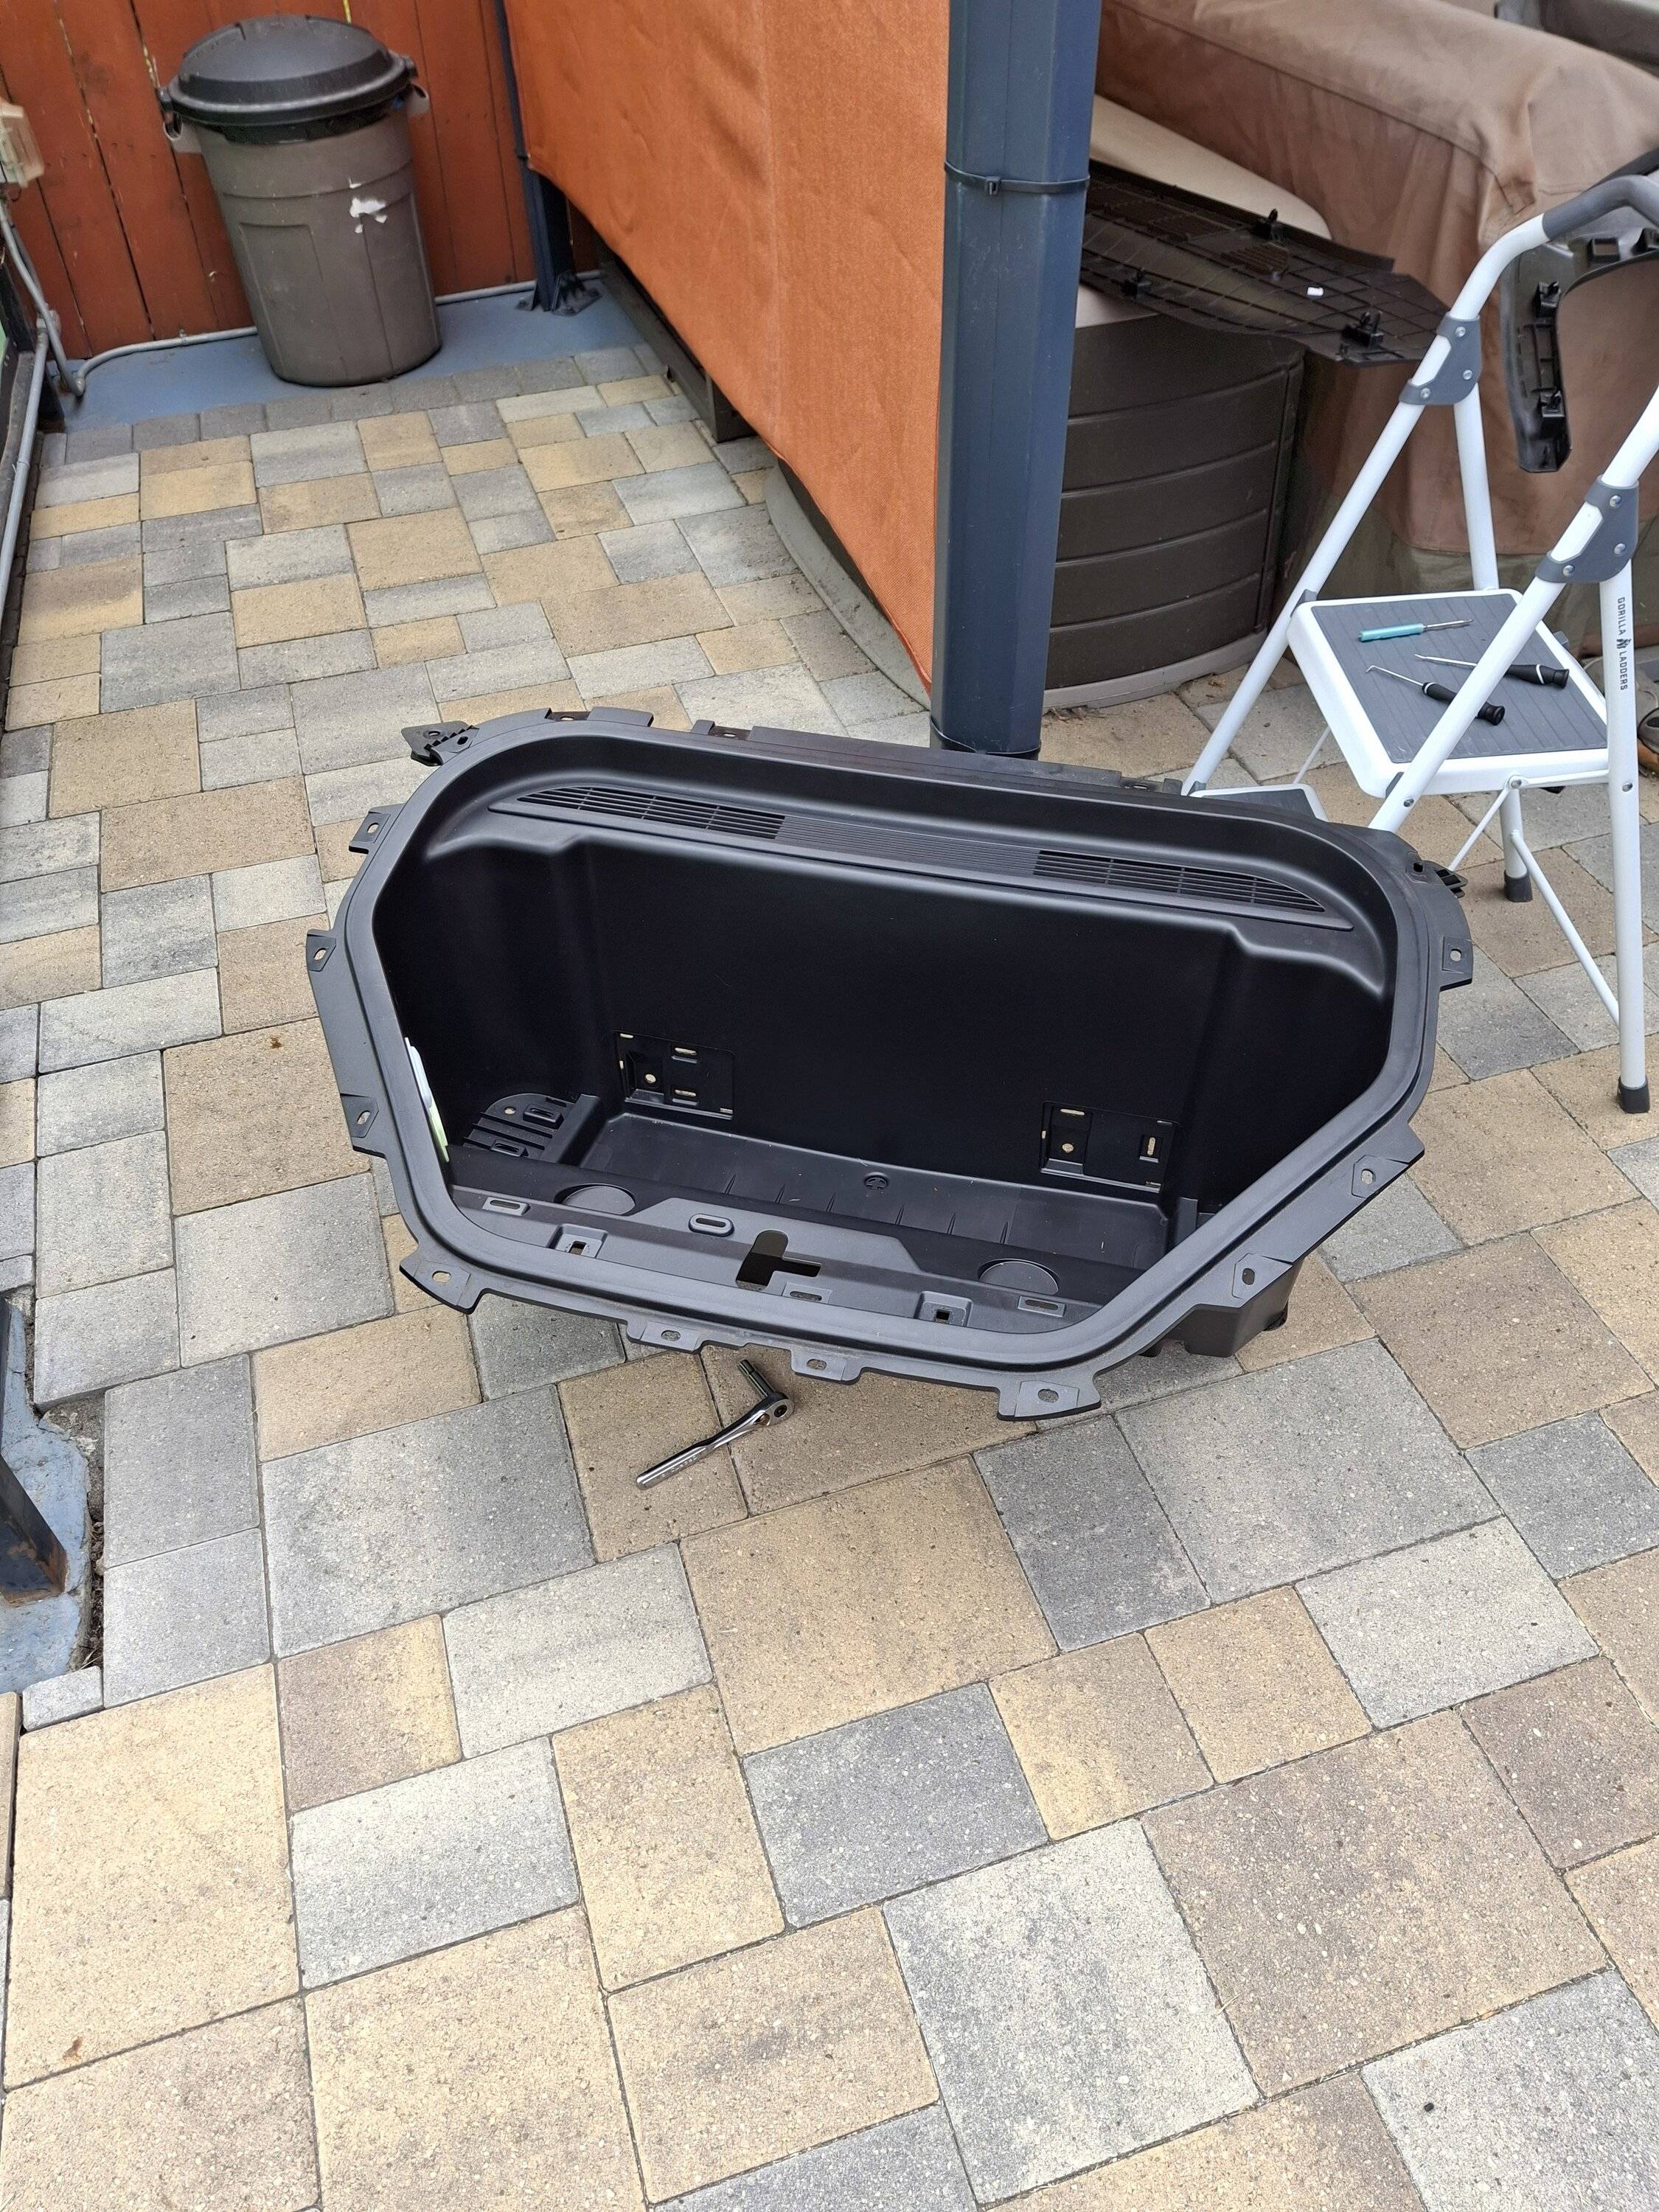
- And unfortunately, if you run the power cable to the front 12-volt battery, all the frunk stuff has to be removed. It's really not that bad. The good part is, if you drop a clip, once the tub is out, you'll be able to retrieve it. The wiring here goes exactly as the U-Haul video. Forgot to take pics, but looked the same:

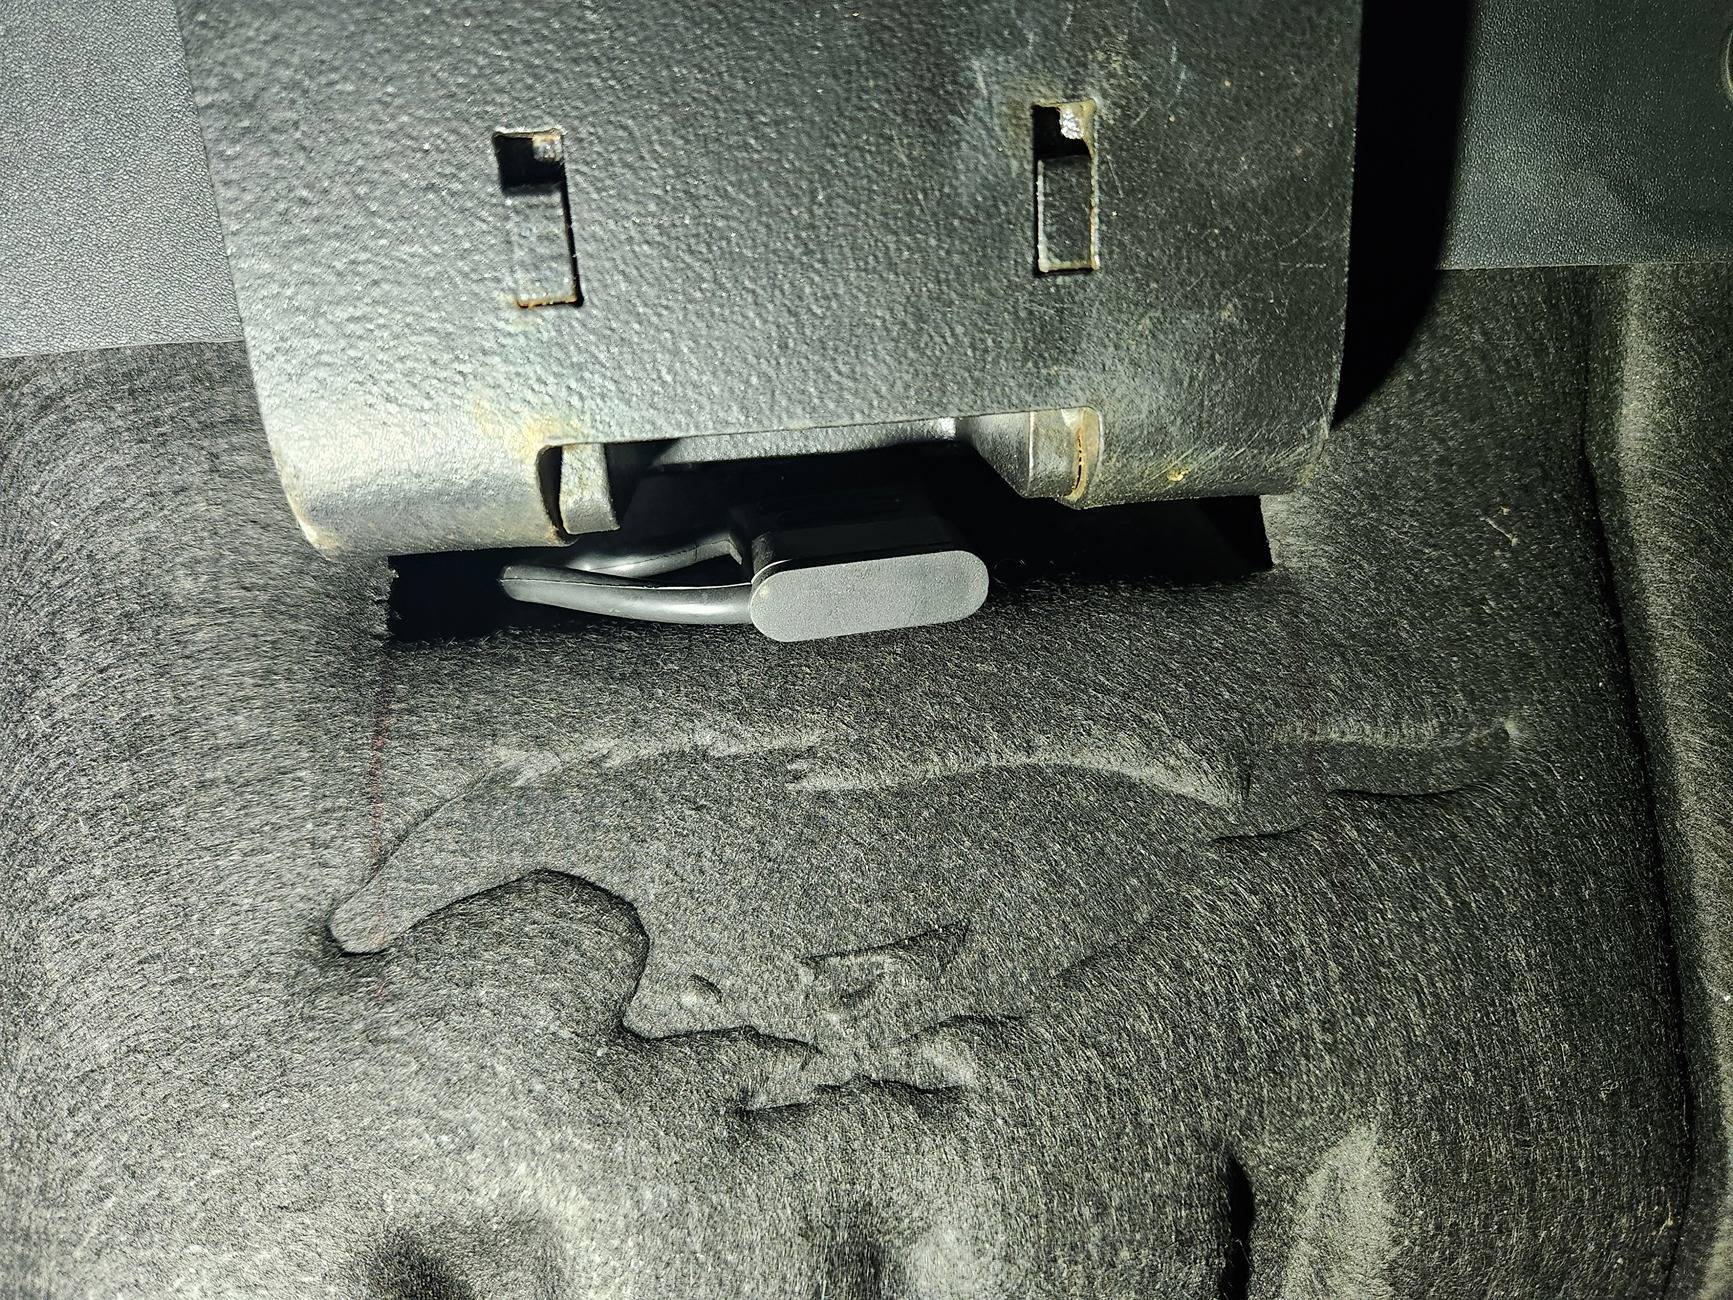
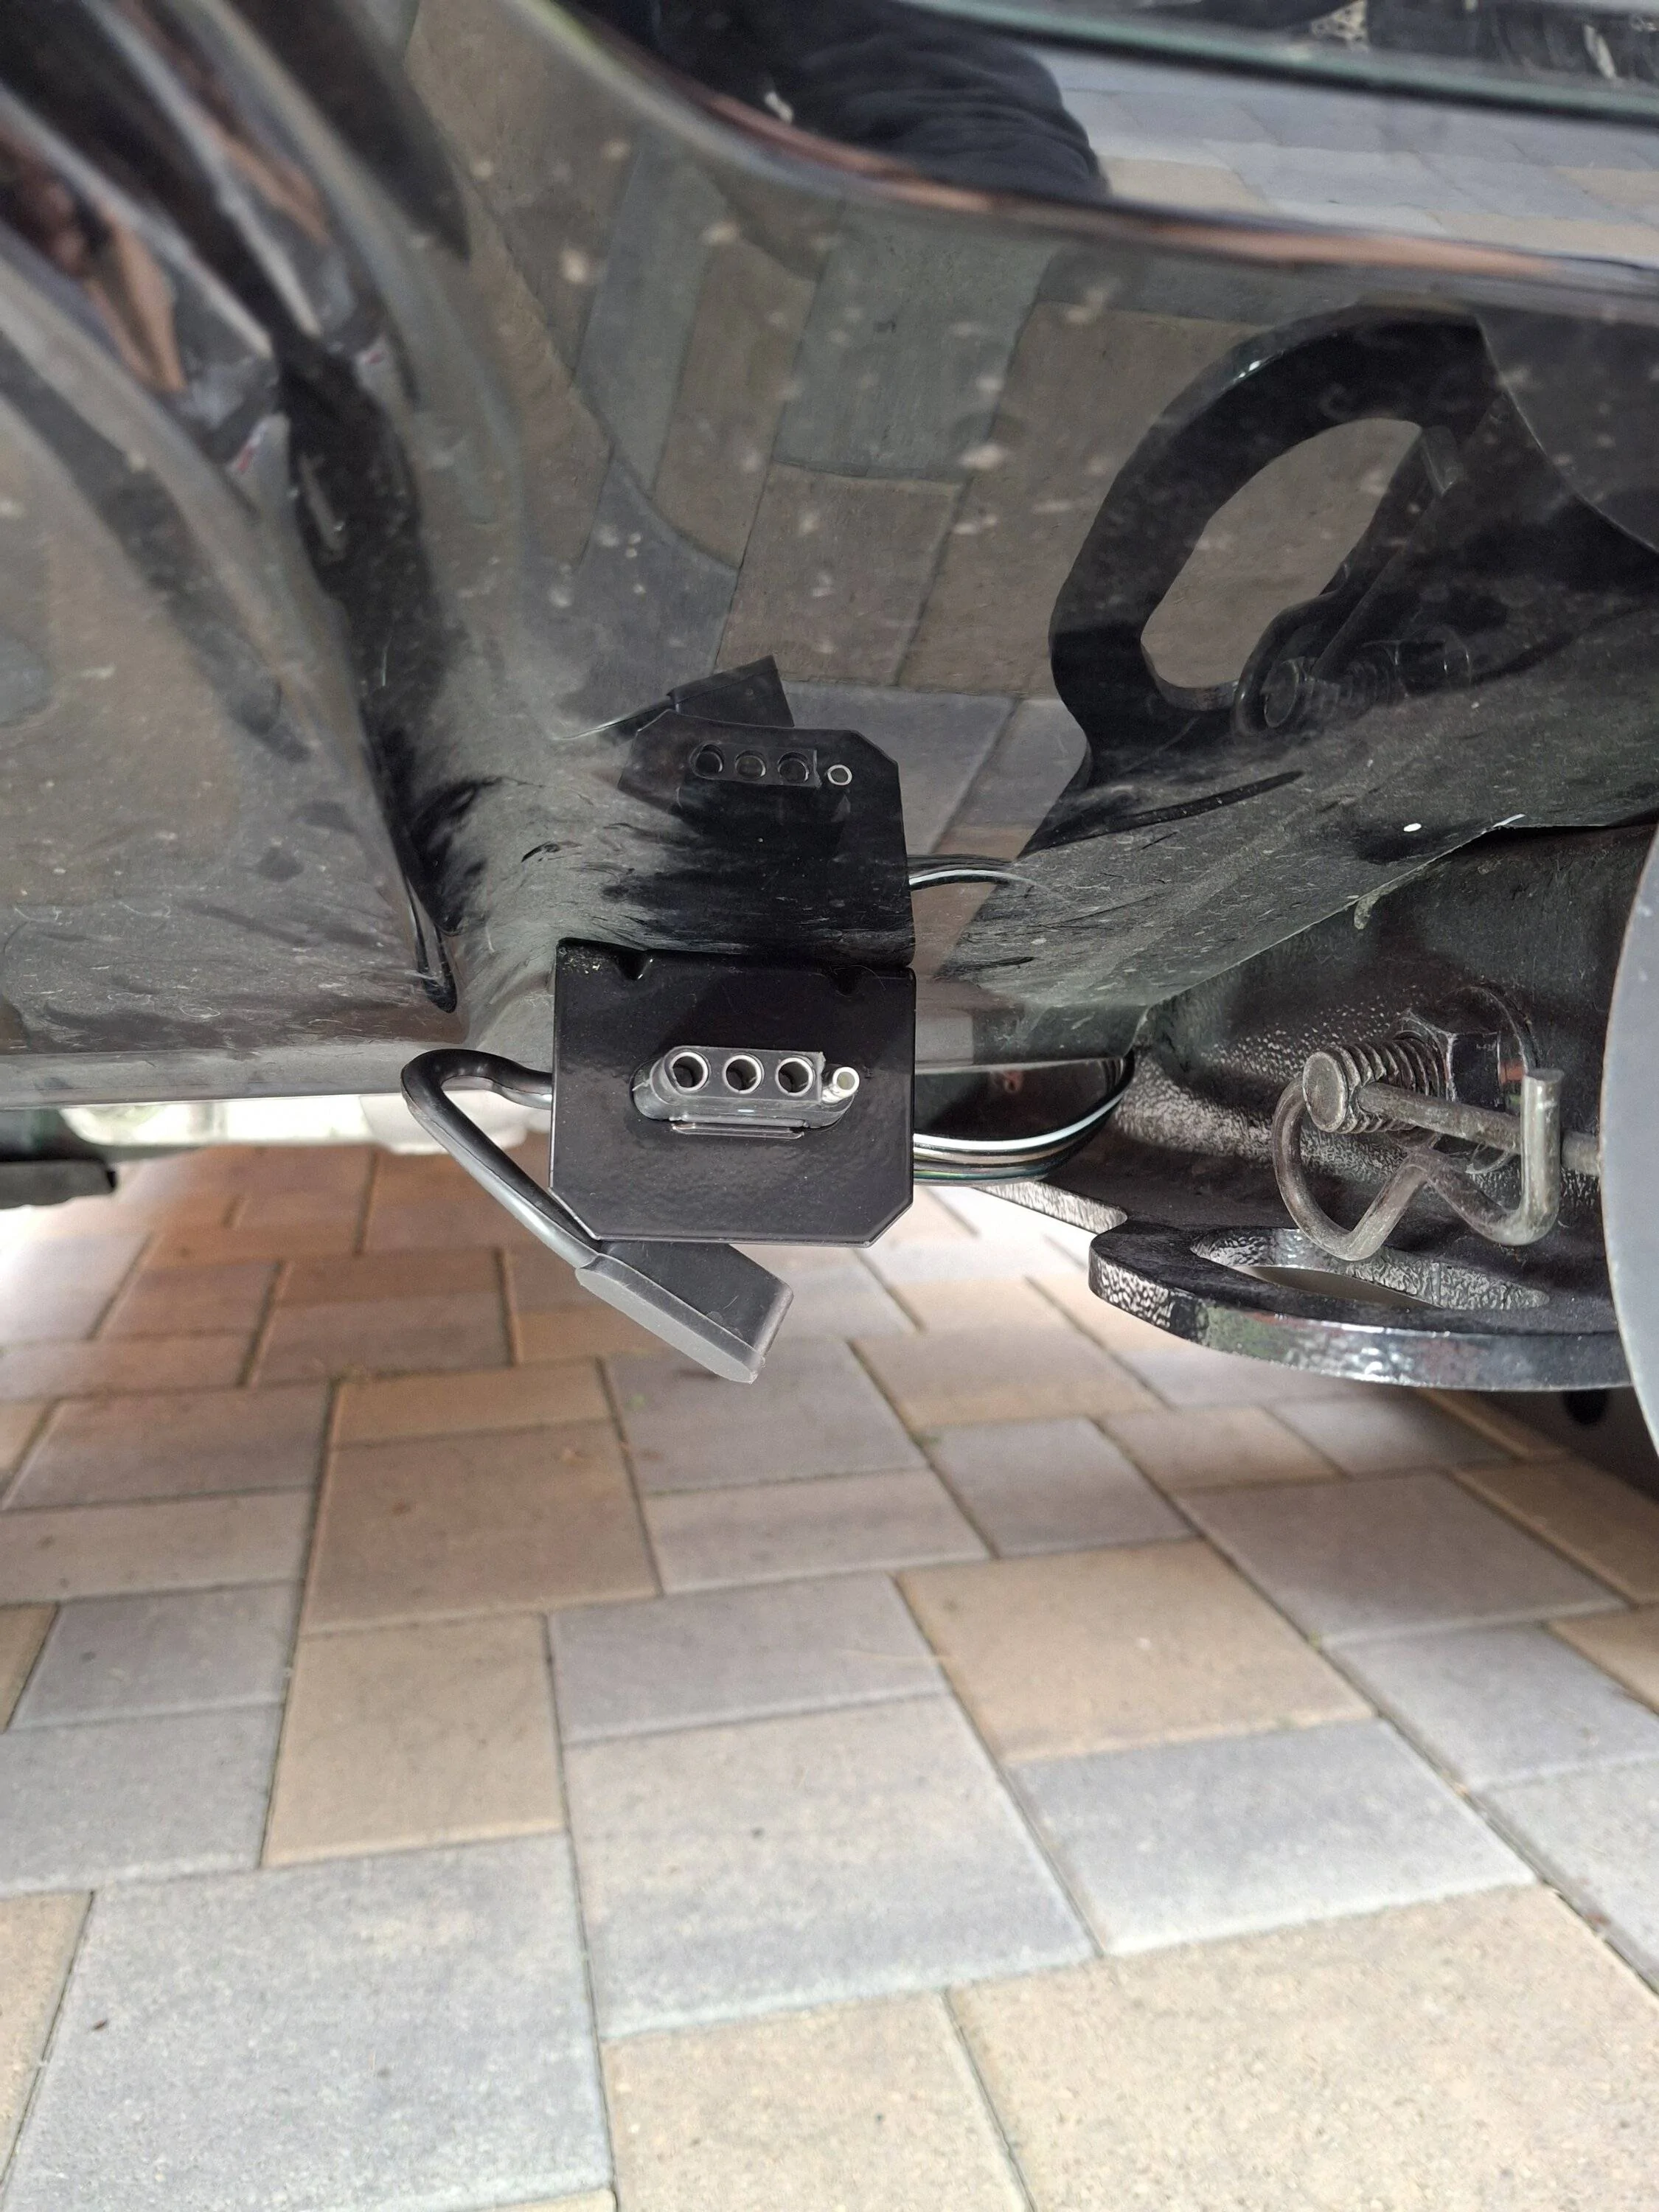
- Finally, the wiring in the back is really almost frame-by-frame to what the U-Haul video illustrates. The only thing I would add here is, you gotta really think about the placement of the harness plug bracket (unless you're going to stick it up into the bumper somehow and pull out when needed). I did not want to stick it in the bumper and attached the bracket. Please note, you WILL need to drill two holes in the bumper . I know, terrible. However, if you've cut a swathe of bumper already to get the hitch installed, what's another couple of 1/8" holes? haha. Here's my placement, and I'm not sure if I put it in the right spot. The U-Haul video guy has it in a slightly different location. If I relocate the bracket, no one will ever know there are a couple of tiny holes in the bumper, but that's me. Just to reiterate, really give the bracket placement some thought:
So good luck! Hope this was helpful,
orr
Sponsored
Last edited: