Benjamin Kegele
Well-Known Member
- First Name
- Benjamin
- Joined
- Mar 7, 2021
- Threads
- 133
- Messages
- 451
- Reaction score
- 866
- Location
- Northern California
- Vehicles
- MME 21, VW Atlas, Harley Davidson Heritage Softail
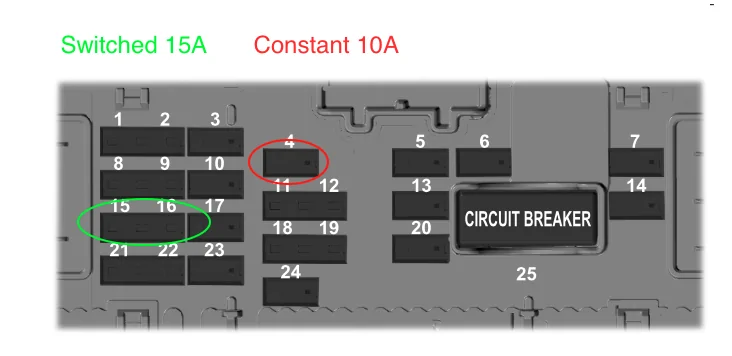
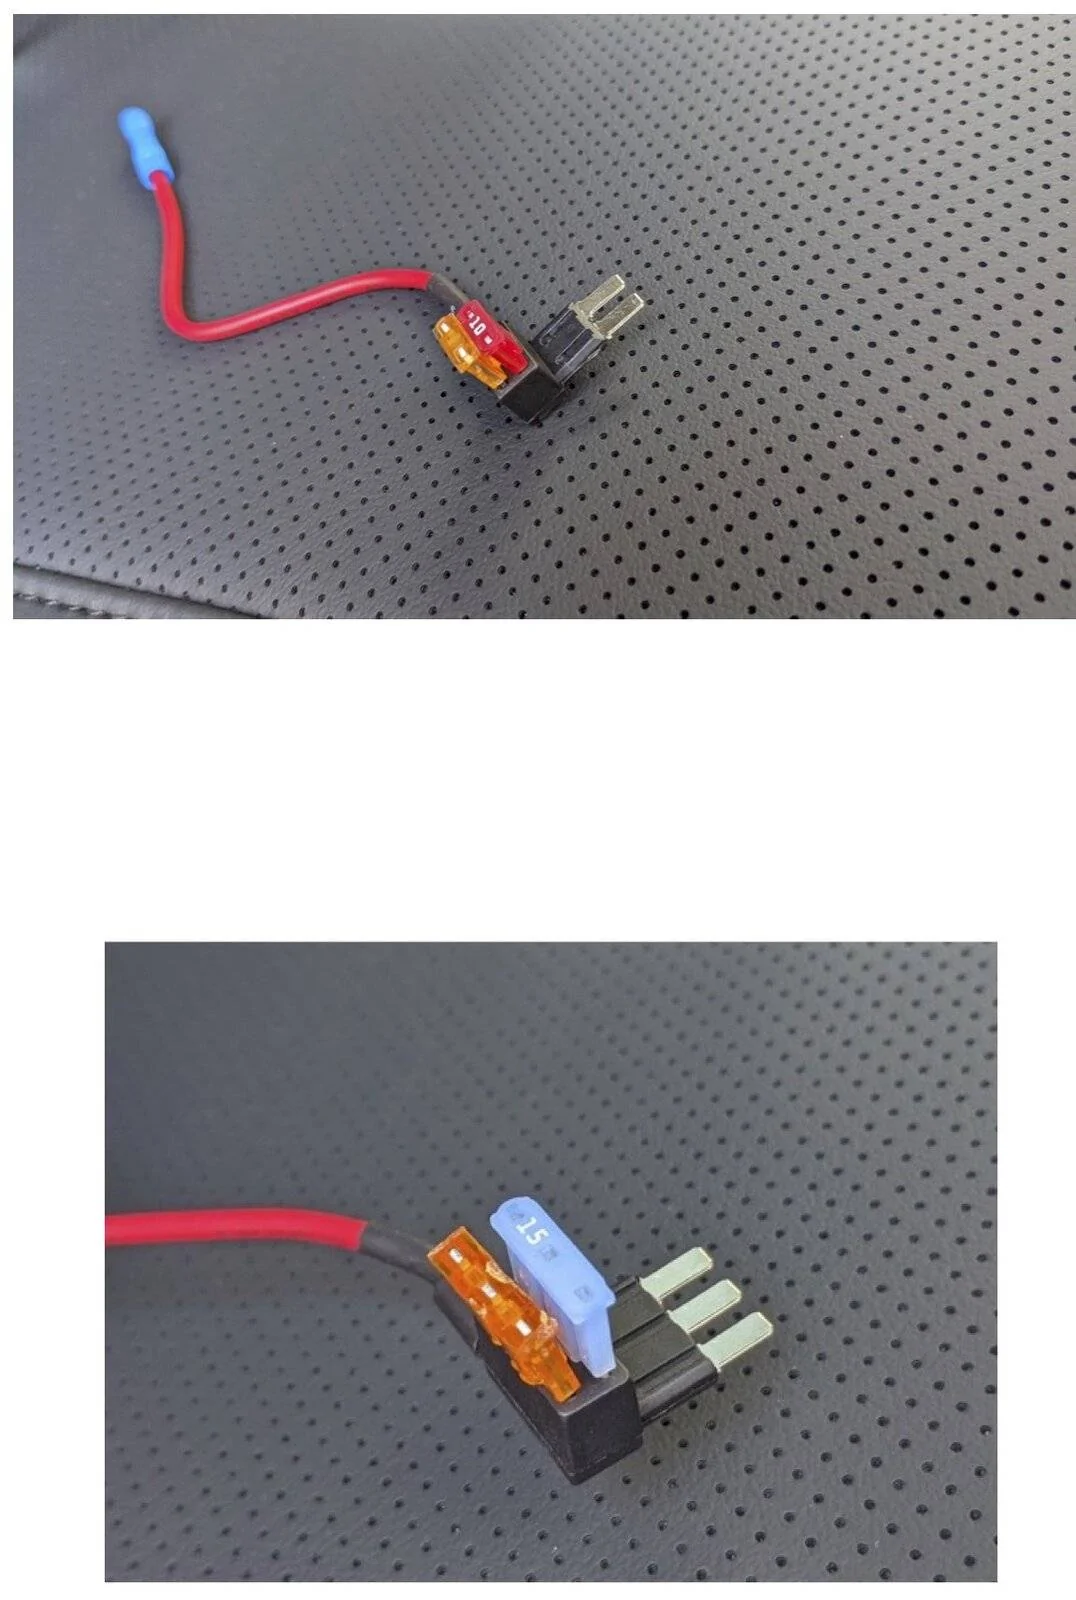
THANKS FOR ANSWERING. I am wondering what causes the interference. could be the ground, could be the draw, could be some frequency of the camera, I am not sure... No proper instructions on the camera.You will have to experiment in your fuse box to find a switched one. I have no issues with my car's other systems.
Sponsored
")