OP
OP
iexiak
Well-Known Member
- Thread starter
- #16
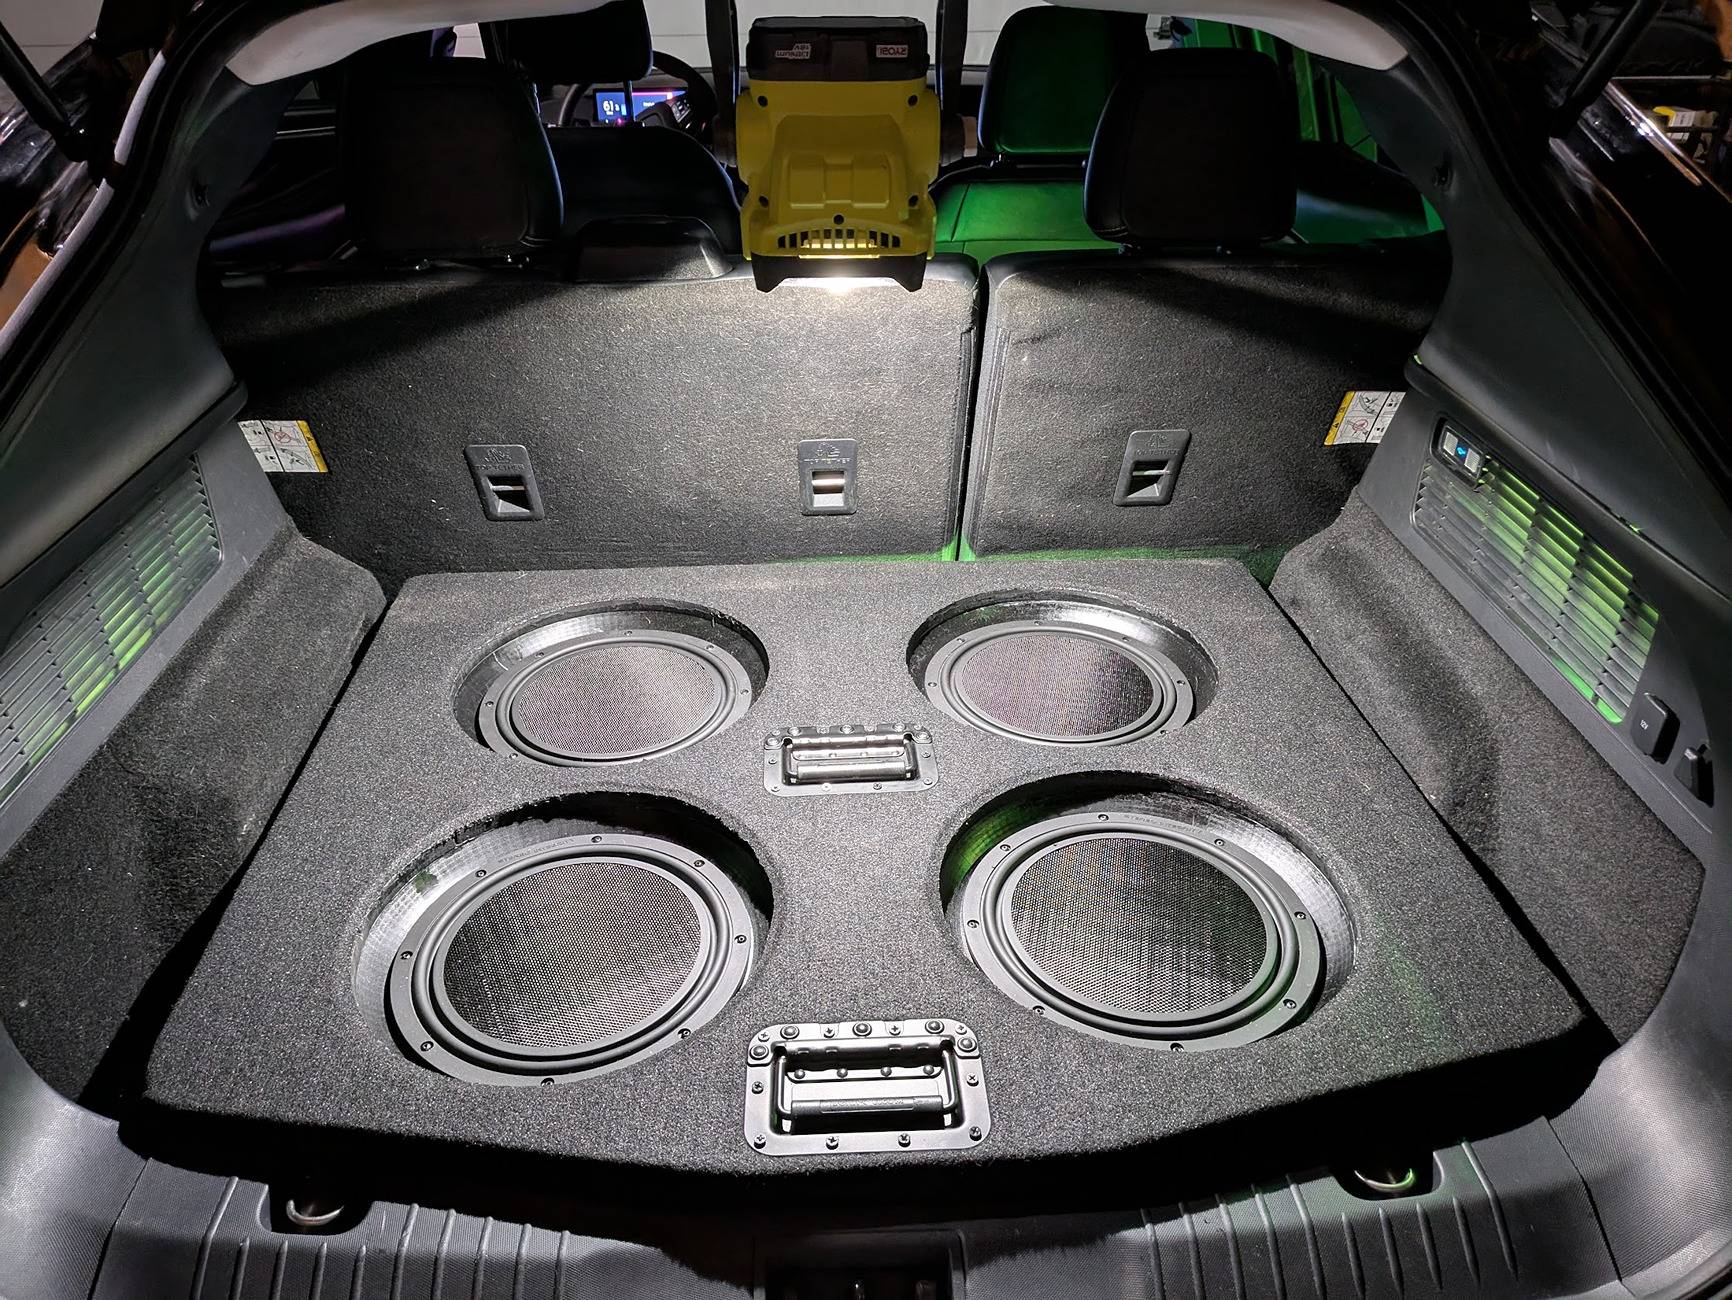
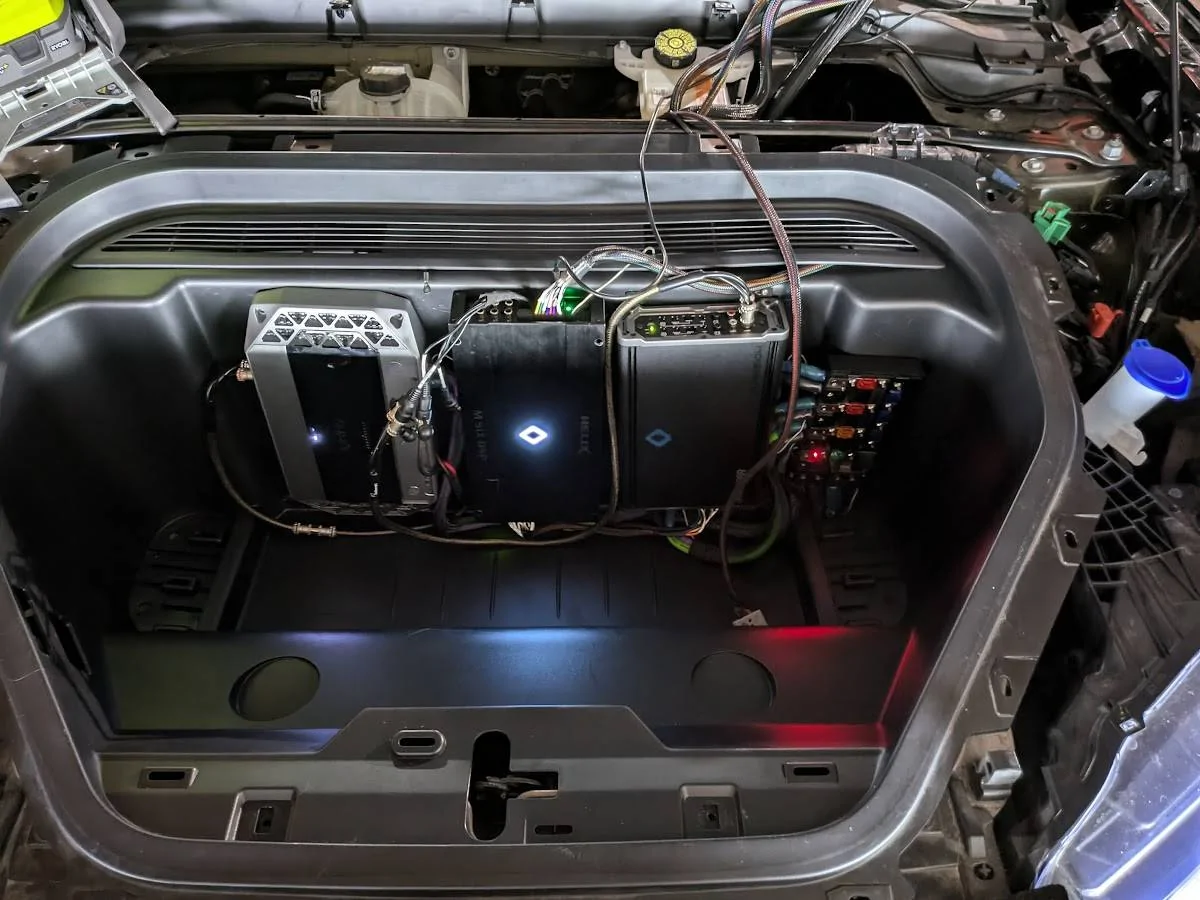
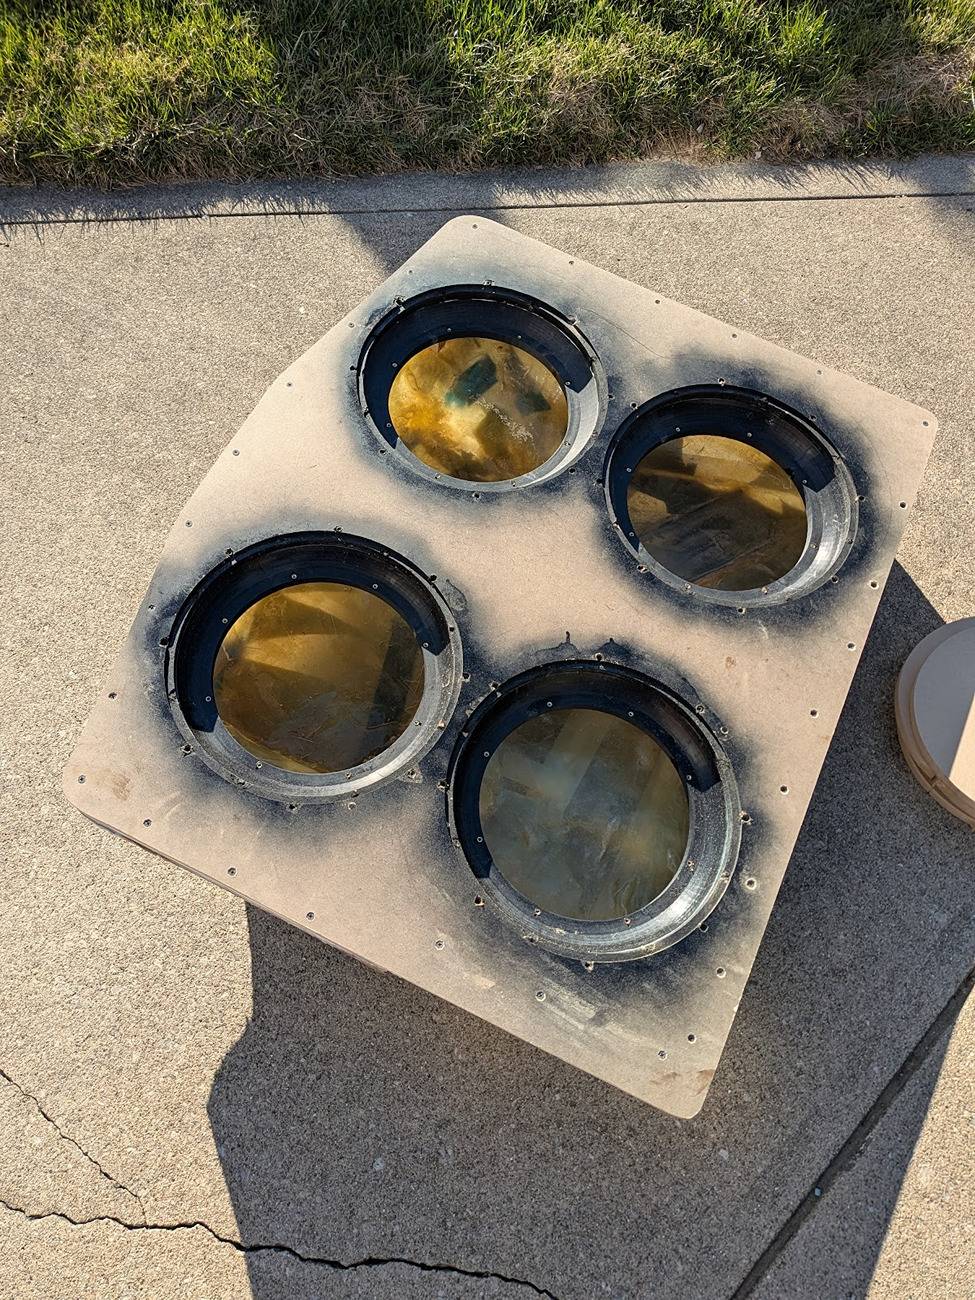
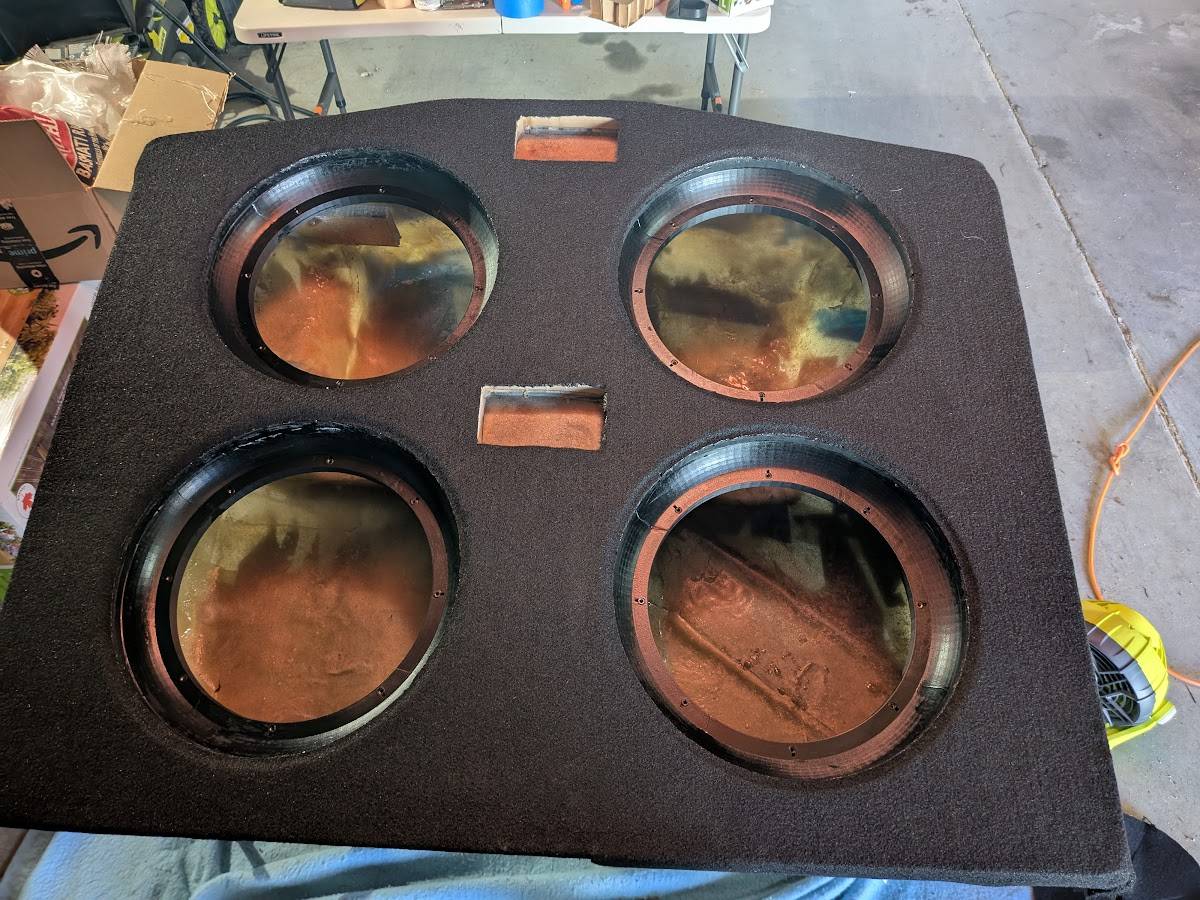
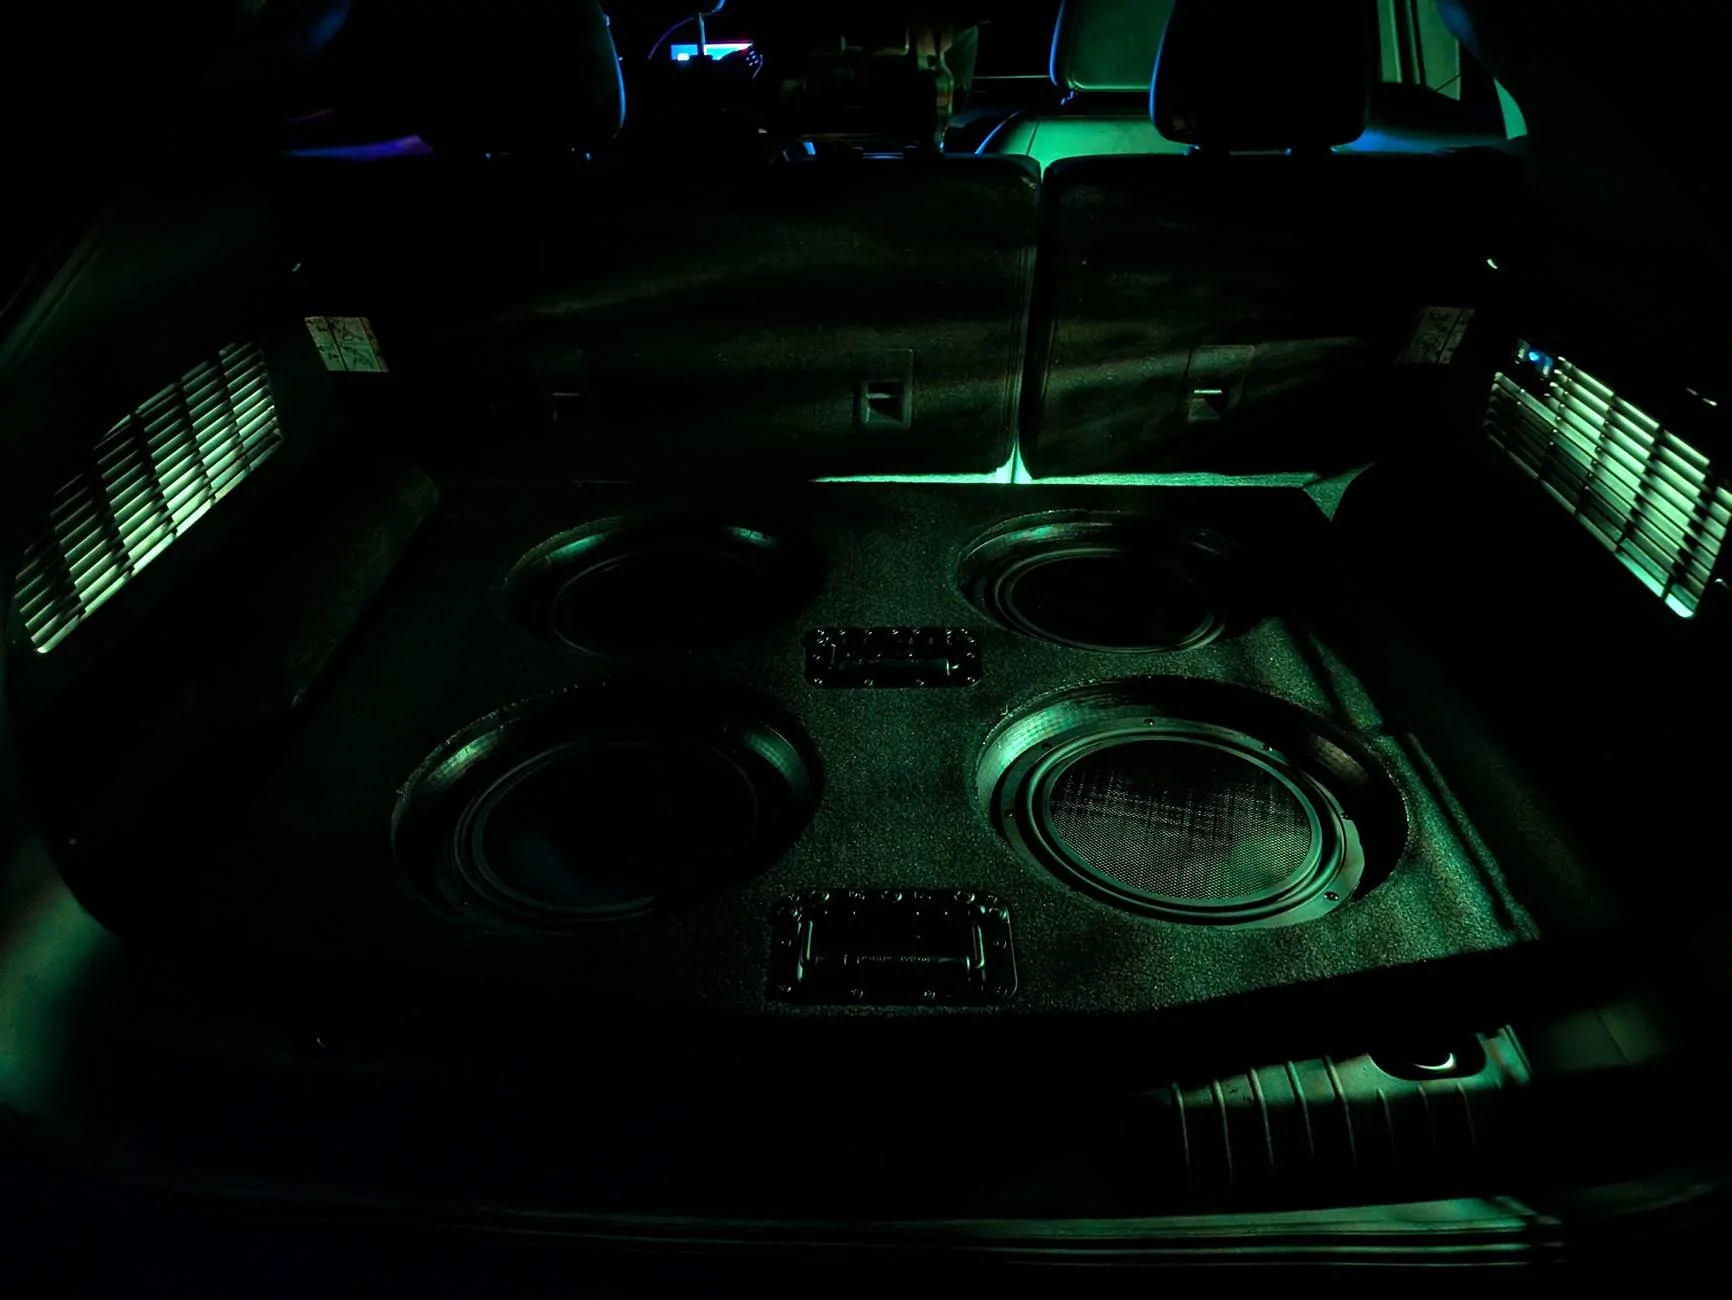
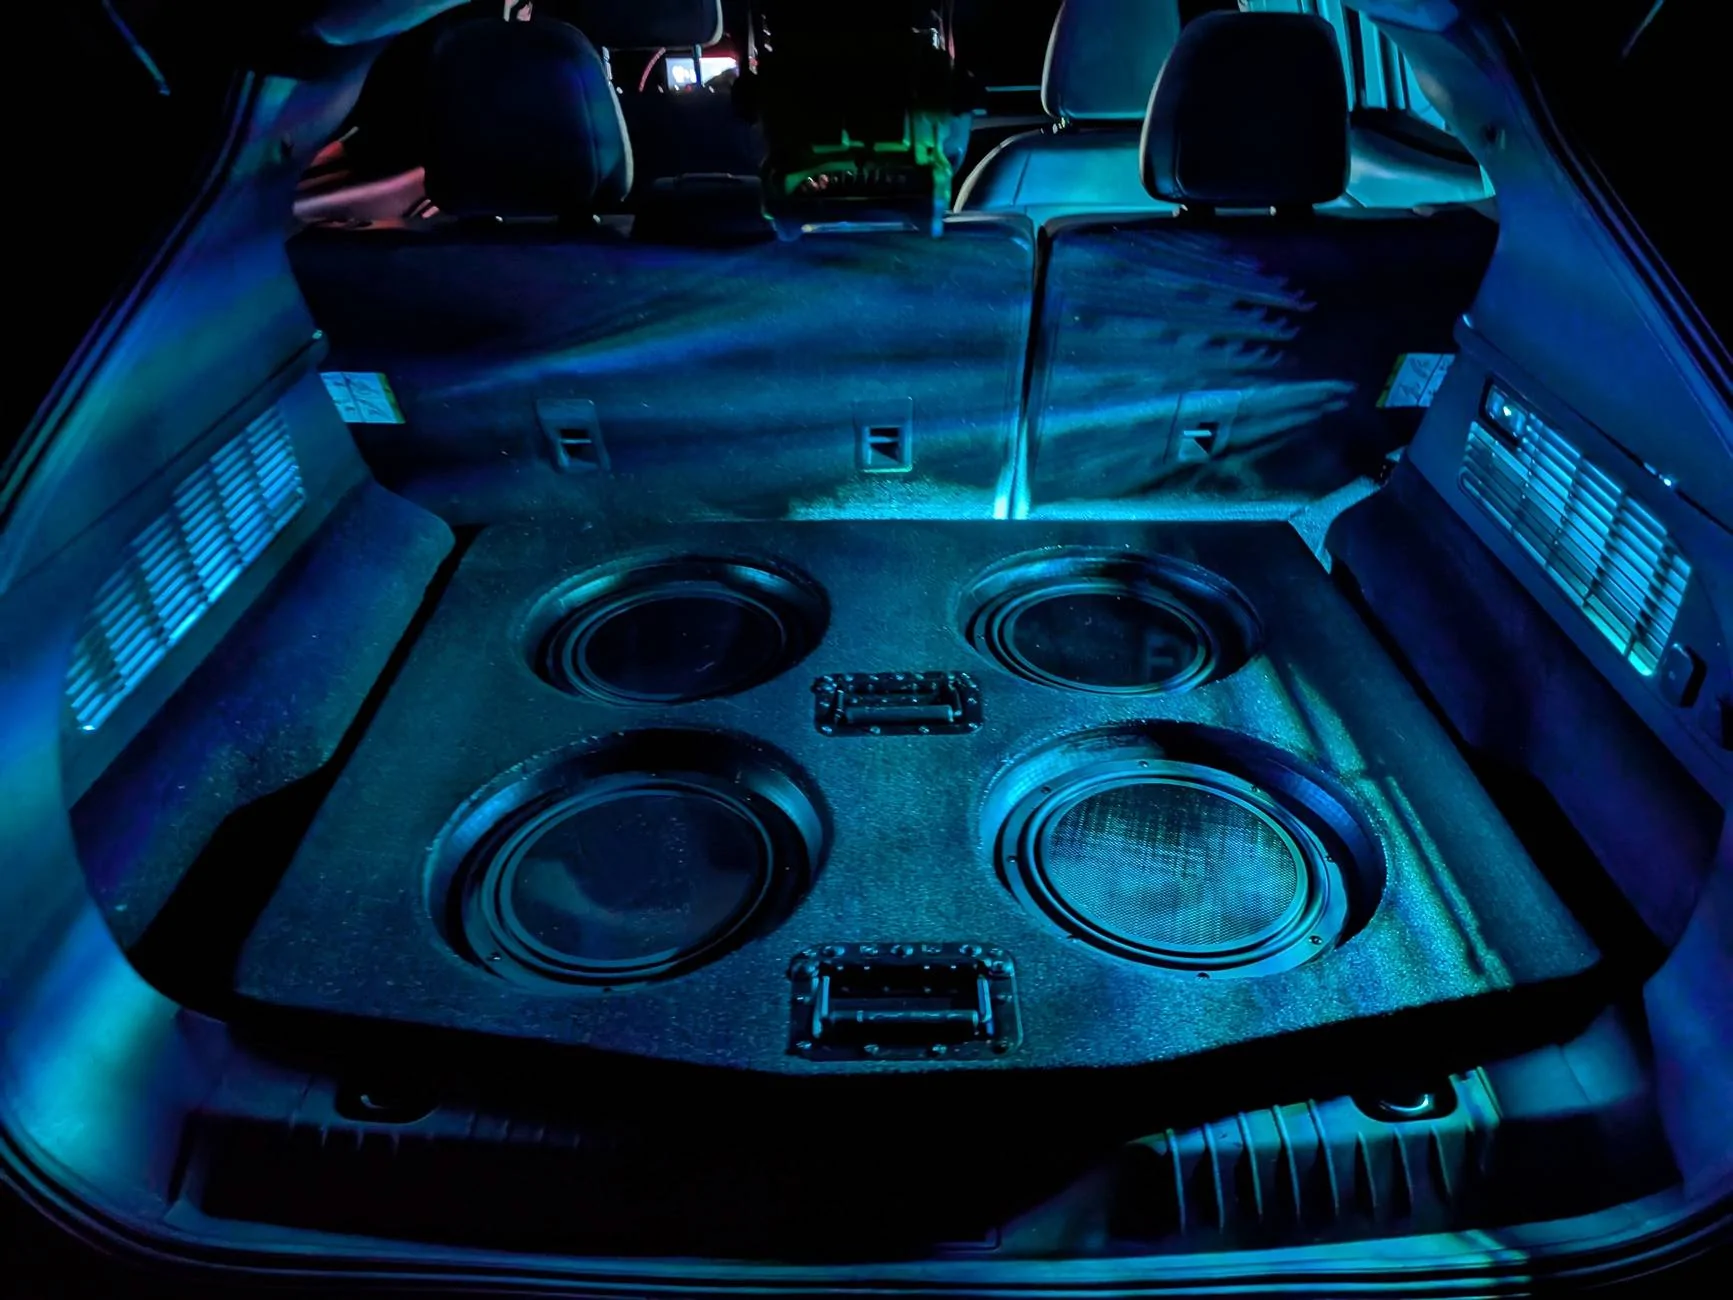
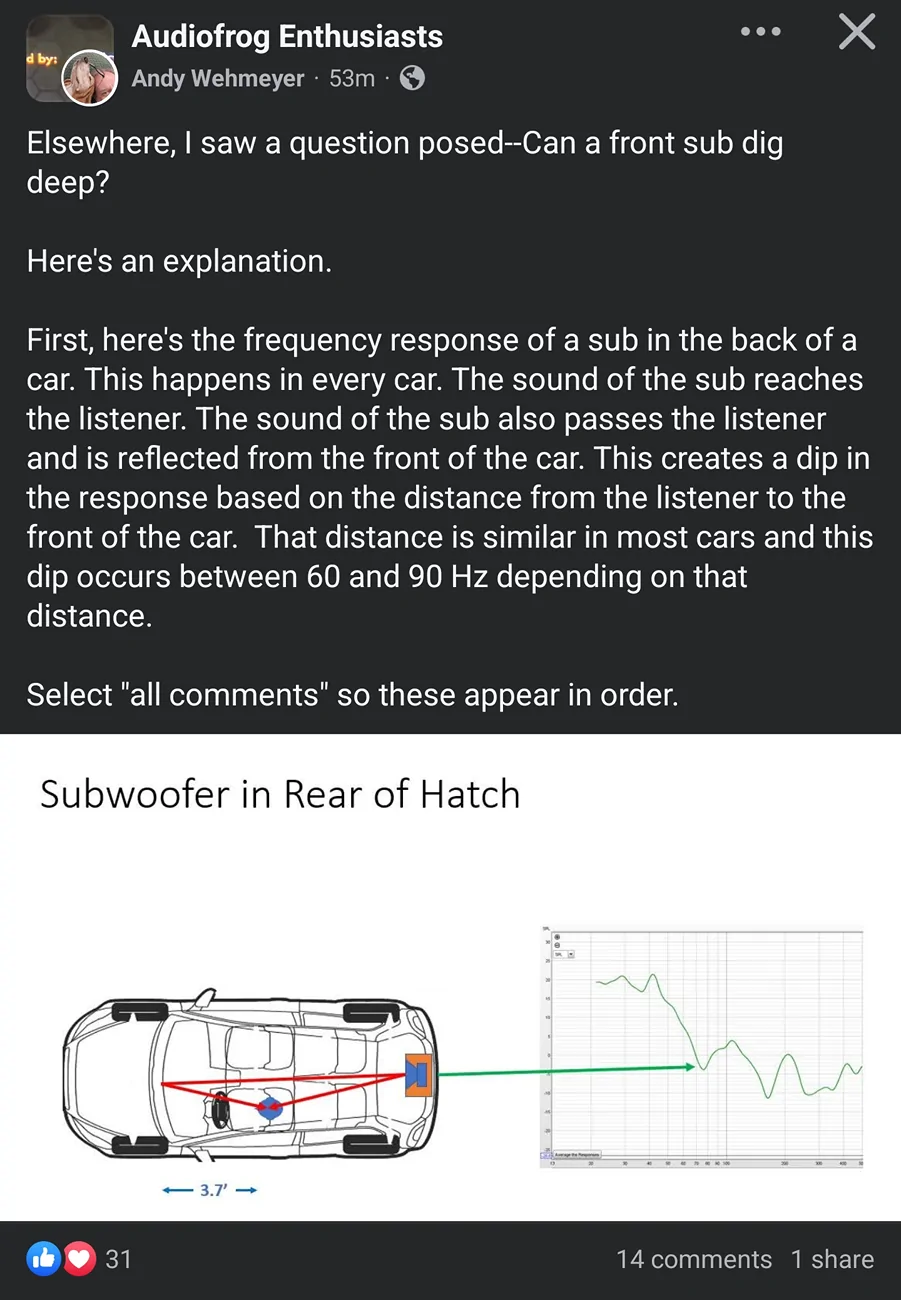
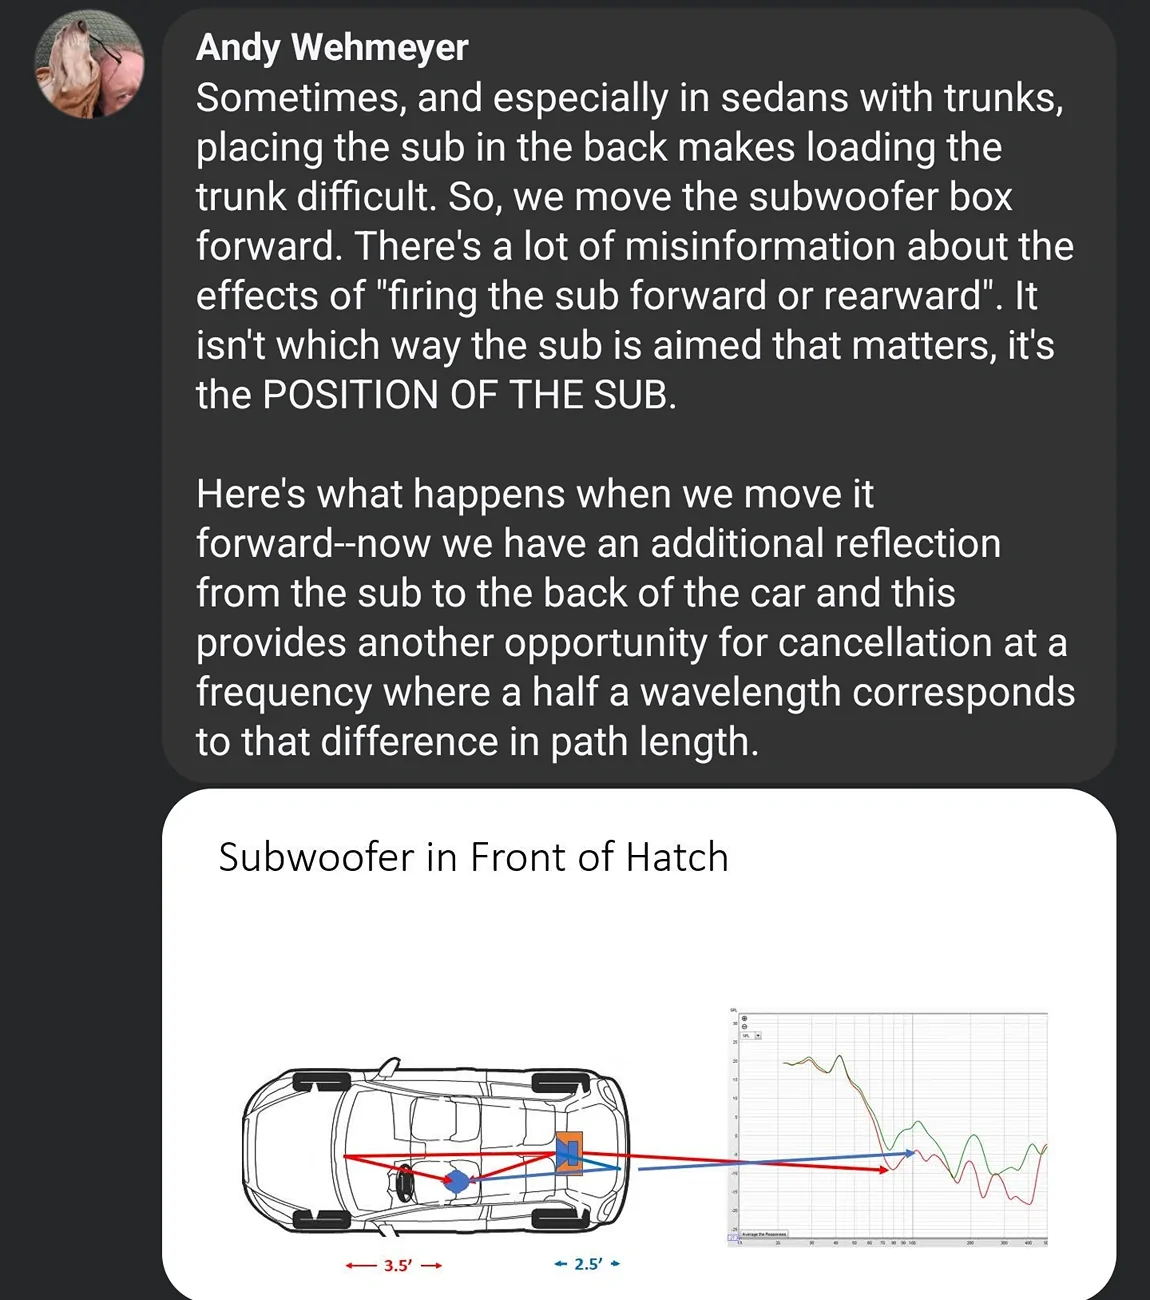
For sure! I've been toying with the idea of filling the rears with 6.5" subwoofers (maybe some of the Daytons IDK), but I think I'm going to go with a front sub. Getting the front doors to produce 80-100hz is almost fruitless due to their location and associated cancellations unfortunately.Strategy and need with the MME is different.
If'n it makes you happy I would go for it! Just wanted to temper expectations and always want to encourage newbies to go for the easy targets first, but sounds like you have a plan!
Sponsored


 but how about a video sound test of how it sounds sitting in the front seat to experience how it sounds to You, that would be great