eltonlin
Well-Known Member
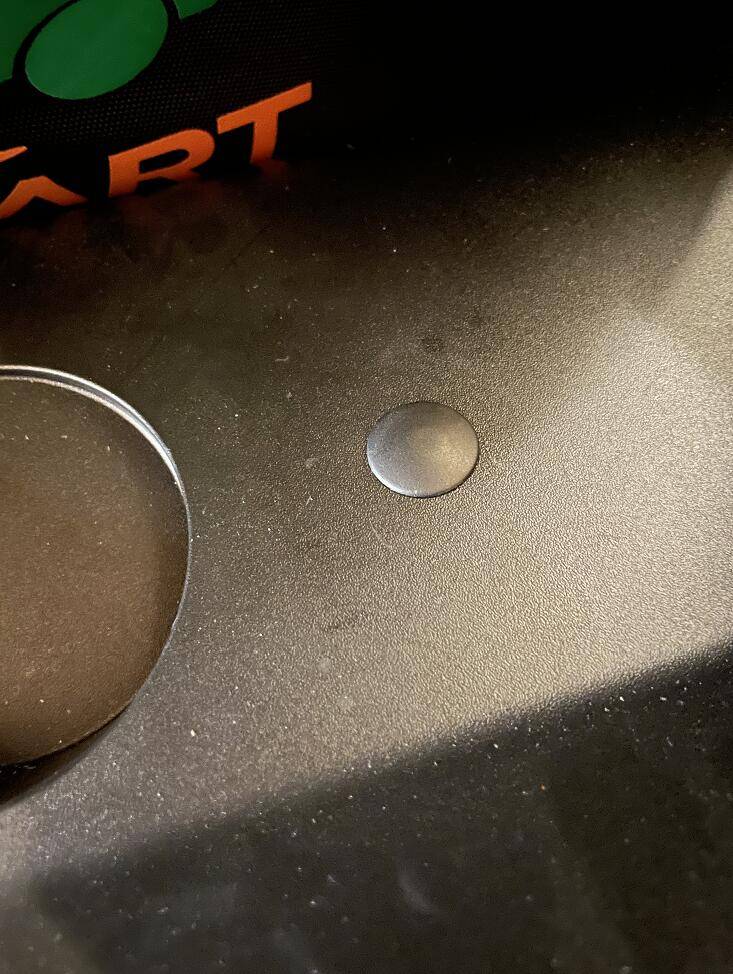
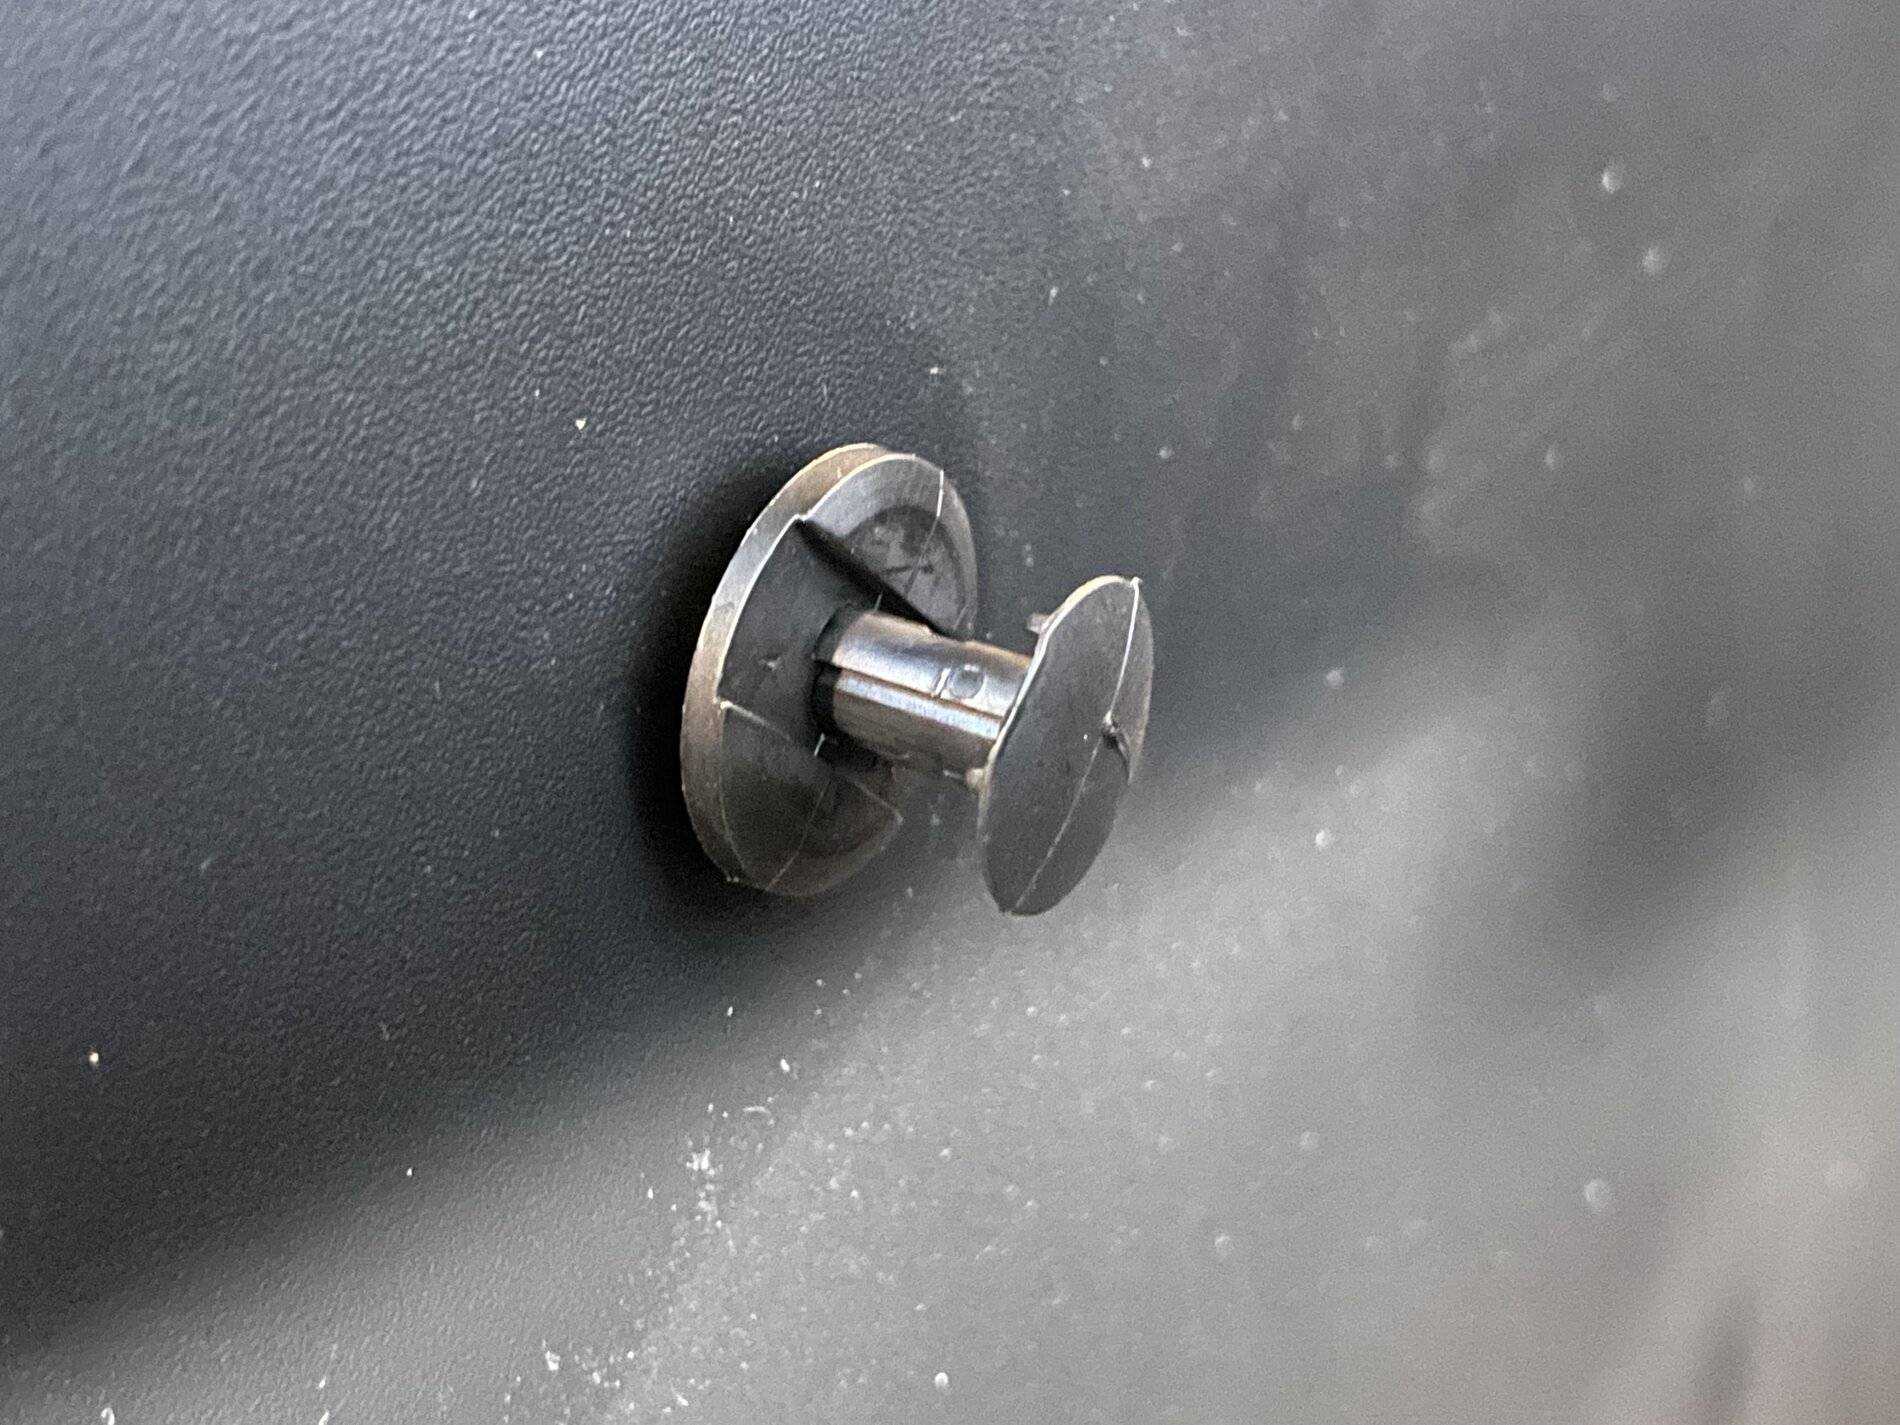
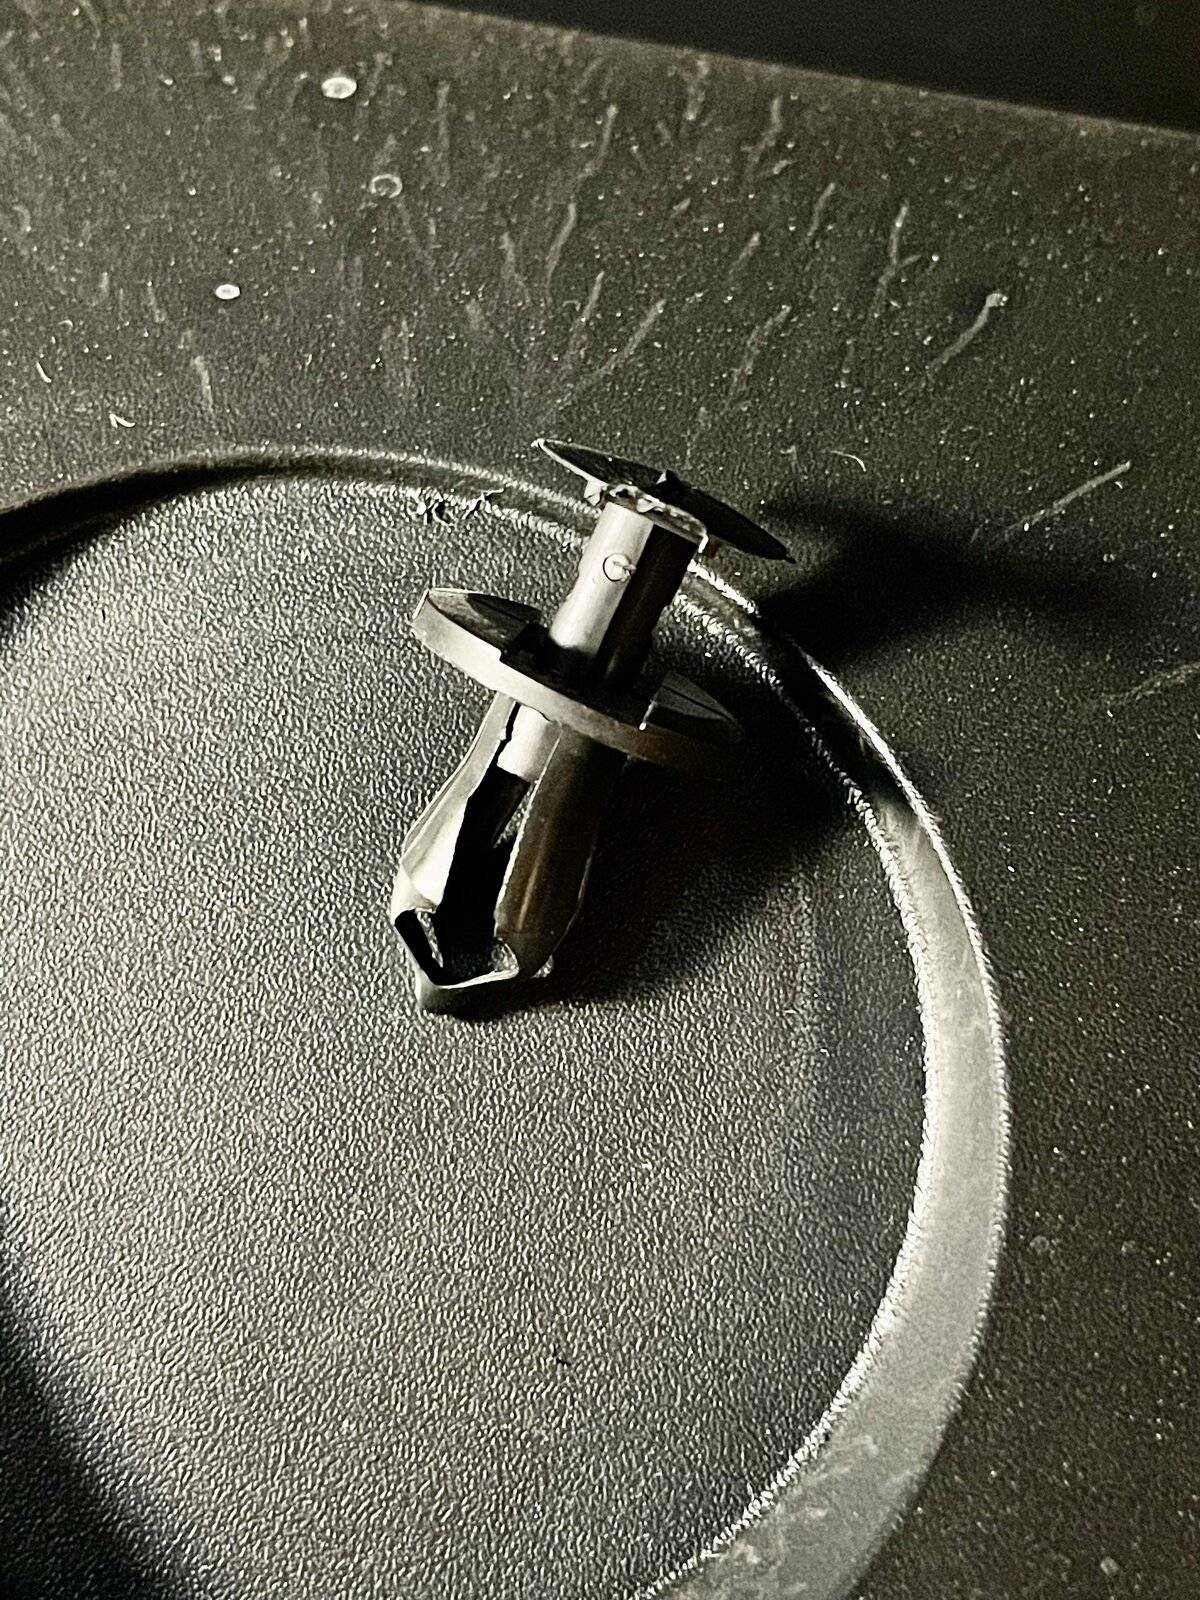
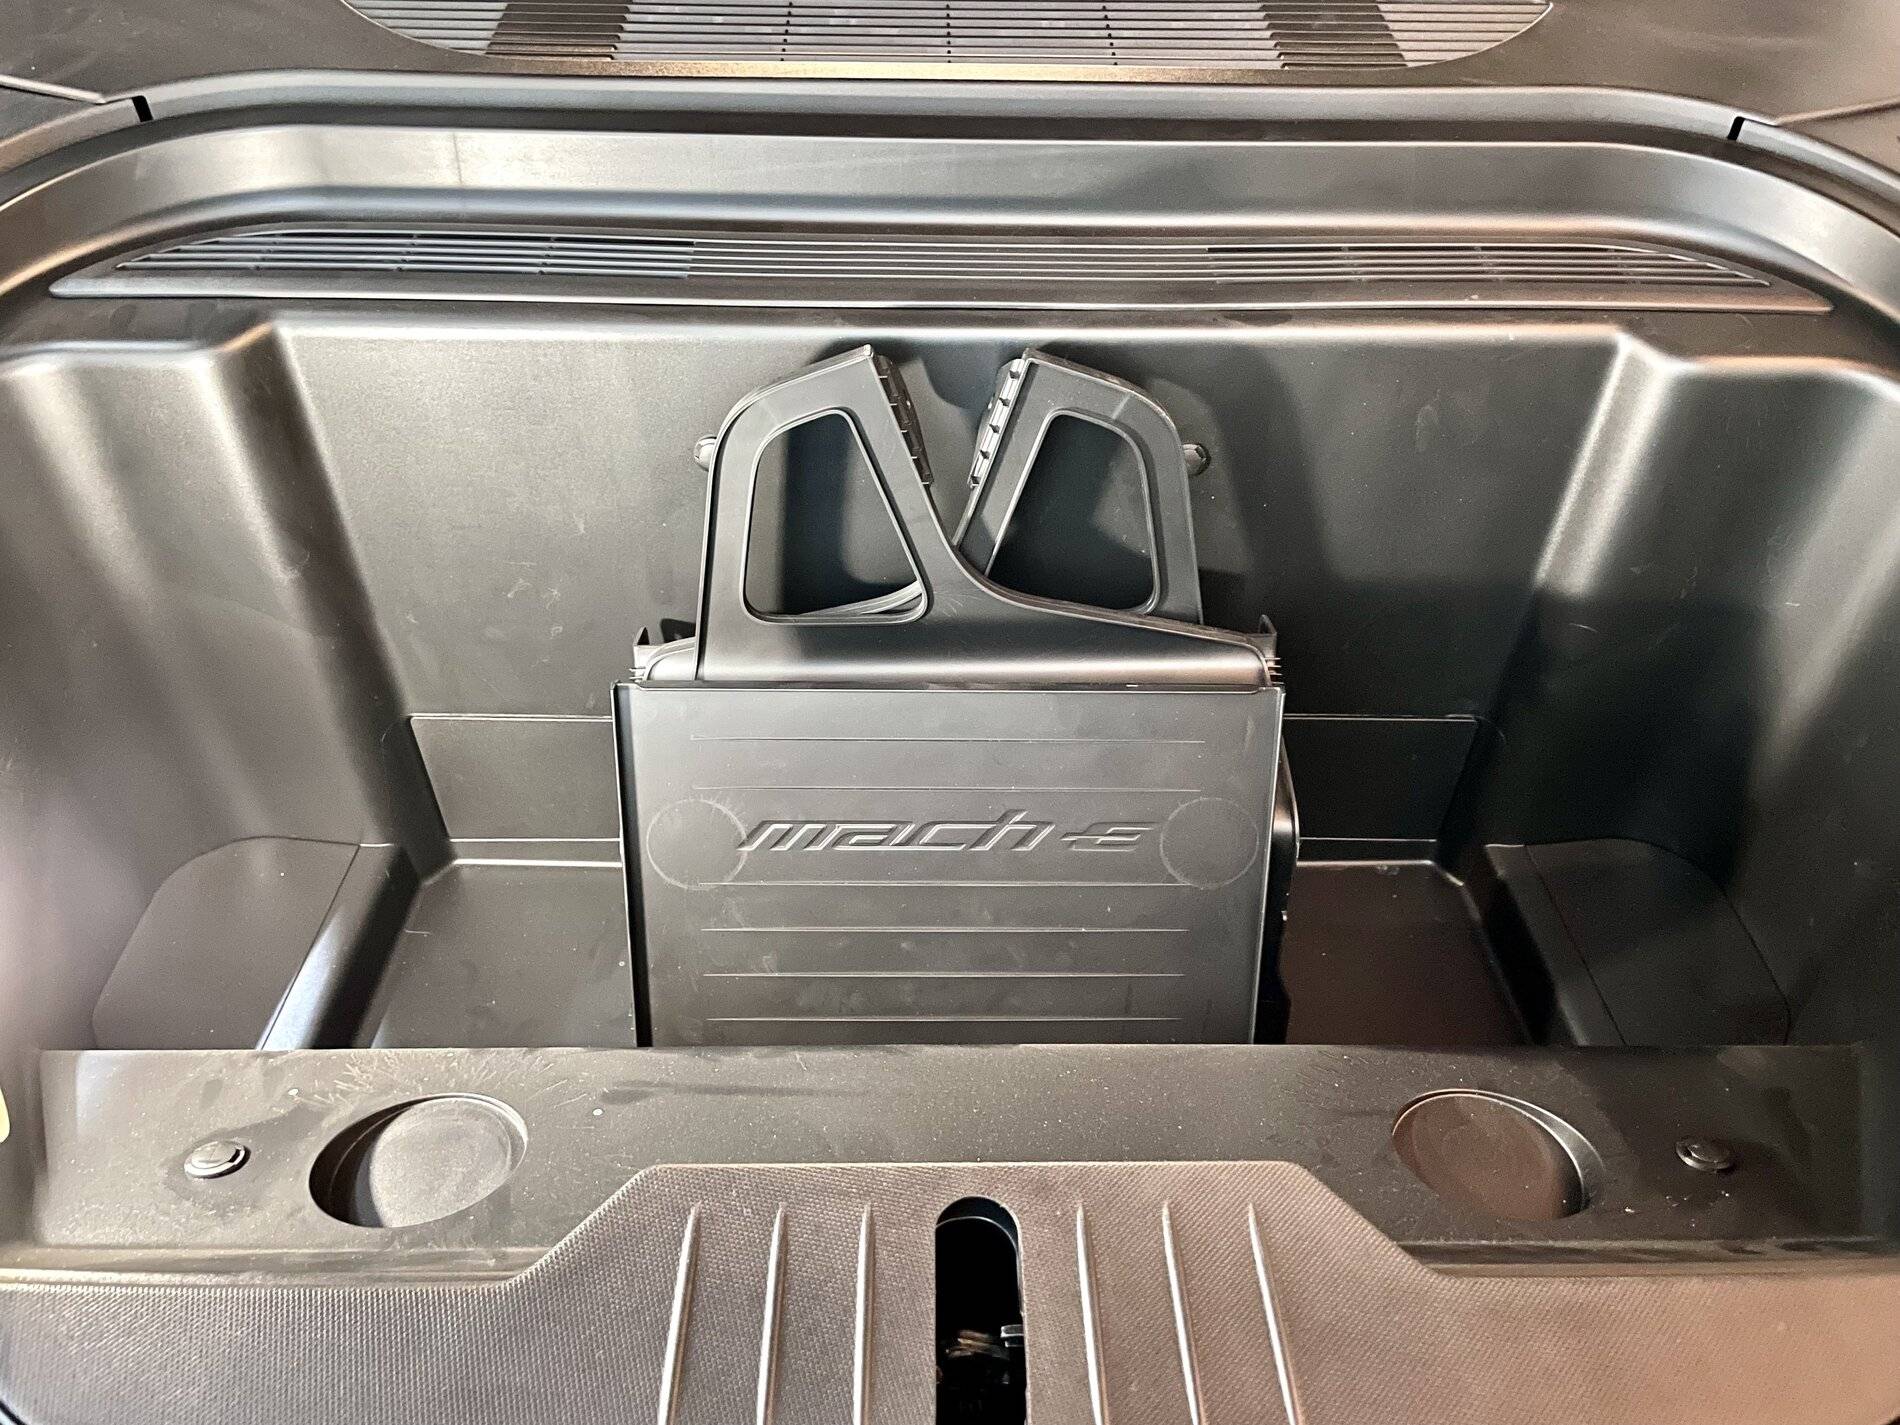
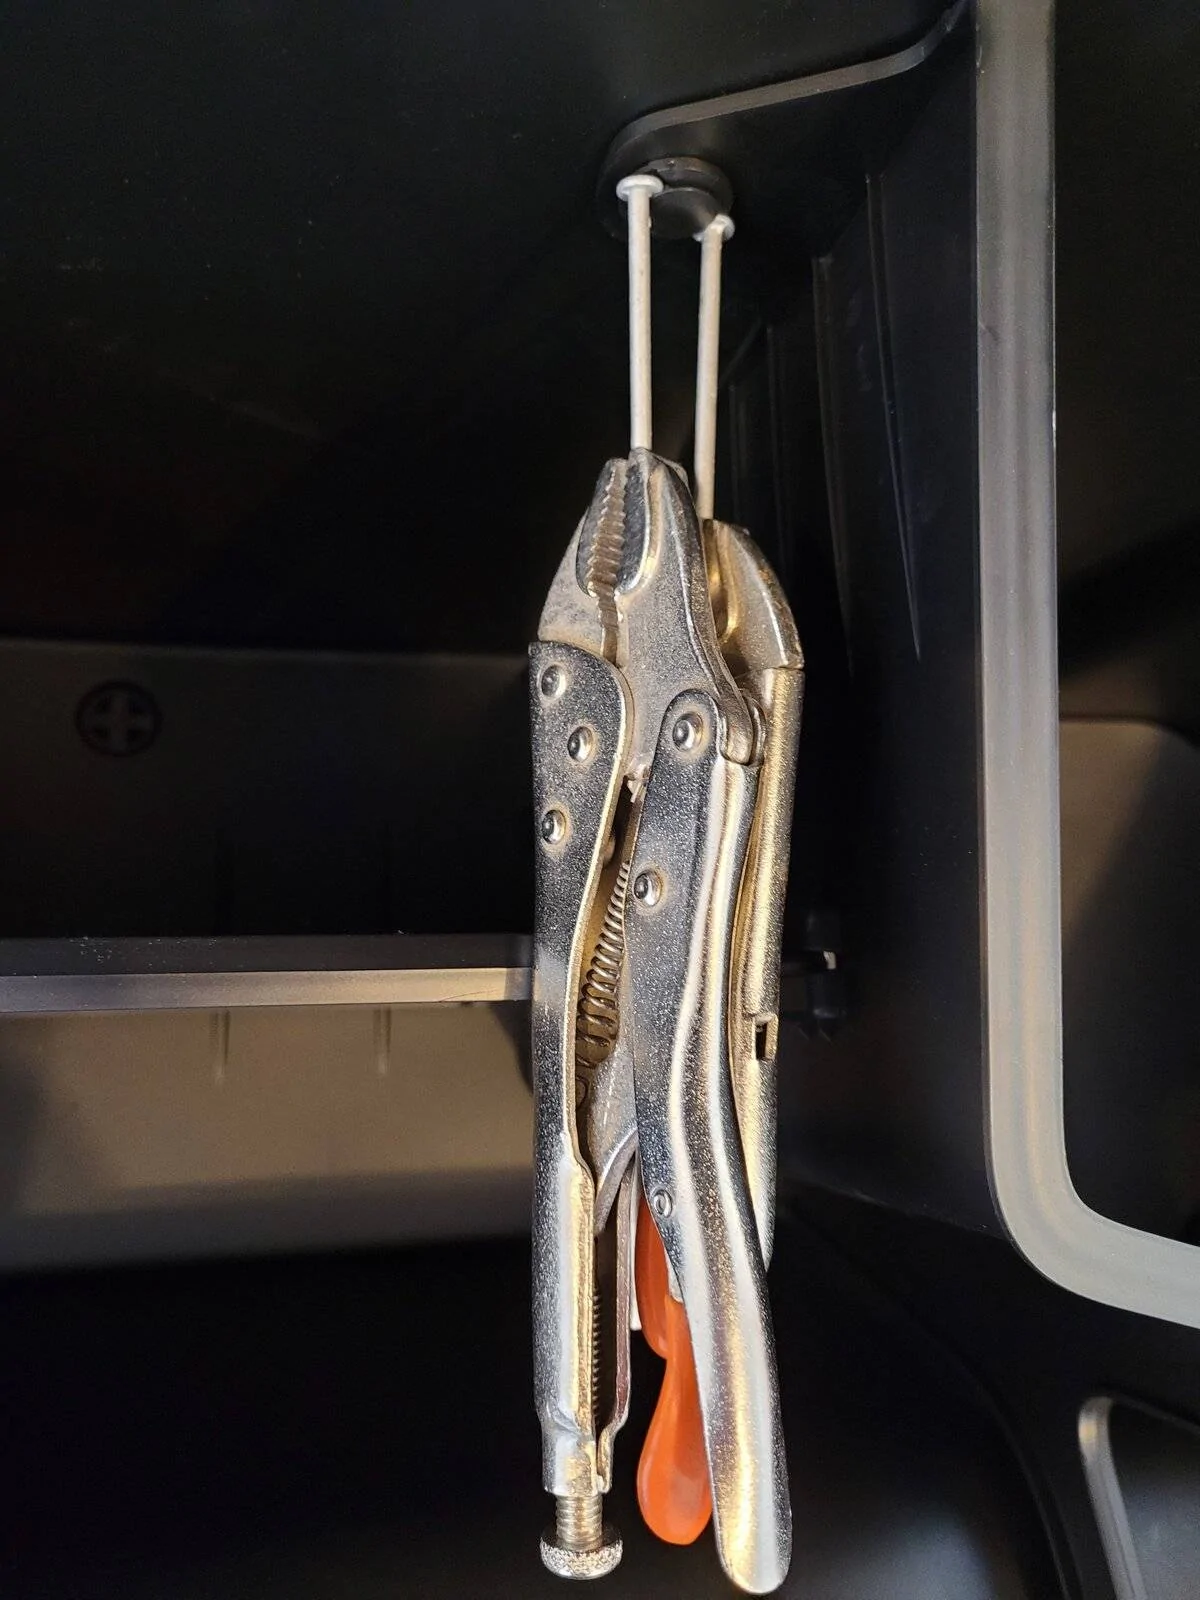
Push Pin Pliers FTW. The only ones that gave me a little issue were the ones on the bottom rear, as the clearance to get the pliers in there was a bit tight. Otherwise <5 min effort.


Sponsored

")